Materials
Size 4 worsted weight yarn
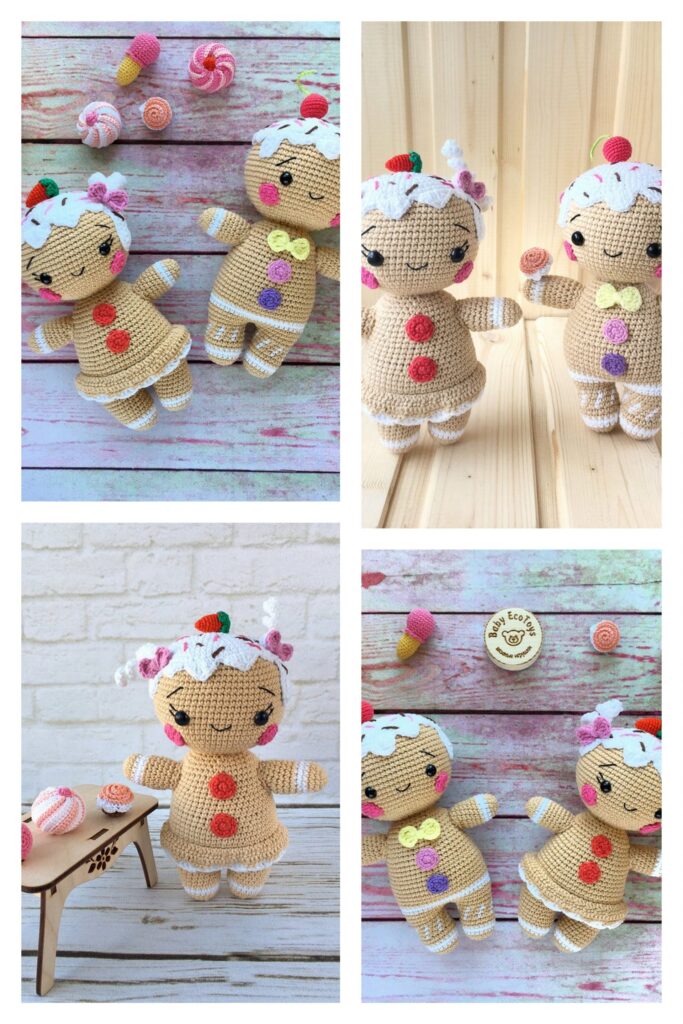
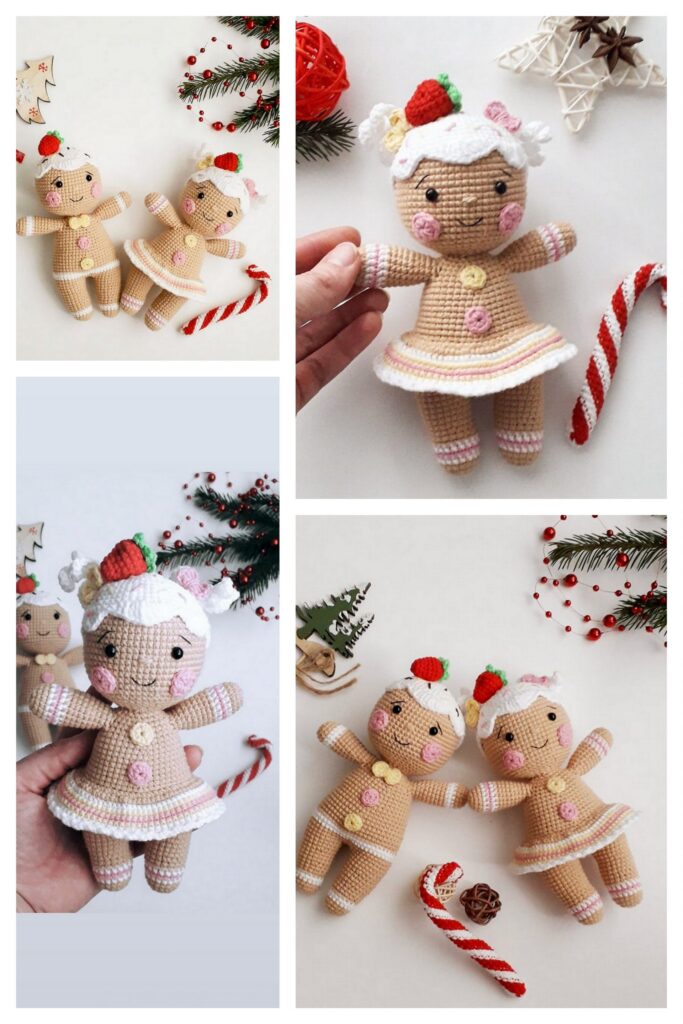
75g of light brown (I used I Love This Yarn in Toasted Almond)
25g color of choice for dress
Small amount of white
Small amount of yarn for bow, ‘candy’ buttons, cheeks
3.5 mm crochet hook
12 mm safety eyes
Black crochet thread for smile and eyelashes (yarn works as well)
Scissors
Tapestry needle (Bent tip needles work the best!)
Stuffing
Stitch markers
Abbreviations: US terminology
SC- Single crochet
SC INC- Single crochet increase
INV DEC- Invisible decrease
BLO – Back loop only
HDC – Half double crochet
DC – Double crochet
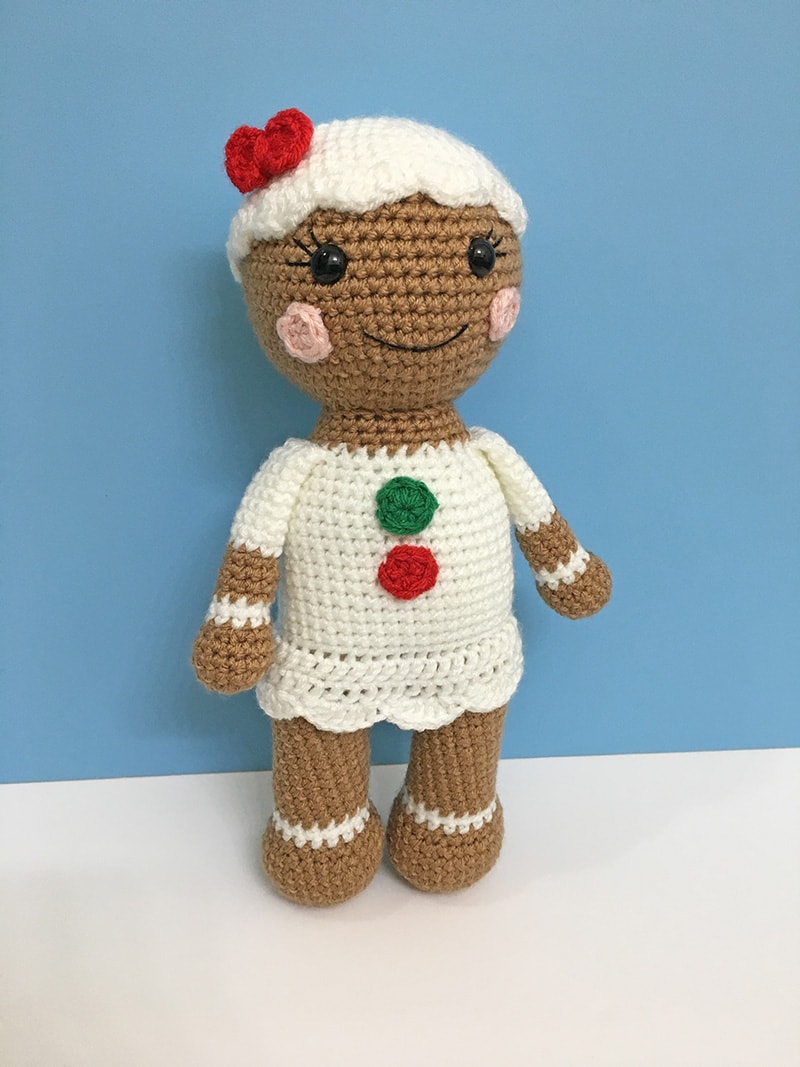
This pattern measures about 13 inches tall.
*Slowly stuff as you go, you want it to be firm but not stretched. You will be working in the round, I like using a stitch marker at the beginning of each round.
Legs and Body-
Legs: Make 2 – Using light brown
Round 1: Create a magic circle with 6 SC
Round 2: SC INC in each stitch (12 SC)
Round 3: SC in the first stitch, SC INC in the next stitch, rep around (18 SC)
Round 4: SC in the first 2 stitches, SC INC in the next stitch, rep around (24 SC)
Round 5: SC in the first 3 stitches, SC INC in the next stitch, rep around (30 SC)
Rounds 6-8: SC around (30 SC)
Round 9: SC in the first 3 stitches, INV DEC in the next, rep around (24 SC)
Round 10: SC in the first 2 stitches, INV DEC in the next, rep around (18 SC) Change to white (Optional: Carry the
light brown to avoid tying off)
Rounds 11-12: SC around (18 SC) Change to light brown
Rounds 13-24: SC around (18 SC)
Fasten off (when you finish the 2nd leg do not fasten off, proceed to round 25)
*Round 25 joins the legs together and starts the body
Round 25: Chain 3 and attach to the first leg with a SC, SC in the remaining stitches around the leg, when you reach the chain make a SC across each of the 3 chains, SC in the remaining stitches of the next leg and SC across each of the 3 chains (42 SC) This completes your join and is where your next round will start.
Rounds 26-28: SC around (42 SC) Change to dress color
Round 29: SC around (42 SC)
Round 30: SC in BLO (42 SC)
Rounds 31-41: SC around (42 SC)
Round 42: SC in the first 5 stitches, INV DEC, rep around (36 SC)
Round 43: SC in the first 4 stitches, INV DEC, rep around (30 SC)
Round 44: SC around (30 SC)
Change to light brown
Round 45: SC in the first 3 stitches, INV DEC, rep around (24 SC)
Rounds 46-47: SC around (24 SC) Fasten off and leave a long tail for sewing
Dress
To work the dress, have the body towards you and feet away from you (see pictures below for example) and we’ll work around:
With dress color create a slip knot and attach with a slip stitch to one of the front loops from round 30 (For a cleaner look attach at the back of the body)
Round 1: Ch 1, DC in the same stitch and in each stitch around, join with a slip stitch to the first DC (42 DC)
Rounds 2-3: Ch 1, DC around, join with a slip stitch to the first DC (42 DC)
Round 4: Ch 1, sl st in same stitch, *3 DC in each of next two stitches, skip 1 stitch, sl st, skip 1 stitch* rpt around for a
total of 8 scallops, join with a sl st.
Fasten off and weave in end
Cheeks
With pink make 2
Create a magic circle with 6 HDC, join to the first HDC and fasten off leaving a long tail for sewing
Head
With light brown
Round 1: Create a magic circle with 6 SC
Round 2: SC INC in each stitch around (12 SC)
Round 3: SC in the first stitch, SC INC in the next, rep around (18 SC)
Round 4: SC in the first 2 stitches, SC INC in the next, rep around (24 SC)
Round 5: SC in the first 3 stitches, SC INC in the next, rep around (30 SC)
Round 6: SC in the first 4 stitches, SC INC in the next, rep around (36 SC)
Round 7: SC in the first 5 stitches, SC INC in the next, rep around (42 SC)
Round 8: SC in the first 6 stitches, SC INC in the next, rep around (48 SC)
Round 9: SC in the first 7 stitches, SC INC in the next, rep around (54 SC)
Rounds 10-18: SC around (54 SC)
Note: Here is where we will add the facial feature before we start closing the head. Insert the eyes between rows 15 and 16, 7 stitches apart. I like to place my eyes where I’d like them and then remove them to make the eyelashes, this creates a small hole to help find your placement. When ready complete by snapping the backs of your eyes into place.
Using crochet thread or yarn embroider a smile by making a ‘U’ or ‘V’, I placed mine centered between the eyes 4 rows down. Lastly, sew the cheeks between rounds 11 and 13 just outside of the eyes.
Round 19: SC in the first 7 stitches, INV DEC in the next, rep around (48 SC)
Round 20: SC in the first 6 stitches, INV DEC in the next, rep around (42 SC)
Round 21: SC in the first 5 stitches, INV DEC in the next, rep around (36 SC)
Round 22: SC in the first 4 stitches, INV DEC in the next, rep around (30 SC)
Round 23: SC in the first 3 stitches, INV DEC in the next, rep around (24 SC) *Continue to stuff the head firmly
Round 24: SC in the first 2 stitches, INV DEC in the next, rep around (18 SC)
Round 25: SC in the first stitch, INV DEC in the next, rep around (12 SC)
Round 26: INV DEC around (6 SC)
Fasten off and sew remaining part closed, weave in your end
Frosting Hair Cap
With white
Round 1: Create a magic circle with 6 SC
Round 2: SC INC in each stitch around (12 SC)
Round 3: SC in the first stitch, SC INC in the next, rep around (18 SC)
Round 4: SC in the first 2 stitches, SC INC in the next, rep around (24 SC)
Round 5: SC in the first 3 stitches, SC INC in the next, rep around (30 SC)
Round 6: SC in the first 4 stitches, SC INC in the next, rep around (36 SC)
Round 7: SC in the first 5 stitches, SC INC in the next, rep around (42 SC)
Round 8: SC in the first 6 stitches, SC INC in the next, rep around (48 SC)
Round 9: SC in the first 7 stitches, SC INC in the next, rep around (54 SC)
Rounds 10-12: SC around (54 SC)
Round 13: Sl st, *3 DC in each of next two stitches, skip 1 stitch, sl st, skip 1 stitch* rpt around for a total of 11 scallops, join with a sl st.
Fasten off leaving a long tail for sewing
Arms
Make 2
*Lightly stuff the bottom of the arms only*
With light brown
Round 1: Create a magic circle with 6 SC
Round 2: SC INC in each stitch around (12 SC)
Round 3: SC in the first 3 stitches, SC INC, rep around (15 SC)
Rounds 4-5: SC around (15 SC)
Round 6: SC in the first stitch, INV DEC, rep around (10 SC)
Change to white
(Optional: Feel free to carry your yarn as we did with the legs)
Rounds 7-8: SC around (10 SC) Change to light brown
Rounds 9-12: SC around (10 SC) Change to dress color
Rounds 13-20: SC around (10 SC)
At the end of round 20 pinch the arm flat and make 5 SC across the top to close, fasten off and leave a long tail to sew onto the body.
Bow
Working in a magic circle make 7 DCs, slip stitch, 7 DCs, and slip stitch again, pull your string tight and wrap it around the middle of the bow 4 times. Tie/secure in the back and cut your string leaving a long section to sew with
Candy Buttons
Make two with colors of choice
Create a magic circle with 8 HDC, join to the first HDC and fasten off with a long tail for sewing
Assembly
1. Sew the frosting cap onto the head. For a cleaner look when sewing grab a stitch from underneath the cap as pictured below.
2. Sew your bow into place
3. Sew the head onto the body, making sure to have the facial features centered. Add extra stuffing as you go to keep it firm and less wobbly
4. Next sew the arms onto the body centered with the head at round 46
5. Lastly, sew the candy buttons as pictured below
Congratulations
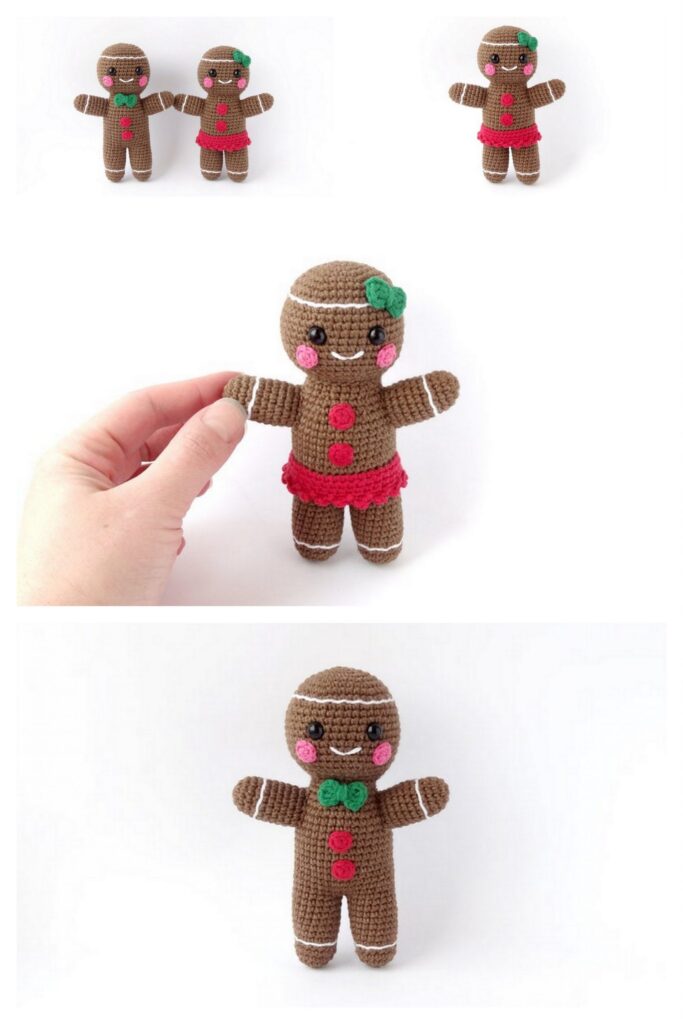
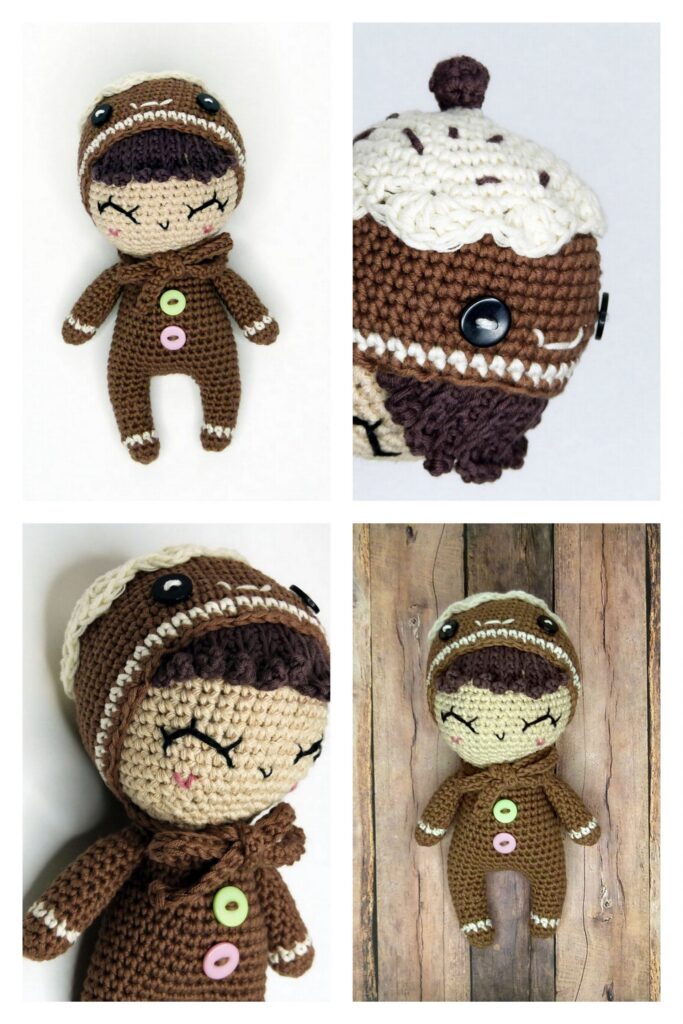
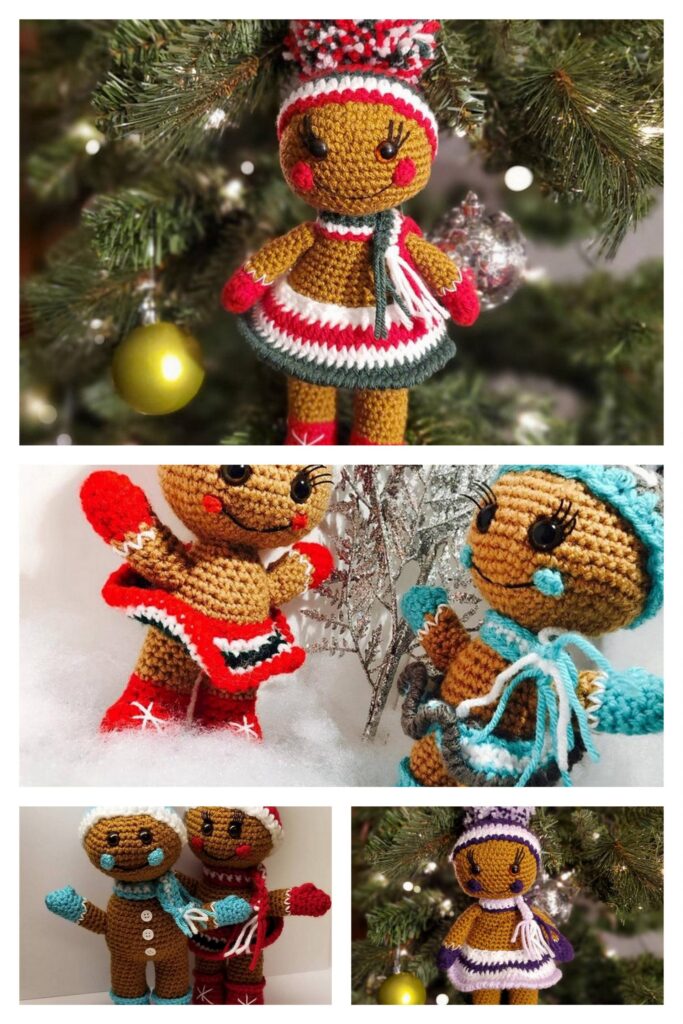
More Amigurumi Gingerbread Ideas: