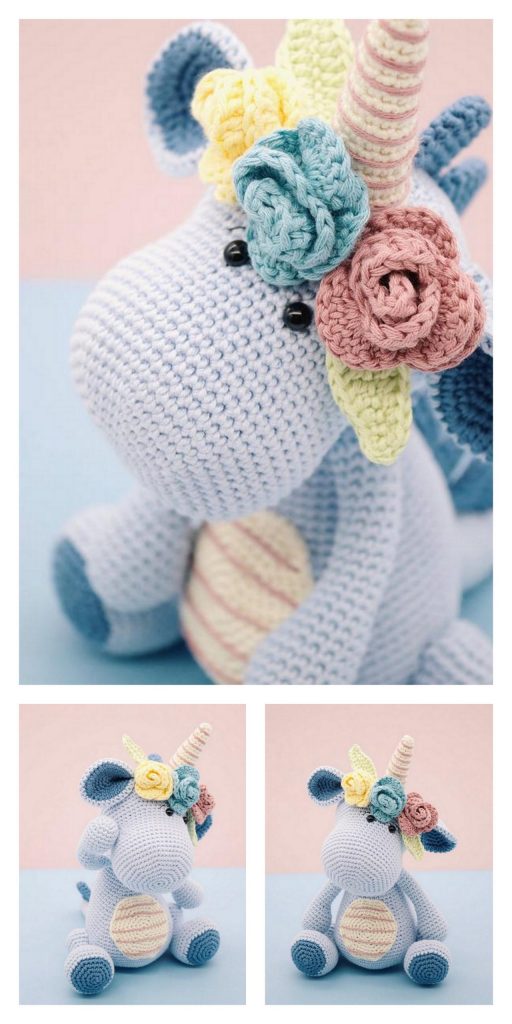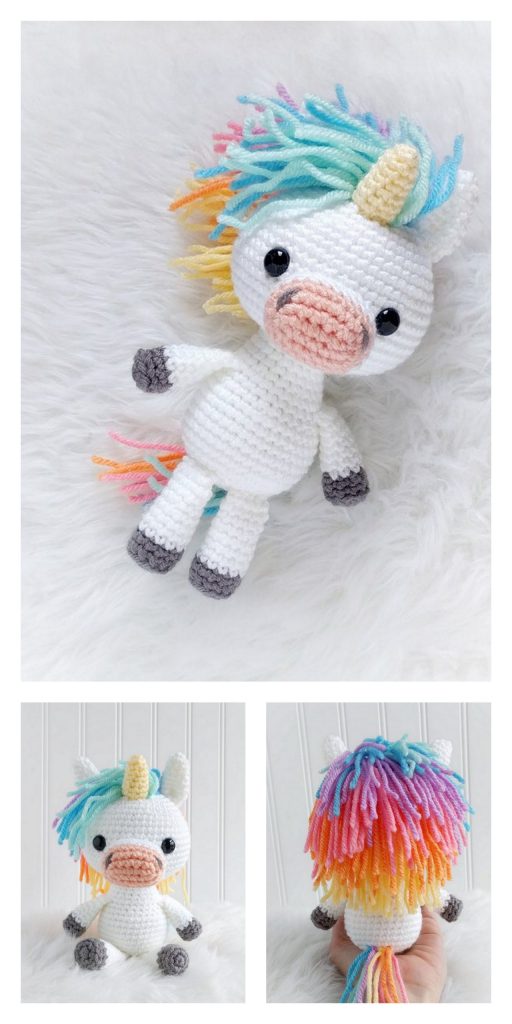
If you enjoy making amigurumi, here I share this easy and free amigurumi pattern for you for free. Your kids will love these toys.
Materials
Red Heart Light Blue, Red Heart White, Red Heart Retro Stripe
Hook Size: D Hook or 3.25 mm
15 mm safety eyes
Scissors, sewing needle, stitch marker, fiberfill stuffing
Blush(optional), black embroidery thread
Abbreviations
mr= magic ring- crochet single crochet stitches in to the
adjustable loop
BLO= back loops only
ch= chain stitch
inc3= 3 sc in the same stitch
sc= single crochet stitch
F/O= Fasten off
sl= slip stitch
dc= double crochet stitch
inc= increase- make two single crochet stitches in the same stitch
dec=decrease- crochet two stitches together using the decrease method
(4 sc, inc) x 6= repeat the pattern between parentheses 6 times
Head
Crocheted from top of head to bottom
With blue yarn
Rnd 1. Make 6 sc into a magic ring= 6
Rnd 2. Increase in each st around= 12
Rnd 3. (sc, inc) x 6= 18
Rnd 4. (2 sc, inc) x 6= 24
Rnd 5. (3 sc, inc) x 6= 30
Rnd 6. (4 sc, inc) x 6= 36
Rnd 7. (5 sc, inc) x 6= 42
Rnd 8. (6 sc, inc) x 6= 48
Rnd 9. (7 sc, inc) x 6= 54
Rnd 10. (8 sc, inc) x 6= 60
Rnd 11-22. sc in each st around
Place eyes between rows 16 and 17, leaving 13
Holes between them
Rnd 23. (8 sc, dec) x 6= 54
Rnd 24. (7 sc, dec) x 6= 48
Start stuffing the head
Rnd 25. (6 sc, dec) x 6= 42
Rnd 26. (5 sc, dec) x 6= 36
Rnd 27. (4 sc, dec) x 6= 30
Rnd 28. (3 sc, dec) x 6= 24
Rnd 29. (2 sc, dec) x 6= 18
F/O and leave a long tail for sewing
Arms(Make 2)
Starting with white yarn
Rnd 1. Make 6 sc into a magic ring= 6
Rnd 2. Increase in each st around= 12
Rnd 3. (sc, inc) x 6= 18
Rnd 4. (2 sc, inc) x 6= 24
Rnd 5-6. Sc in each st around
Change to blue yarn
Rnd 7. (6 sc, dec) x 3= 21
Rnd 8-10. Sc in each st around
Rnd 11. (5 sc, dec) x 3= 18
Rnd 12-13. Sc in each st around
Start stuffing the arms
Rnd 14. (4 sc, dec) x 3= 15
Rnd 15-16. Sc in each st around
Rnd 17. 13 sc, dec= 14
Rnd 18-19. Sc in each st around
Rnd 20. 12 sc, dec= 13
Rnd 21-22. Sc in each st around
Rnd 23. 11 sc, dec= 12
Rnd 24-28. Sc in each st around
Stop stuffing the arms after row 26
Rnd 29. (4 sc, dec) x 2= 10
Rnd 30-31. Sc in each st around
F/O and leave a long tail for sewing
Legs and Body
Starting with the legs(Make 2)
Starting with white yarn
Rnd 1. (sc, 2 dc) x 2 into a magic ring= 6
Rnd 2. Increase in each st around= 12
Rnd 3. (sc, inc) x 6= 18
Rnd 4. (2 sc, inc) x 6= 24
Rnd 5. (3 sc, inc) x 6= 30
Rnd 6. (4 sc, inc) x 6= 36
Rnd 7-10. sc in each st around
Change to blue yarn
Rnd 11. 9 sc, dec x 6, 15 sc= 30
Rnd 12. 7 sc, dec x 5, 10 sc, dec, sc= 24
Rnd 13. 2 sc, dec, 11 sc, dec, 4 sc, dec, sc= 21
Rnd 14-15. sc in each st around
Rnd 16. (6 sc, inc) x 3= 24
Rnd 17-18. sc in each st around
Start stuffing the legs
Rnd 19. (11 sc, inc) x 2= 26
Rnd 20-21. sc in each st around
F/O first leg but not the 2nd leg
For the 2nd leg on row 21 instead of making 26 sc,
Make only 21 sc. Leave the rest unworked.
Now to start the body
Connect the legs with a single crochet.
Follow the pictures below for better understanding
Rnd 22. sc around the legs= 52
Rnd 23. (12 sc, inc) x 4= 56
Rnd 24. (13 sc, inc) x 4= 60
Rnd 25-32. Sc in each st around
Rnd 33. (28 sc, dec) x 2= 58
Rnd 34-35. Sc in each st around
Rnd 36. (27 sc, dec) x 2= 56
Stuff the body as you work
Rnd 37-38. Sc in each st around
Rnd 39. (26 sc, dec) x 2= 54
Rnd 40-41. Sc in each st around
Rnd 42. (7 sc, dec) x 6= 48
Rnd 43-44. Sc in each st around
Rnd 45. (6 sc, dec) x 6= 42
Rnd 46-47. Sc in each st around
Rnd 48. (5 sc, dec) x 6= 36
Rnd 49-50. Sc in each st around
Rnd 51. (4 sc, dec) x 6= 30
Rnd 52-53. Sc in each st around
Rnd 54. (3 sc, dec) x 6= 24
Rnd 55-56. Sc in each st around
Rnd 57. (2 sc, dec) x 6= 18
F/O and leave a long tail for sewing
Ears(Make 2)
With blue yarn
Rnd 1. Make 6 sc into a magic ring= 6
Rnd 2. (sc, inc) x 3= 9
Rnd 3. (2 sc, inc) x 3= 12
Rnd 4. (3 sc, inc) x 3= 15
Rnd 5. (4 sc, inc) x 3= 18
Rnd 6-9. sc in each st around
Rnd 10. (sc, dec) x 6= 12
Rnd 11. dec x 6= 6
F/O and leave a long tail for sewing
Muzzle
With blue yarn
Rnd 1. Make 6 sc into a magic ring= 6
Rnd 2. Increase in each st around= 12
Rnd 3. (sc, inc) x 6= 18
Rnd 4. (2 sc, inc) x 6= 24
Rnd 5. (3 sc, inc) x 6= 30
Rnd 6. (4 sc, inc) x 6= 36
Rnd 7-9. Sc in each st around
Rnd 10. (4 sc, dec) x 6= 30
F/O and leave a long tail for sewing
Horn
With white yarn
Stuff the horn as you work
Rnd 1. Make 4 sc into a magic ring= 4
Rnd 2. sc in each st around
Rnd 3. (sc, inc) x 2= 6
Rnd 4. sc in each st around
Rnd 5. (2 sc, inc) x 2= 8
Rnd 6. sc in each st around
Rnd 7. (3 sc, inc) x 2= 10
Rnd 8. sc in each st around
Rnd 9. (4 sc, inc) x 2= 12
Rnd 10. sc in each st around
Rnd 11. (5 sc, inc) x 2= 14
Rnd 12-13. sc in each st around
F/O and leave a long tail for sewing
Hair
Front Mane:
With retro stripe
Chain 51, sl st in 2nd chain from hook and across.
Do not fasten off, keep working off the 1st chain
Chain 51, sl st in 2nd chain from hook and across
Do not fasten off, keep working off the 2nd chain
Repeat this process for each of the following numbers: 51, 46, 46, 46, 41, 41, 41
Back Make(Make 2)
With retro stripe
Ch 51, sl st in 2nd chain from hook and across. Do not fasten off, keep working off that chain.
Ch 51, sl st in 2nd chain from hook and across. Do not fasten off, keep working off that chain.
Repeat this process for each of the following numbers: 51, 46, 46, 46, 41, 41, 41
Tail
With retro stripe
Chain 51, sl st in 2nd chain from hook and across. Do not fasten off, keep working off that chain.
Chain 51, sl st in 2nd chain from hook and across. Do not fasten off, keep working off that chain.
Repeat this process for each of the following numbers: 51, 56, 56, 56, 51, 51, 51, 56, 56, 56, 51,
51, 51.
Assembly
Head and Body
Rnd 1. Pin the head onto the body for extra support. You may need to add more stuffing as
you sew.
Rnd 2. sew the head onto the body.
Arms
Rnd 1. Pin the arms into a forward angle on the side of the body underneath the neck. There
are no certain row placements as I just try to decide based on look where the arms
should go.
Rnd 3. Sew them onto the body.
Tip! Closing the seam by crocheting over the opening will make sewing it to the body
easier. Also the arms will lay nicely flat, instead of sticking out.
Ears and Horn
Rnd 1. Pin the horn onto the head. Sew it on. There is no special row placement for this. I
just try to judge based on look.
Rnd 2. Pin the ears near the horn above the eyes. There is no special row placement for the
ears since these are handmade. Not every head comes out stuffed the same. I place
them based on the look I want.
Hair
Rnd 1. Have the eyes facing you. Pin the mane starting behind the horn going down the side
on the left side of the head. Sew it on the head.
Rnd 2. Pin one back mane piece on the head starting from the horn and going down the back
of the head. Place it exactly like a real horse’s mane. Sew this one on. Pin the 2nd back
mane piece underneath the 1st one and sew on like the first.
Rnd 3. Wrap the tail into a circle and sew the top together. Pin onto the back of the body
and sew it in place. Just like a real horse’s tail.
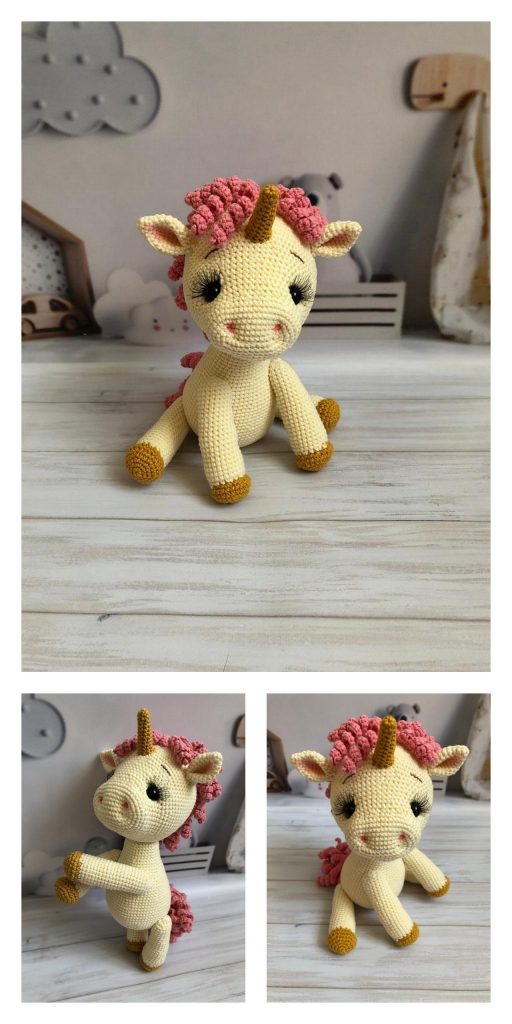
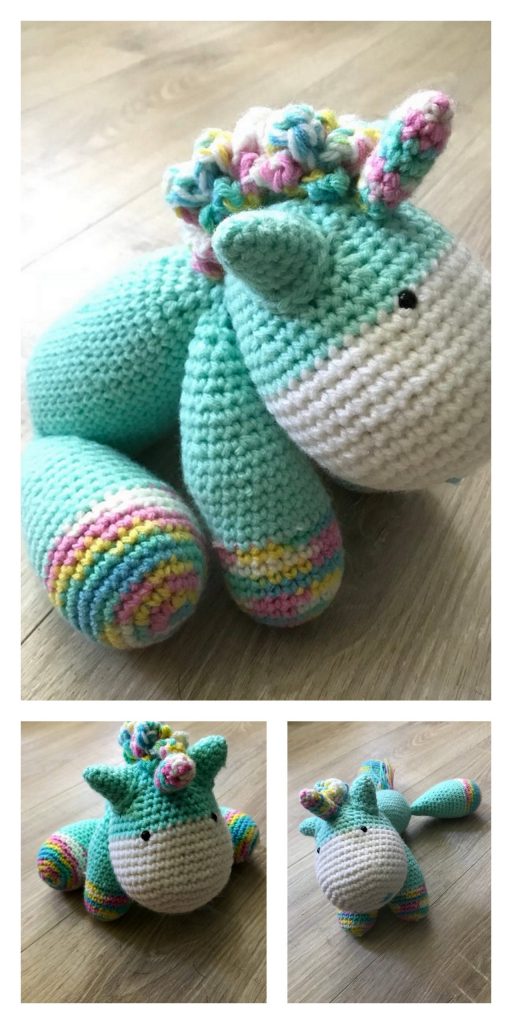
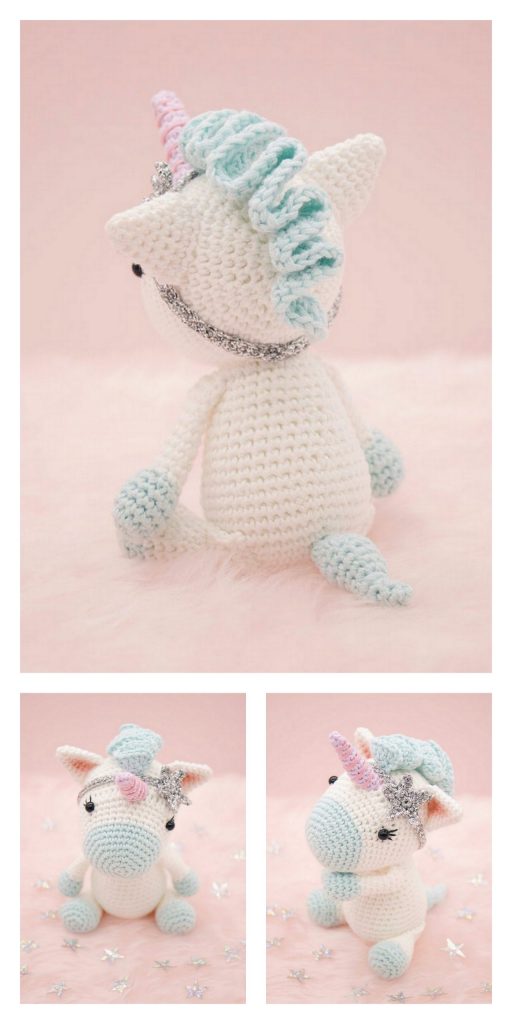
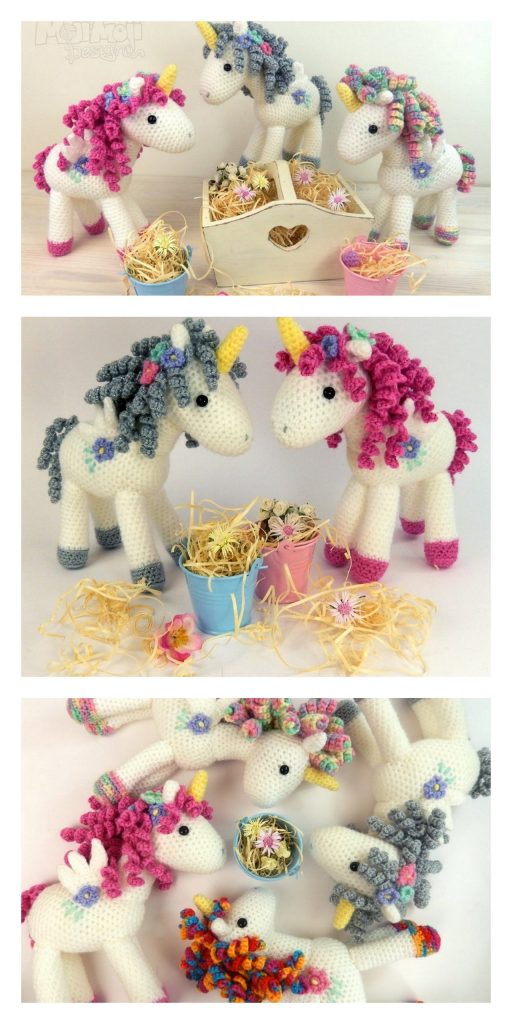
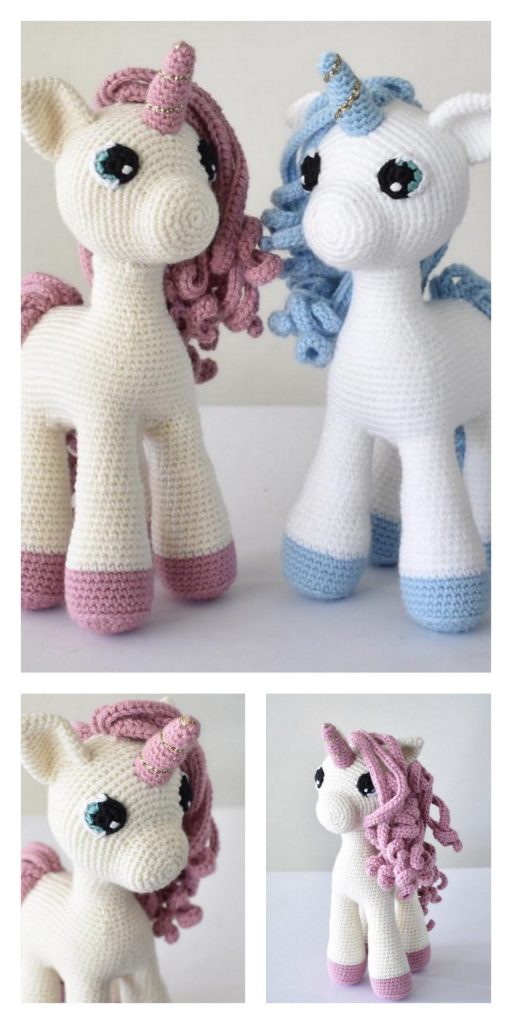
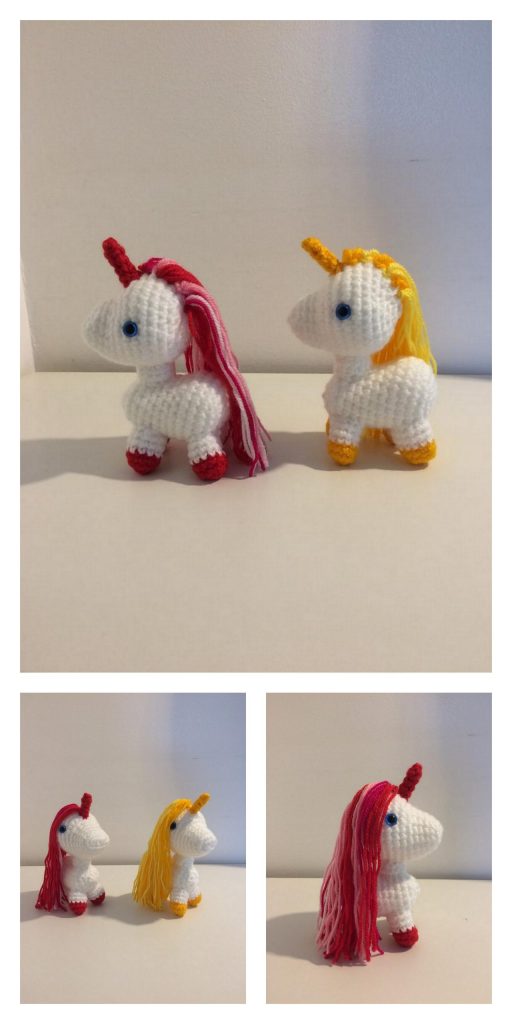
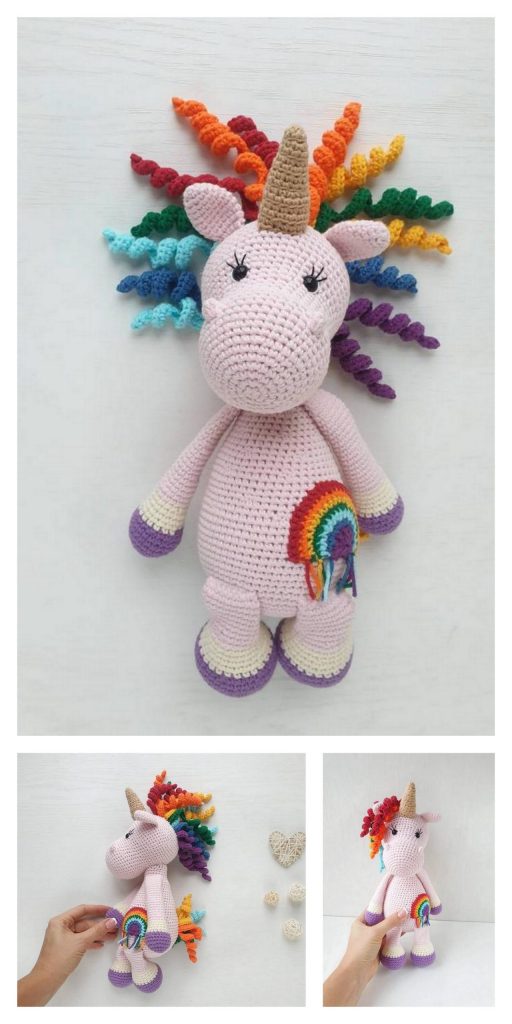
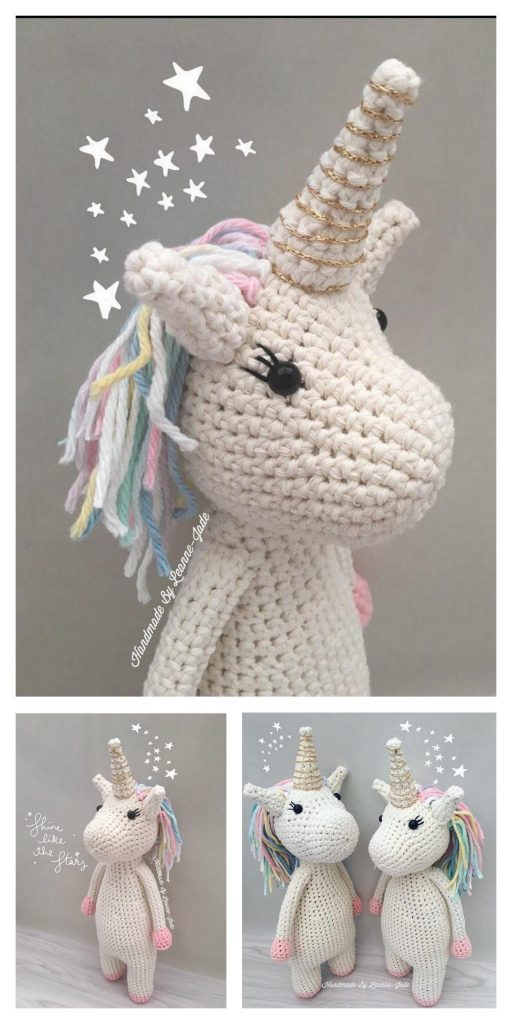
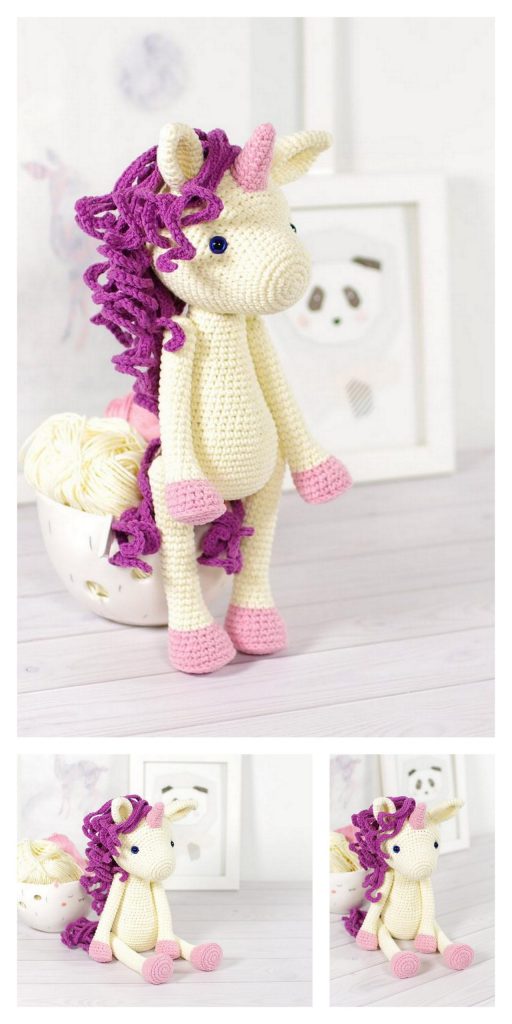
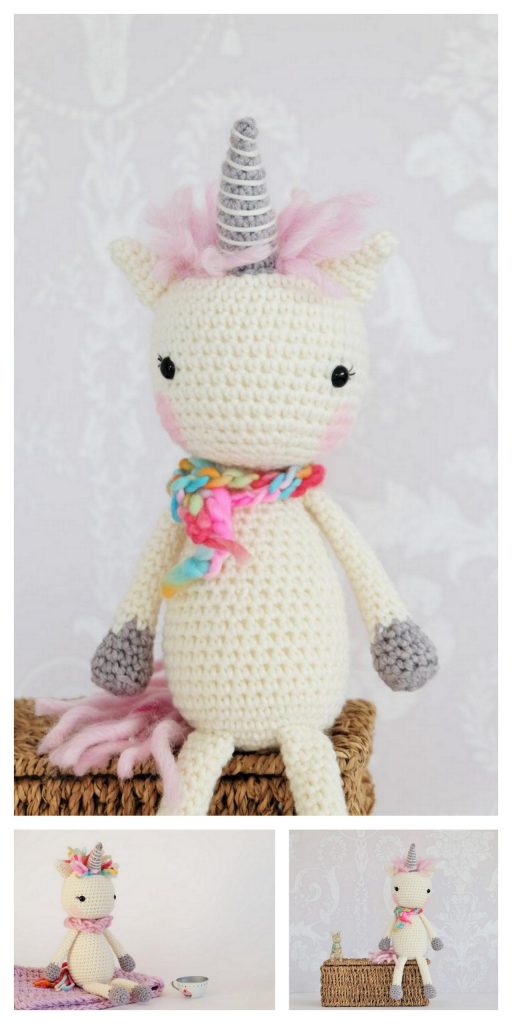
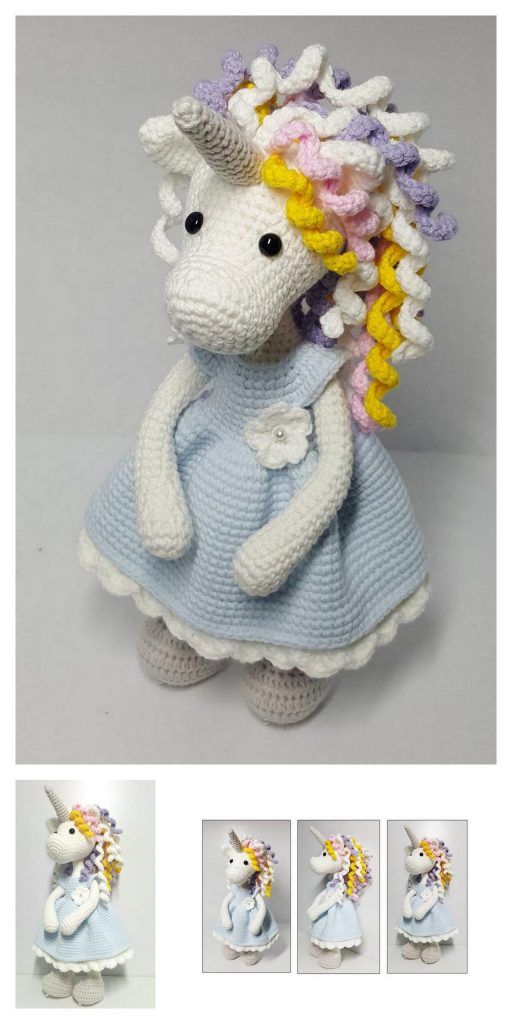
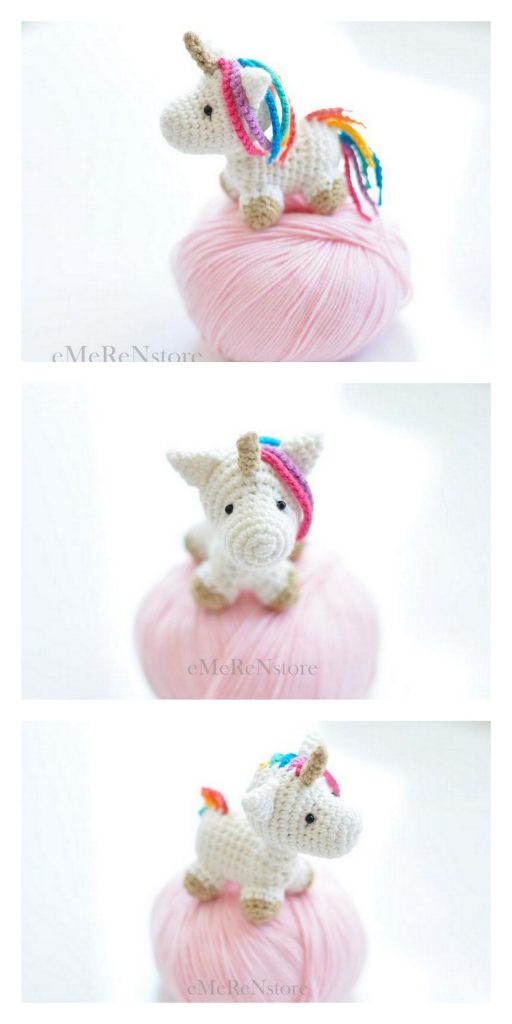
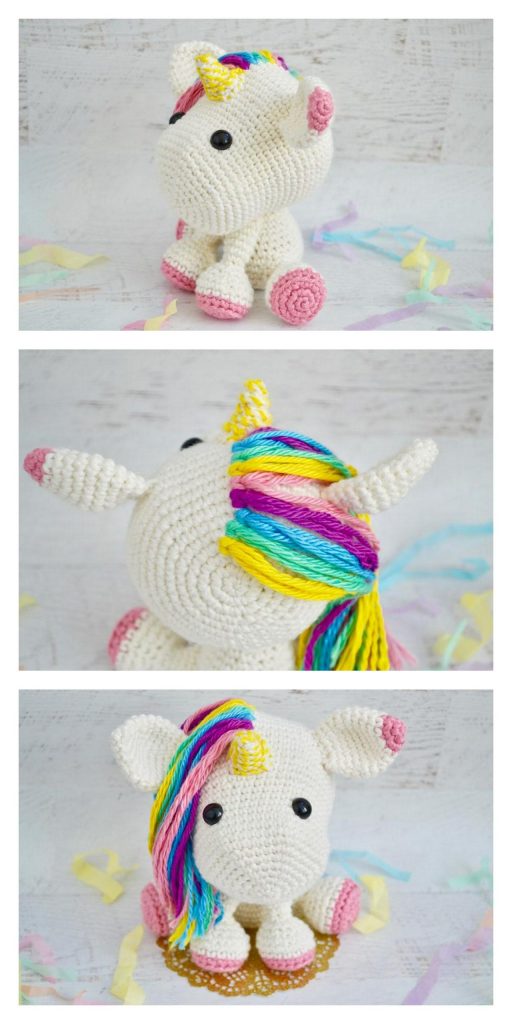
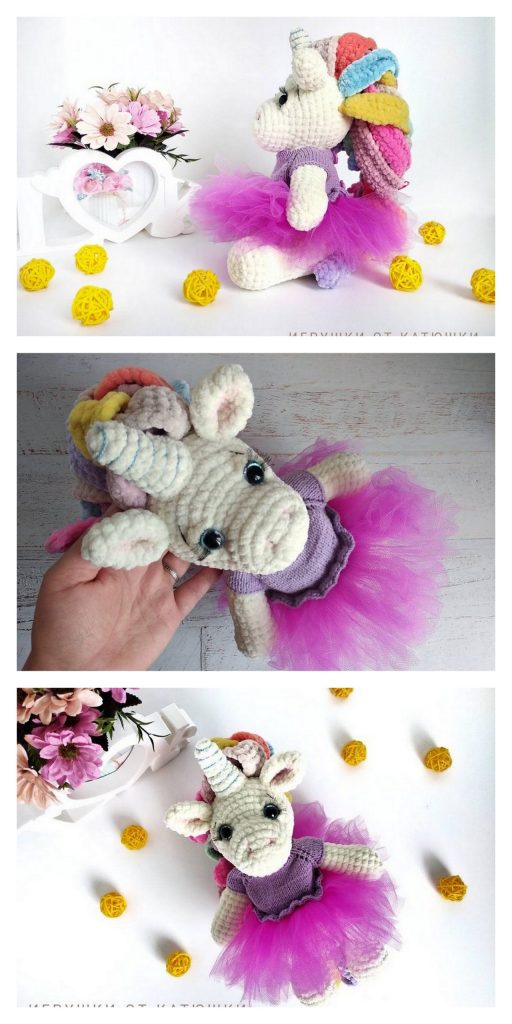
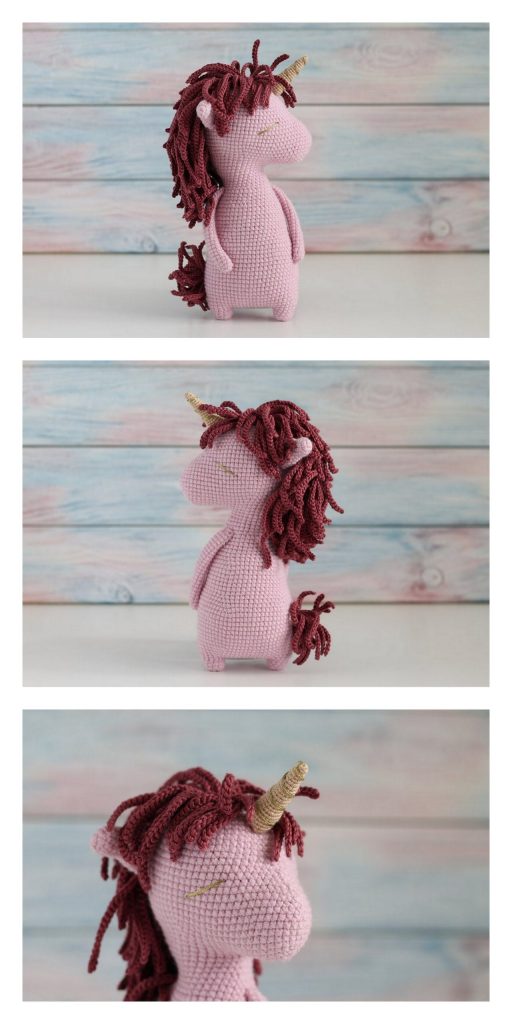
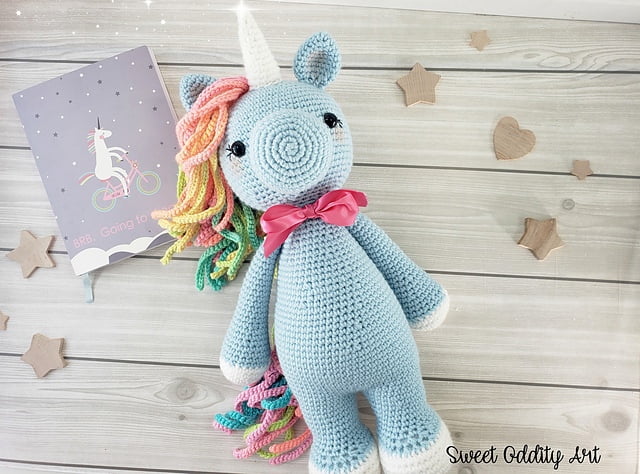
More Amigurumi Unicorn İdeas