Materials
• Lily’s threads (I knit in two threads) three colors;
• hook 3.0, hook 1.75;
• scissors;
• black buttons for the eyes;
• white threads Coco vita cotton;
• synthetic winterizer for stuffing toys;
• wire for limbs and tail;
•buttons for decoration.
Head
1 row: 6 sc knit in a circle with crochets;
2 row: 6 inc (12 sc);
3 row: (1.1 inc) 6 times (18 sc);
4 row: (2 sc, 1inc) 6 times (24 sc);
5 row: (3sc, 1 inc) 6 times (30 sc);
6 row: (4sc, 1 inc) 6 times (36 sc);
7 row: (5sc, 1 inc) 6 times (42 sc);
8 row: (6 sc, 1 inc) 6 times (48 sc);
9 row: (7 sc, 1inc) 6 times (54 sc);
10-19 row 54 sc.
20 row we begin to make decreases (7 sc, 1 dec) 6 times – 48 sc;
21 row: (6sc, 1dec) 6 times – 42 sc;
22 row: (5sc, 1 dec) 6 times – 36 sc;
23 row: (4 sc, 1 dec) 6 times 30 sc;
24 row: (3 sc, 1 dec) 6 times 24 sc here to fill your head with a synthetic winterizer;
25 row: (2 sc, 1dec) 6 times 18 sc;
26 row: (4 sc, 1 dec) 3 times 15 sc;
27 row: 15 sc, close the ss loops and cut the thread.
Body
1 row: 6 sc knit in a circle with crochets;
2 row: 6 inc (12 sc);
3 row: (1.1 inc) 6 times (18 sc);
4th row: (2 sc, 1inc) 6 times (24 sc);
5 row: (3sc, 1 inc) 6 times (30 sc);
6 row: (4sc, 1 inc) 6 times (36 sc);
7 row: (5sc, 1 inc) 6 times (42 sc);
8 row: (6 sc, 1 inc) 6 times (48 sc);
9 row: (7sc, 1inc) 6 times (54 sc);
10-15 row 54 sc.
16 row: (7 sc, 1 dec) 6 times 48 sc;
17-20 row: 48 sc;
21 row: (6sc, 1 dec) 6 times – 42 sc;
22-24 row: 42 sc;
25 row: (5 sc, 1dec) 6 times 36 sc;
26-27 row: 36 sc;
28 row: (4 sc, 1 dec) 6 times 30 sc;
29-30 row: 30 sc;
31 row: (3 sc, 1 dec) 6 times 24 sc;
32 row: 24 sc. Stuff the body.
33 row: (2 sc, 1 dec) 6 times 18 sc
34 row: (4 sc, 1 dec) 3 times 15 sc;
Leave the thread for sewing.
Ears
We knit 2 large circles and 2 small ones.
We knit large circles with a darker thread, a little light thread.
Big circle:
1 row: 6 sc knit in a circle with crochets;
2 row: 6 inc (12 sc);
3 row: (1.1 inc) 6 times (18 sc);
4th row: (2 sc, 1inc) 6 times (24 sc);
5 row: (3sc, 1 inc) 6 times (30 sc);
6 row: (4sc, 1 inc) 6 times (36 sc);
7 row: 36 sc, leave the thread for sewing.
Little circle:
1 row: 6 sc knit in a circle with crochets;
2 row: 6 inc (12 sc);
3 row: (1.1 inc) 6 times (18 sc);
4th row: (2 sc, 1inc) 6 times (24 sc);
5 row: (3sc, 1 inc) 6 times (30 sc);
6 row: 30 sc hide and cut the thread.
Insert a small circle into a large circle and sew with a thin thread to each other.
Legs
Upper:
1 row: 6 sc knit in a circle with single crochet with lighter yarn;
2 row: 6 inc (12 sc);
3-5 row: 12 sc;
6 row: (2 sc, 1 dec) 9 sc.
Change the thread to dark and fill this part of the foot with padding polyester, the rest is not stuffed.
up to 23 rows: 9 sc.
Lower:
1 row: 6 sc we knit in a circle with crochets with a lighter thread;
2 row: 6 inc (12 sc);
3 row: (3.1 inc) 3 times 15 sc;
4-6 row: 15 sc;
7 row: (3 sc, 1 dec) 12 sc.
Change the thread to a dark thread, fill this part of the foot, do not stuff the rest.
up to 26 rows: 12 sc.
Eyes
We knit with a white thread. One eye will be larger than the other. We knit with a thinner thread, I have a CoKo vita cotton.
Big circle:
1 row: 6 sc knit in a circle with crochets;
2 row: 6 inc (12 sc);
3 row: (1.1 inc) 6 times (18 sc);
4th row: (2 sc, 1 inc) 6 times (24 sc).
5 row: (3 sc, 1 inc) 6 times (30 sc).
Small circle:
1 row: knit 6 sc in a circle with single crochet;
2nd row: 6 sc (12 sc);
3 row: (1.1 sc) 6 times (18 sc);
4 row: (2 sc, 1 inc) 6 times (24 sc).
Cut the threads, since the eyes will be sewn to the head with thin white threads and a thin needle.
White Muzzle
9 inc, 1 lifting loop (10 sc) we knit in a circle 8 sc, 1 increase in the last loop, 7 sc, 1 at, 1 inc, 7
sc, 1 inc, at this stage we have 21 sc.
1 sc, 1 inc, 7 sc, 3 inc, 8 sc, 1 inc – 26 sc;
2 inc, 8 sc, 4 inc, 10 sc, 1 inc – 33 sc.
2 more rows 33 sc, cut the thread, sew to the head with thin threads with a thin needle. At
Sewing a white muzzle, put a little sintepuha under it.
Tail
1 row: 8 sc;
24 rows: 8 sc;
25 row: do 1 decrease (7 sc);
26-29 row: 7 sc.
Insert the wire.
30 row: 1 dec (6 sc) tighten and cut the thread.
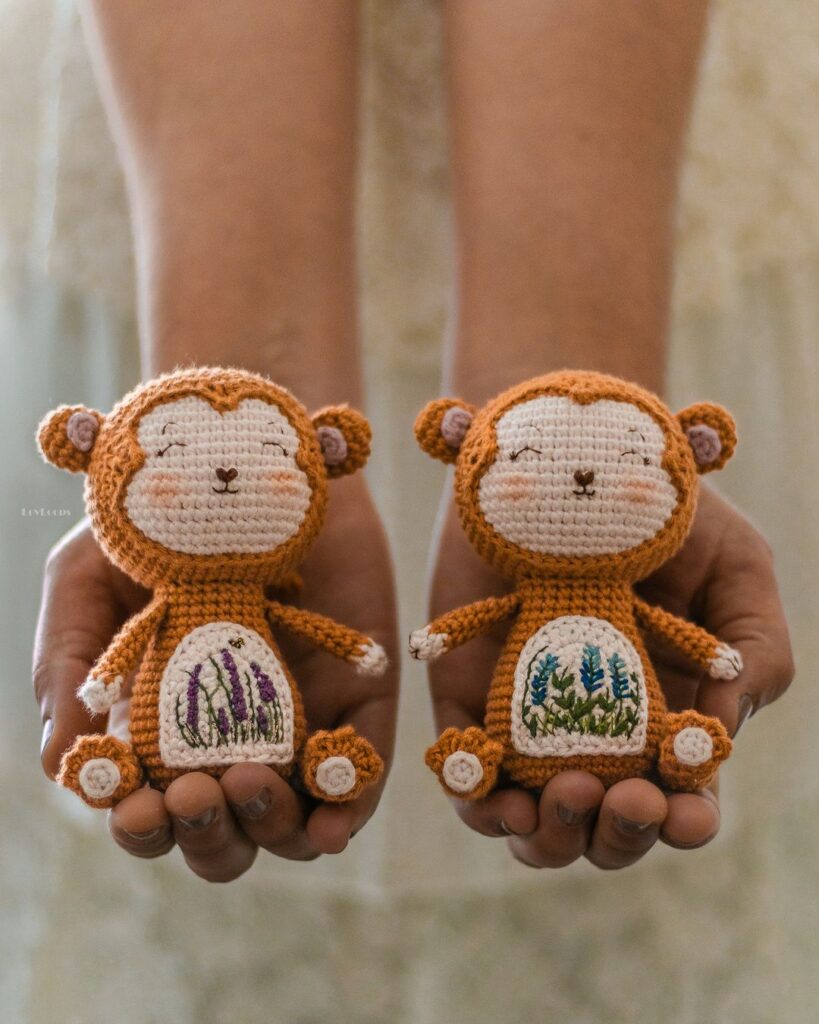
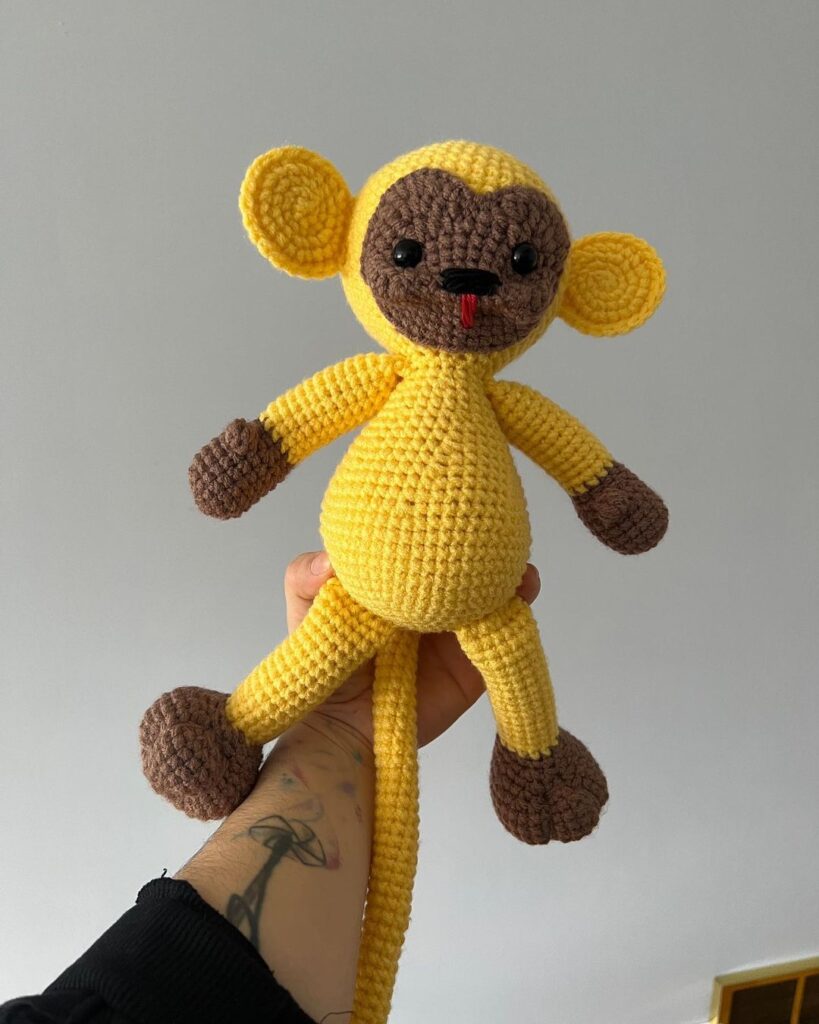
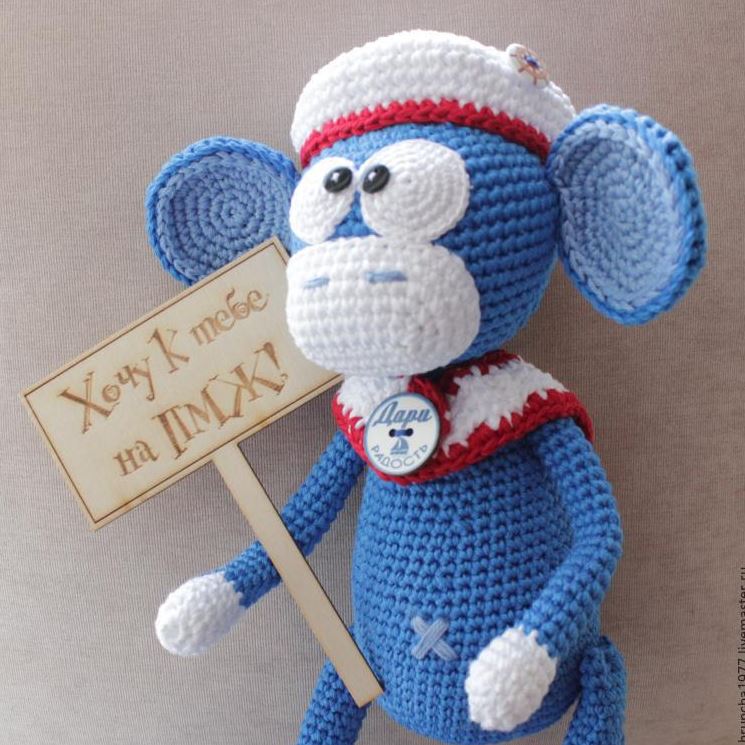
All parts of the monkey are connected, now you can sew everything and arrange the monkey according to your discretion.
Congratulations
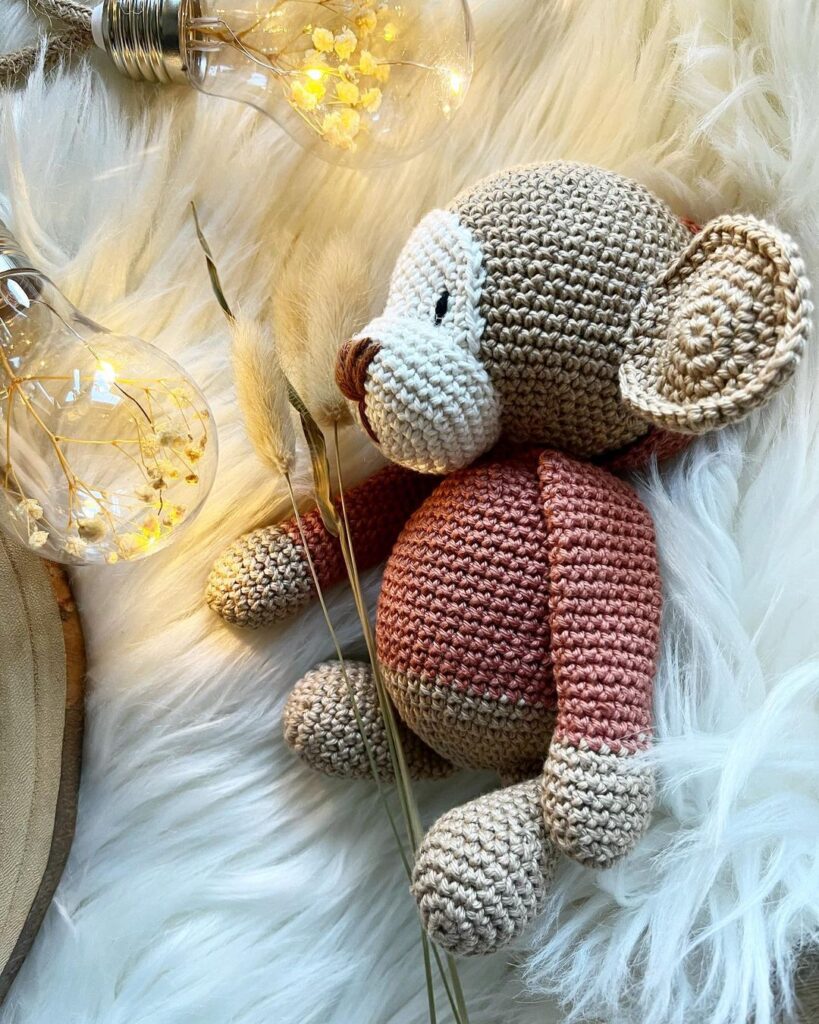
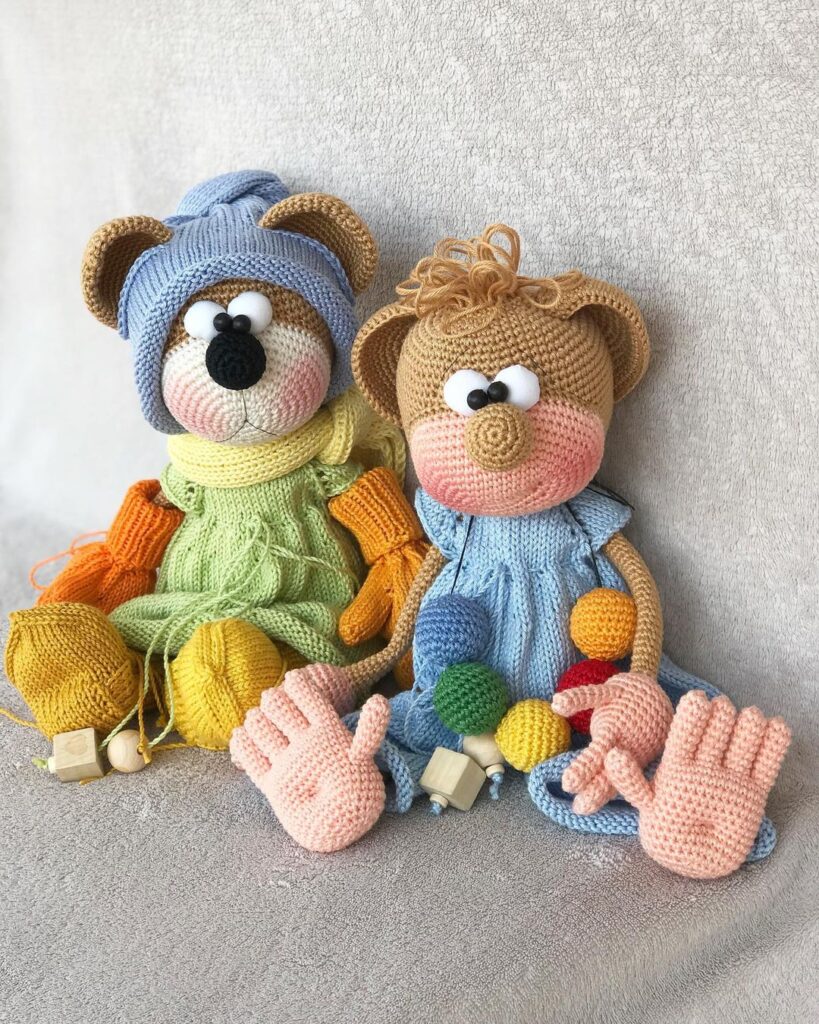
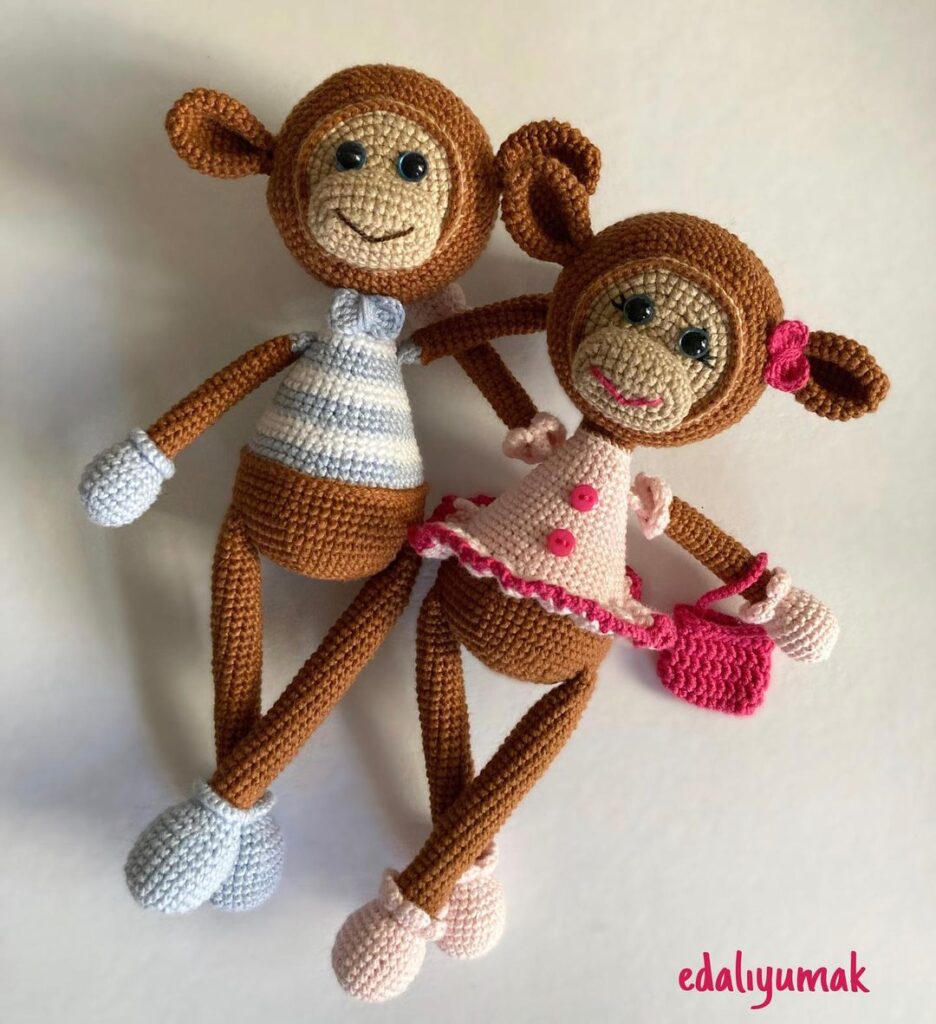
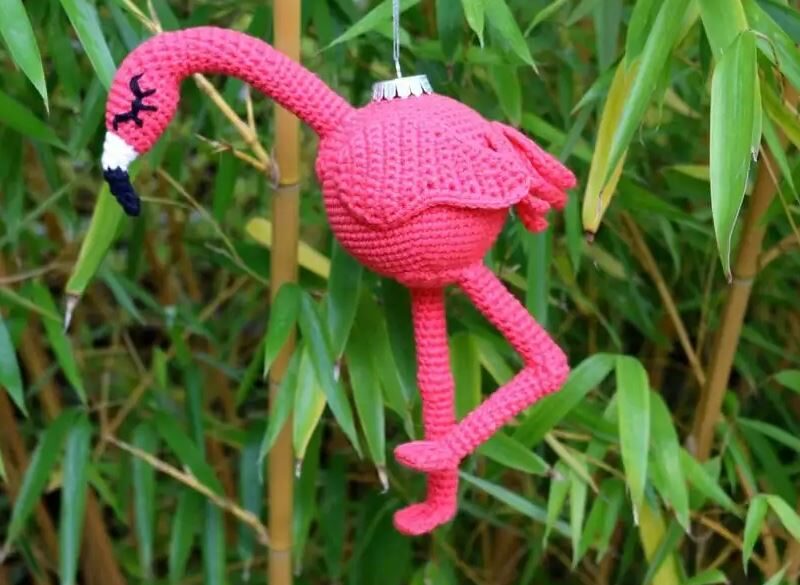
More Amigurumi Monkey Ideas:
