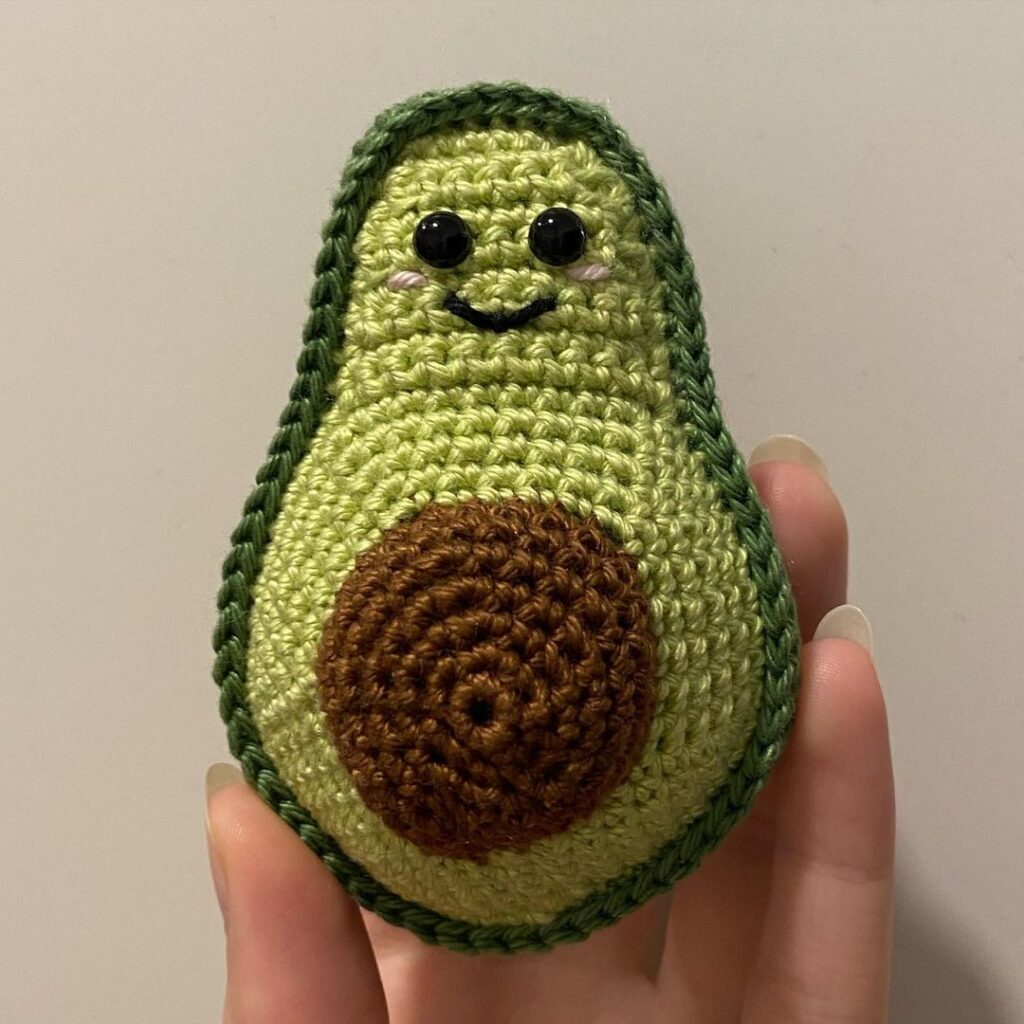
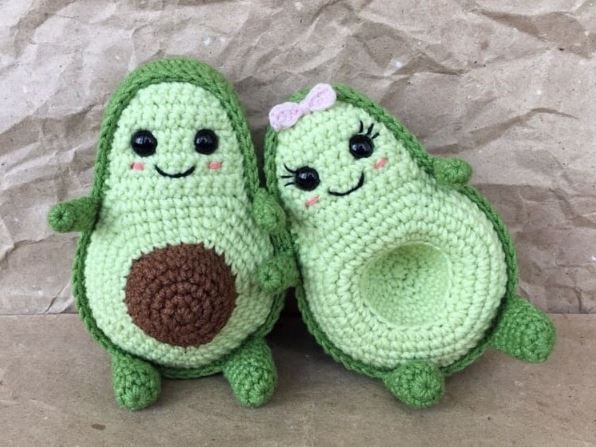
Materials
YarnArt Jeans yarn (light green, dark green and brown)
2.5 mm crochet hook
Safety eyes
Black and pink embroidery floss
Sewing needle, scissors
Fiberfill
Abbreviations
R – row
ch – chain
st – stitch
sl st – slip stitch
sc – single crochet
inc – increase (2 sc in one stitch)
dec – decrease (2 sc together)
BLO – back loop only
FLO – front loop only
[…] – number of stitches you should have at the end of the row
(…) – repeat whatever is between the brackets the given number of times
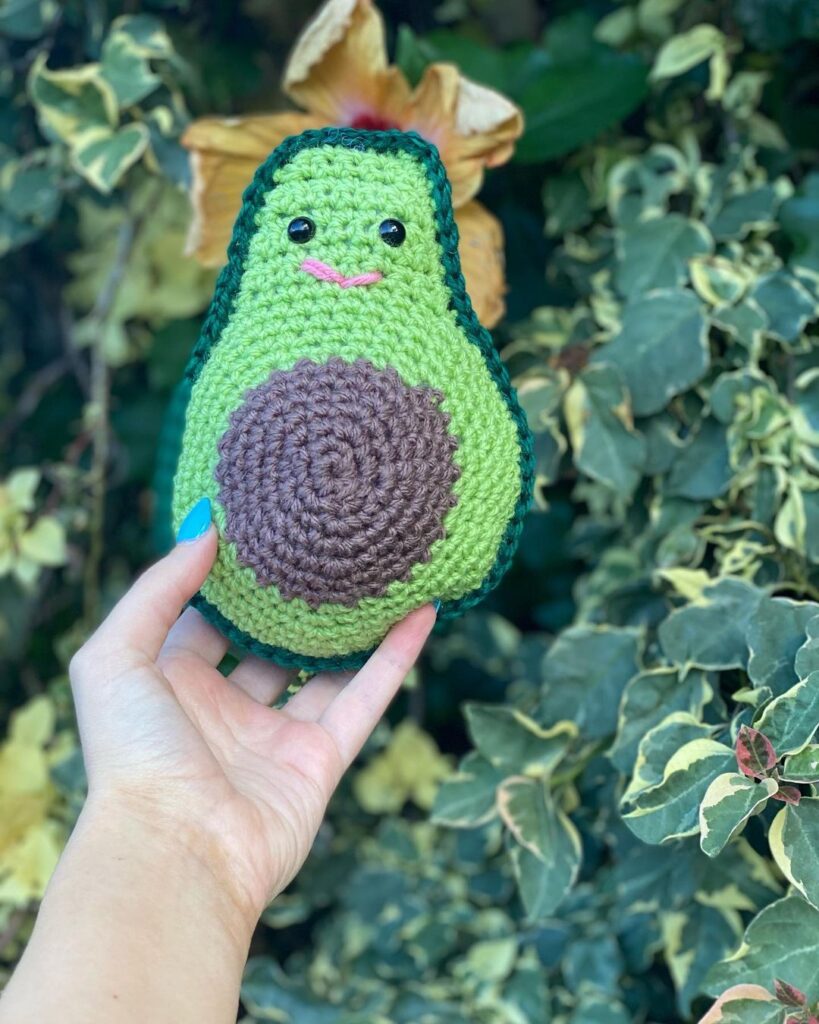
Front (with bone)
With brown yarn:
R 1: 5 sc in in magic ring [5]
R 2: (inc) repeat 5 times [10]
R 3: (1 inc, 1 sc) repeat 5 times [15]
R 4: (1 inc, 2 sc) repeat 5 times [20]
R 5: (1 inc, 3 sc) repeat 5 times [25]
R 6-7: 25 sc (2 rows)
Change to light green yarn:
R 8: FLO (1 inc, 4 sc) repeat 5 times [30]
R 9: (1 inc, 5 sc) repeat 5 times (35]
R 10: (1 inc, 6 sc) repeat 5 times [40]
R 11: (1 inc, 7 sc) repeat 5 times [45]
R 12: (1 inc, 8 sc) repeat 5 times [50]
Fasten off.
Front (without bone)
With light green yarn:
R 1: 5 sc in in magic ring [5]
R 2: (inc) repeat 5 times [10]
R 3: (1 inc, 1 sc) repeat 5 times [15]
R 4: (1 inc, 2 sc) repeat 5 times [20]
R 5: (1 inc, 3 sc) repeat 5 times [25]
R 6-8: 25 sc (3 rows)
R 9: BLO (1 inc, 4 sc) repeat 5 times [30]
R 10: (1 inc, 5 sc) repeat 5 times [35]
R 11: (1 inc, 6 sc) repeat 5 times [40]
R 12: (1 inc, 7 sc) repeat 5 times [45]
R 13: (1 inc, 8 sc) repeat 5 times [50]
Fasten off.
Your piece won’t be round, it should have 5 sides to it. We turn it so that the end of crocheting is from the bottom. With light green, slip stitch into the end of upper left side.
Begin to crochet from the wrong side in turning rows.
R 1: 10 sc, 1 turning chain [10]
R 2-4: 10 sc, 1 turning chain [10]
R 5: 1 dec, 6 sc, 1 dec, 1 turning chain (8]
R 6: 8 sc, 1 turning chain [8]
R 7: 1 dec, 4 sc, 1 dec, 1 turning chain [6]
R 8: 6 sc
Work 65 sc around the whole thing. Sl st to first stitch.
Fasten off.
If you’re using safety eyes, you can attach them between R 4 and R 5.
embroider a mouth with black floss.
Embroider cheeks with pink yarn/floss.
Back
With dark green yarn:
R 1: 5 sc in magic ring [5]
R 2: (inc) repeat 5 times [10]
R 3: (1 inc, 1 sc) repeat 5 times [15]
R 4: (1 inc, 2 sc) repeat 5 times [20]
R 5: (1 inc, 3 sc) repeat 5 times [25]
R 6: (1 inc, 4 sc) repeat 5 times [30]
R 7: (1 ınc, 5 sc) repeat 5 times [35]
R 8: (1 inc, 6 sc) repeat 5 times [40]
R 9: (1 inc, 7 sc) repeat 5 times [45]
R 10: (1 inc, 8 sc) repeat 5 times [50]
Fasten off.
Slip stitch into the end of upper left side like you did for the front.
R 1: 10 sc, 1 turning chain [10]
R 2-4: 10 sc, 1 turning chain [10]
R 5: 1 dec, 6 sc, 1 dec, 1 turning chain [8]
R 6: 8 sc, 1 turning chain [8]
R 7: 1 dec, 4 sc, 1 dec, 1 turning chain [6]
R 8: 6 sc
Work 65 sc around the whole thing. Repeat this 3 times to create a “bowl” shape. You can make your avocado wider by working more rows around the back piece, or make it slimmer by working less rows around.
Holding the two parts together, sc around with dark green yarn.
Before you close it up, stuff tight with fiberfill.
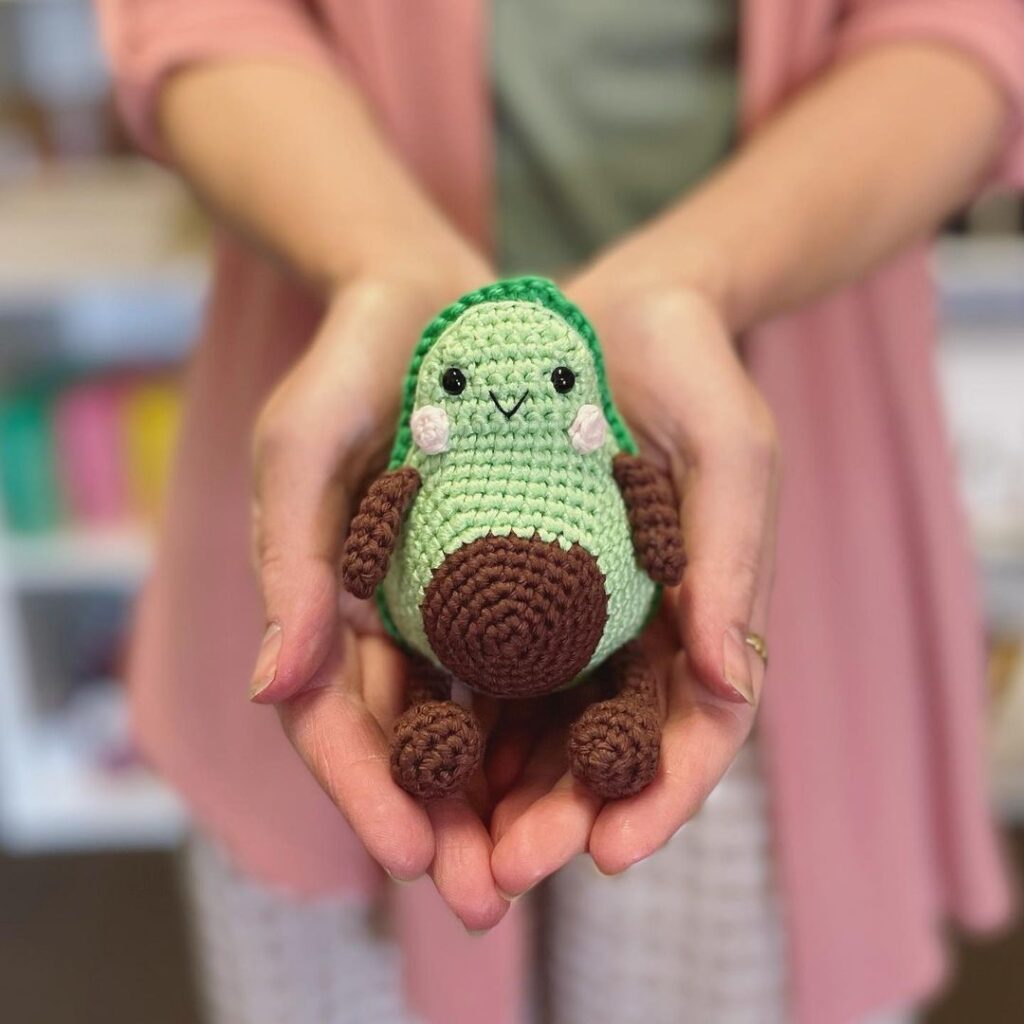
Arms (make 2)
R 1: 6 sc in magic ring [6]
R 2-5: 6 sc (4 rows)
Fasten off and leave a long tail for sewing.
Legs (make 2)
R 1: 10 sc in magic ring [10]
R 2-6: 10 sc (5 rows)
Fasten off and leave a long tail for sewing.
Congratulations
More Amigurumi Avocado İdeas :
