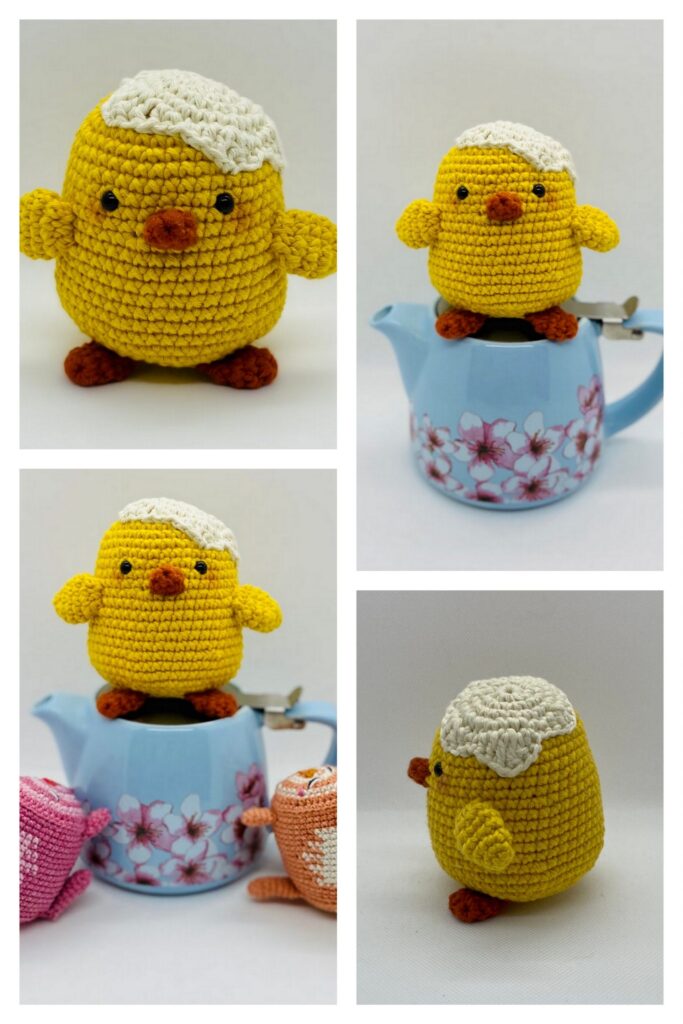
Materials –
Size 4 worsted weight yarn
65 yards of yellow
Small amount of white for the eggshell
Small amount of orange and pink/red for the beak and cheeks
3.5 mm crochet hook (these are the hooks I use and love!)
9mm safety eyes
Crochet thread for eyelashes (optional)
Scissors
Tapestry needle (bent tips work great for amigurumi)
Stuffing
Stitch markers (a piece of yarn or safety pin will do the trick)
Abbreviations – US terminology
SC- Single crochet
SC INC- Single crochet increase
INV DEC- Invisible decrease
DC – Double crochet
Sl st – Slip stitch
Rep – Repeat
St(s) – Stitch(es)
Notes –
– Slowly stuff as you go, you want it to be firm but not stretched.
– For this pattern the body and head will be made as one piece.
– Finished size is approximately 7 inches tall.
Ready to start? Here we go!
Beak –
With orange
Round 1: Create a magic circle with 6 SC
Round 2: SC INC in each stitch around (12)
Rounds 3-4: SC around (12)
Round 5: SC in the first stitch, SC INC in the next, rep around (18)
Fasten off leaving a long tail for sewing.
Body-
With yellow
Round 1: Create a magic circle with 6 SC
Round 2: SC INC in each stitch around (12)
Round 3: SC in the first stitch, SC INC in the next, rep around (18)
Round 4: SC in the first 2 stitches, SC INC in the next, rep around (24)
Round 5: SC in the first 3 stitches, SC INC in the next, rep around (30)
Round 6: SC in the first 4 stitches, SC INC in the next, rep around (36)
Round 7: SC in the first 5 stitches, SC INC in the next, rep around (42)
Rounds 8-15: SC around (42)
Round 16: SC in the first 5 stitches, INV DEC in the next, rep around (36)
Round 17: SC in the first 4 stitches, INV DEC in the next, rep around (30)
Round 18: SC in the first 3 stitches, INV DEC in the next, rep around (24)
Round 19: SC in the first 2 stitches, INV DEC in the next, rep around (18)
Round 20: SC around (18)
*We will now start the head*
Round 21: SC in the first 2 stitches, SC INC in the next, rep around (24)
Round 22: SC in the first 3 stitches, SC INC in the next, rep around (30)
Round 23: SC in the first 4 stitches, SC INC in the next, rep around (36)
Round 24: SC in the first 5 stitches, SC INC in the next, rep around (42)
Rounds 25-32: SC around (42)
Note: Here is where we will add the facial features before we start closing the head. Insert the eyes between rows 29 and 30, 5 stitches apart.
· Optional: Place your eyes where you would like them and then remove to embroider your eyelashes before attaching the washer to the back. (This creates a little hole to help see where you want your eyelashes to go).
· Next, sew your beak centered between the eyes adding a little bit of stuffing as you go.
· Cheeks – With a piece of pink/red yarn and your tapestry needle pass your yarn through 2 stitches on either side of your beak to create the cheeks.
Round 33: SC in the first 5 stitches, INV DEC in the next, rep around (36)
Round 34: SC in the first 4 stitches, INV DEC in the next, rep around (30)
Round 35: SC in the first 3 stitches, INV DEC in the next, rep around (24)
*Continue to stuff the head firmly
Round 36: SC in the first 2 stitches, INV DEC in the next, rep around (18)
Round 37: SC in the first stitch, INV DEC in the next, rep around (12)
Round 38: INV DEC around (6)
Fasten off and sew remaining part closed, weave in your end.
Wings- Make 2 (Wings are not stuffed)
With yellow
Round 1: Create a magic circle with 6 SC
Round 2: SC INC in each stitch around (12)
Round 3: SC in the first stitch, SC INC in the next, rep around (18)
Round 4: SC in the first 2 stitches, SC INC in the next, rep around (24)
Round 5: SC around (24)
Round 6: SC in the first 2 stitches, INV DEC in the next, rep around (18)
Rounds 7-8: SC around (18)
Round 9: SC in the first stitch, INV DEC in the next, rep around (12)
Round 10: SC around (12)
At the end of round 10 pinch the wing flat and make 5 SC across the top to close, fasten off and leave a long tail to sew onto the body.
Top Eggshell –
With white
Round 1: Create a magic circle with 6 SC
Round 2: SC INC in each stitch (12)
Round 3: SC in the first stitch, SC INC in the next, rep around (18)
Round 4: SC in the first 2 stitches, SC INC in the next, rep around (24)
Round 5: *DC into the first 3 sts, sl st into the next*, *rep around (24)
Fasten off leaving a long tail to sew onto the body.
Bottom Eggshell –
With white
Round 1: Create a magic circle with 6 SC
Round 2: SC INC in each stitch around (12)
Round 3: SC in the first stitch, SC INC in the next, rep around (18)
Round 4: SC in the first 2 stitches, SC INC in the next, rep around (24)
Round 5: SC in the first 3 stitches, SC INC in the next, rep around (30)
Round 6: SC in the first 4 stitches, SC INC in the next, rep around (36)
Round 7: SC in the first 5 stitches, SC INC in the next, rep around (42)
Rounds 8-13: SC around (42)
Round 14: *SC in the first 19 sts, SC DEC in the next*, rep once more (40)
Round 15: *DC into the first 3 sts, sl st into the next*, *rep around (40)
Fasten off and weave in ends.
Assembly
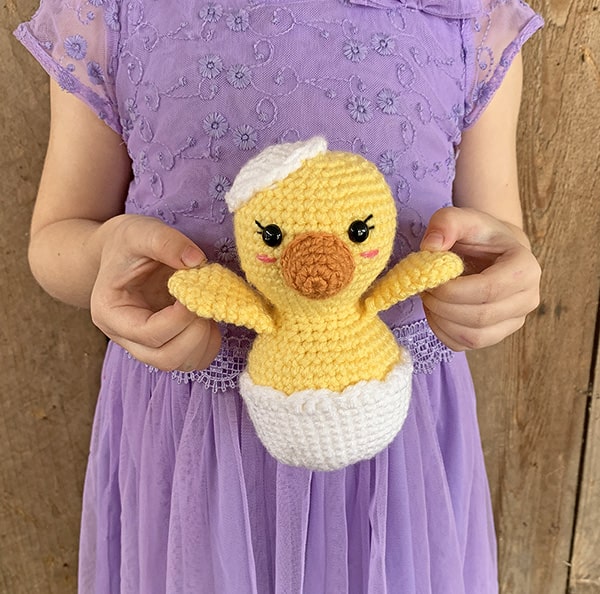
1. Sew the wings onto either side of the body at round 18
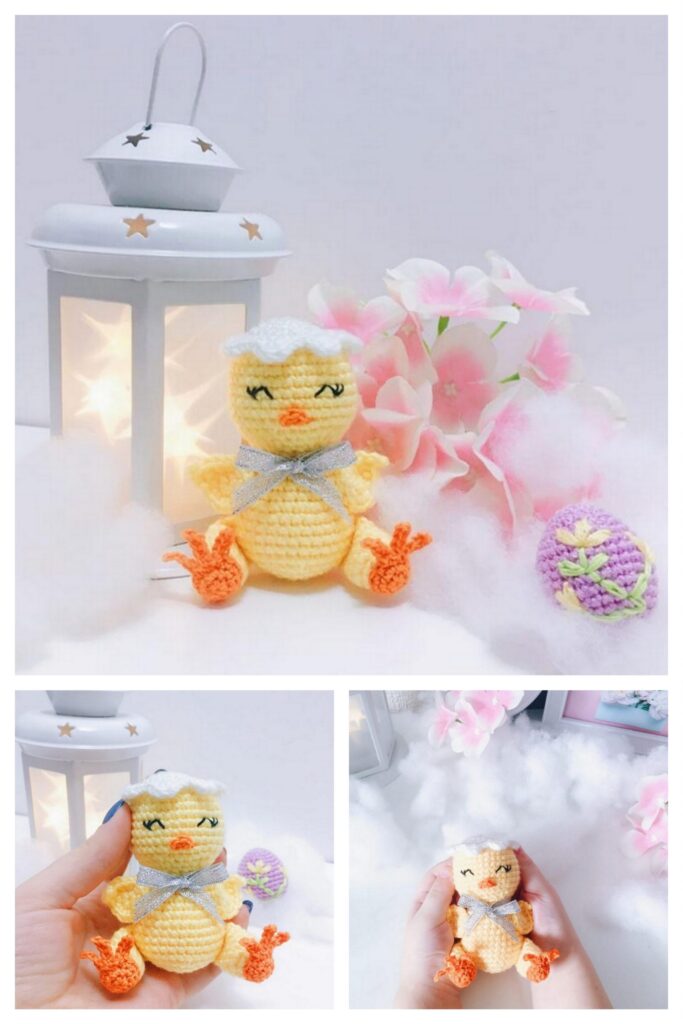
2. Next, sew the top eggshell onto the head. I tilted mine to the side to span rounds 1-6.
3. Lastly, slip your chick into the bottom eggshell.
More Amigurumi Chick Ideas:
