Materials
Size 4 worsted weight yarn (25g choice of color for body; small amount of brown, green and color for cheeks)
3.5 mm crochet hook
15mm safety eyes
Black crochet/embroidery thread for facial expressions
Scissors
Tapestry needle
Stuffing
Stitch markers
Abbreviations – US terminology
MC- Magic circle
SC- Single crochet
HDC – Half double crochet
DC – Double crochet
TR – Triple crochet
SC INC- Single crochet increase
INV DEC- Invisible decrease
St(s)- Stitch(es)
BLO – Back loop only
NOTES –
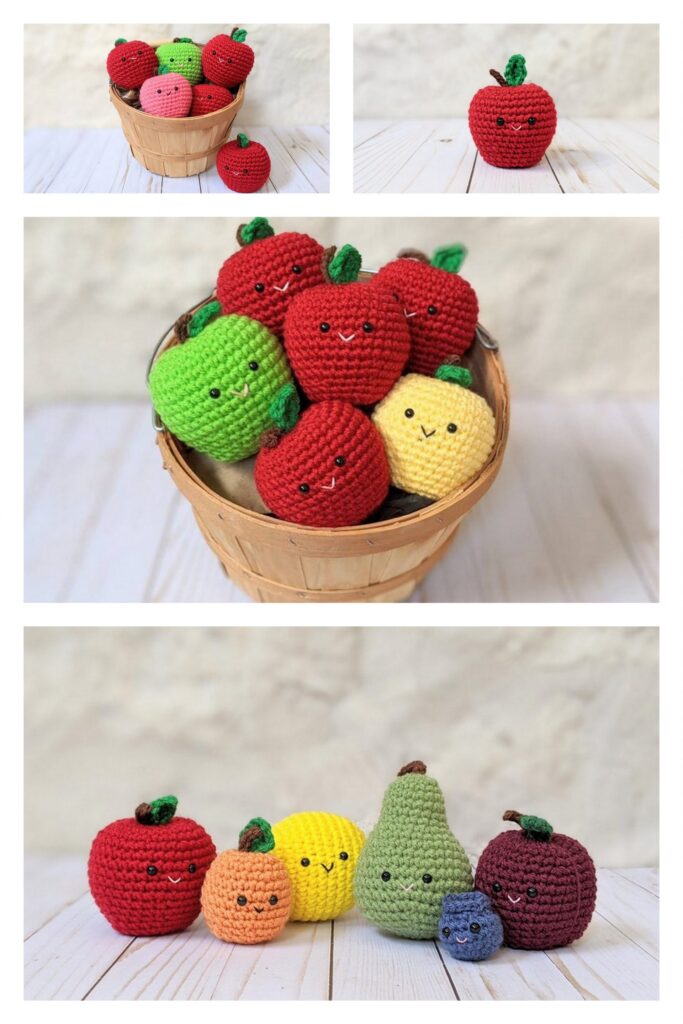
– Finished apples measure approximately 5.5 inches tall by 4.5 inches wide.
– Slowly stuff as you go, you want it to be firm but not stretched. For more tips on stuffing visit this post here.
– You will be working in the round; I like to use a stitch marker at the beginning of each round.
Stem –
With brown
Round 1: Create a magic circle with 6 SC
Round 2: SC in the first st, SC INC in the next, repeat around (9)
Round 3: SC around in the BLO
Rounds 4-11: SC around (9)
Fasten off leaving a long tail for sewing onto the head. Fill with stuffing and set aside. Optional: Leave your stem straight or bend slightly towards the top depending on the look you prefer.
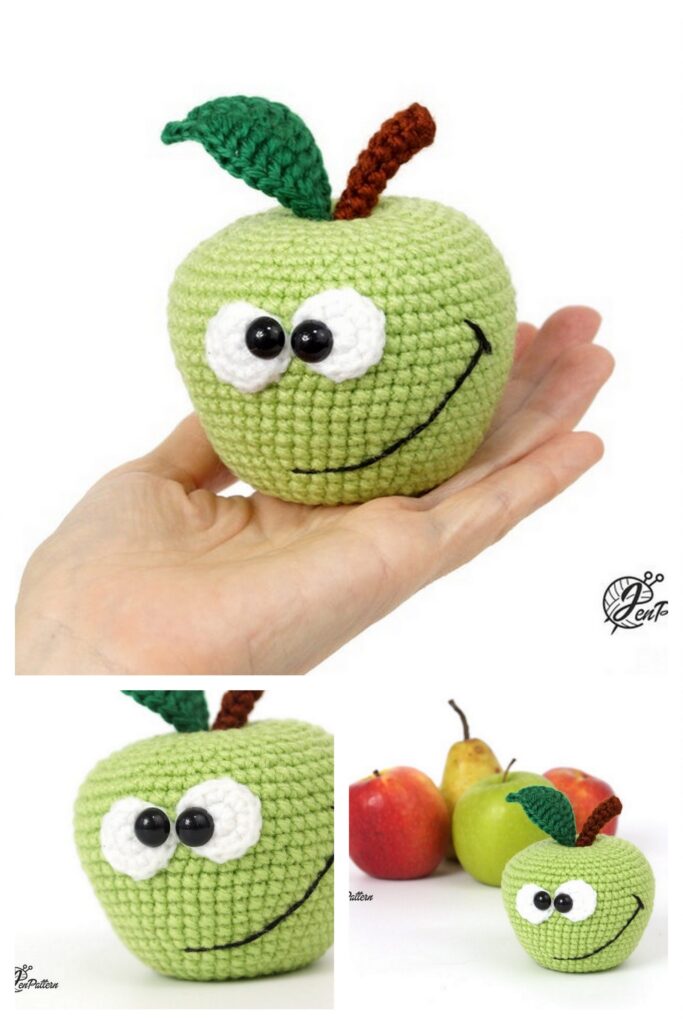
Leaf–
With greenIn a magic circle complete 2SC, 2HDC, 2DC, 3TR, Chain 2, 3TR, 2DC, 2HDC, 2SC. Pull tight to close your circle and secure with a slip stitch. Fasten off leaving a long tail for sewing.
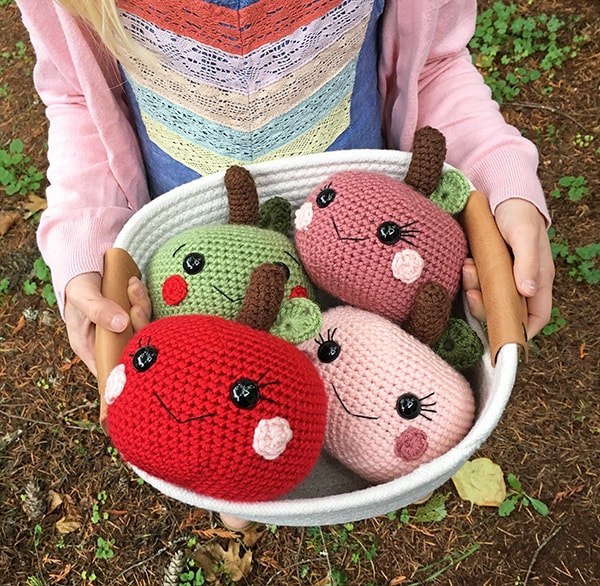
Cheeks –
With pink make 2
In a magic circle complete 7 HDC. Pull tight to close your circle and secure with a slip stitch. Fasten off leaving a long tail for sewing.
Apple Body –
With color of choice
Round 1: Create a magic circle with 6 SC
Round 2: SC INC in each st (12)
Round 3: SC in the first st, SC INC in the next, repeat around (18)
Round 4: SC in the first 2 sts, SC INC in the next, repeat around (24)
Round 5: SC in the first 3 sts, SC INC in the next, repeat around (30)
Round 6: SC in the first 4 sts, SC INC in the next, repeat around (36)
Round 7: SC in the first 5 sts, SC INC in the next, repeat around (42)
Round 8: SC in the first 6 sts, SC INC in the next, repeat around (48)
Round 9: SC in the first 7 sts, SC INC in the next, repeat around (54)
Round 10: SC in the first 8 sts, SC INC in the next, repeat around (60)
Round 11: SC in the first 9 sts, SC INC in the next, repeat around (66)
Rounds 12-24: SC around (66)
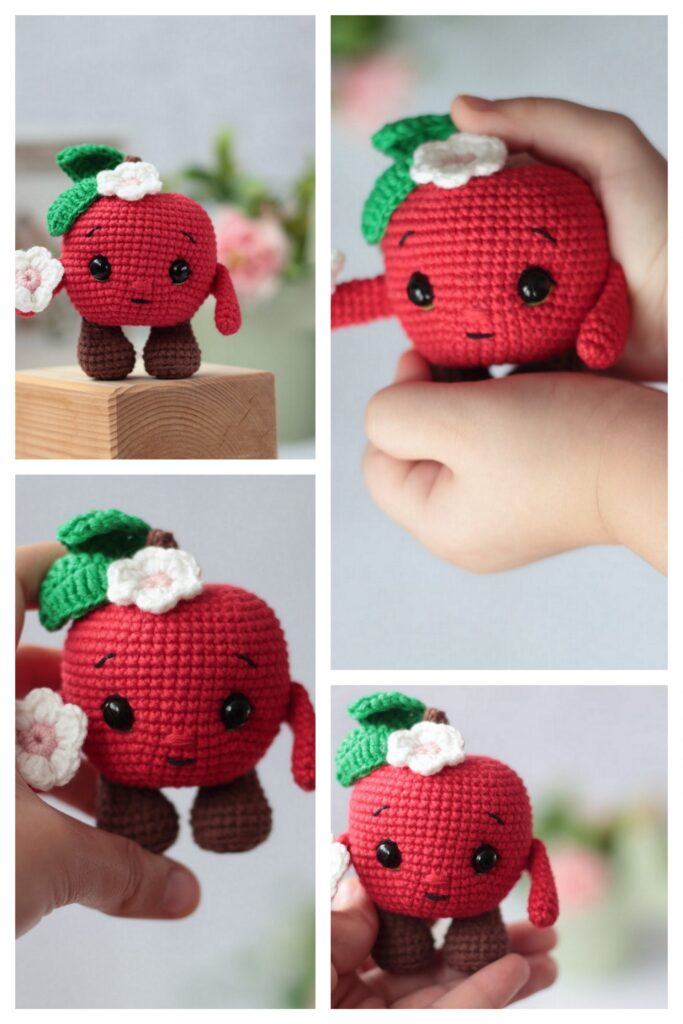
NOTE: Here is where we will attach the facial features. Place the safety eyes 7 stitches apart between rounds 20 and 21. (For a girl version, I recommend sewing on the eyelashes before securing your safety eyes). Feel free to add eyebrows for a boy version.
Smile – With your crochet/embroidery thread create a wide ‘V’. I made mine by starting one stitch in from both eyes and two stitches down.
Cheeks – With your tapestry needle sew each cheek just below and outside each eye. I kept mine level with the smile.
Round 25: SC in the first 9 sts, INV DEC in the next, repeat around (60)
Round 26: SC in the first 8 sts, INV DEC in the next, repeat around (54)
Round 27: SC in the first 7 sts, INV DEC in the next, repeat around (48)
Round 28: SC in the first 6 sts, INV DEC in the next, repeat around (42)
Round 29: SC in the first 5 sts, INV DEC in the next, repeat around (36)
Round 30: SC in the first 4 sts, INV DEC in the next, repeat around (30)
Round 31: SC in the first 3 sts, INV DEC in the next, repeat around (24)
Round 32: SC in the first 2 sts, INV DEC in the next, repeat around (18)
Round 33: SC in the first st, INV DEC in the next, repeat around (12)
Round 34: INV DEC around (6)
Fasten off and sew remaining part closed, leaving a long tail.
Forming the Apple Indentations –
With the tail of your apple push your tapestry needle into the middle top and through to the middle bottom of your apple (pictures 1 and 2). Pull tight and secure with a knot (3). Your apple should now have an indentation on the top and bottom (4 and 5). Weave in your end (6).
Assembly –
– First, sew the stem onto the top indentation of your apple. Add additional stuffing as you go for the desired firmness you would like. Optional: Bend your stem towards the top for extra detail.
– Lastly, sew the leaf onto your apple. I sewed part of the leaf onto the stem and then down onto the apple body below it for added strength. Secure your tail and weave into the back part of your leaf before cutting the excess.
Your apple is complete! I hope you have enjoyed making this pattern!
Congratulations
More Amigurumi Doll Ideas