Materials
Crochet Hook, Size E/4 (3.5 mm)
Stitch Marker(s)
Scissors
Stuffing
Pins
Tapestry Needle
Safety eyes, 12 mm
Red Heart Super Saver (worsted 4-Medium, 100% acrylic, 364 yds/333 m, 7 oz/198 g), Color (A) Aran, less than 1 skein, Color (B) Charcoal, less than 1 skein, Color (C) Baby Pink, scrap piece
Gauge
– Exact gauge is not essential to this project, but tension should be maintained.
Finished Measurements
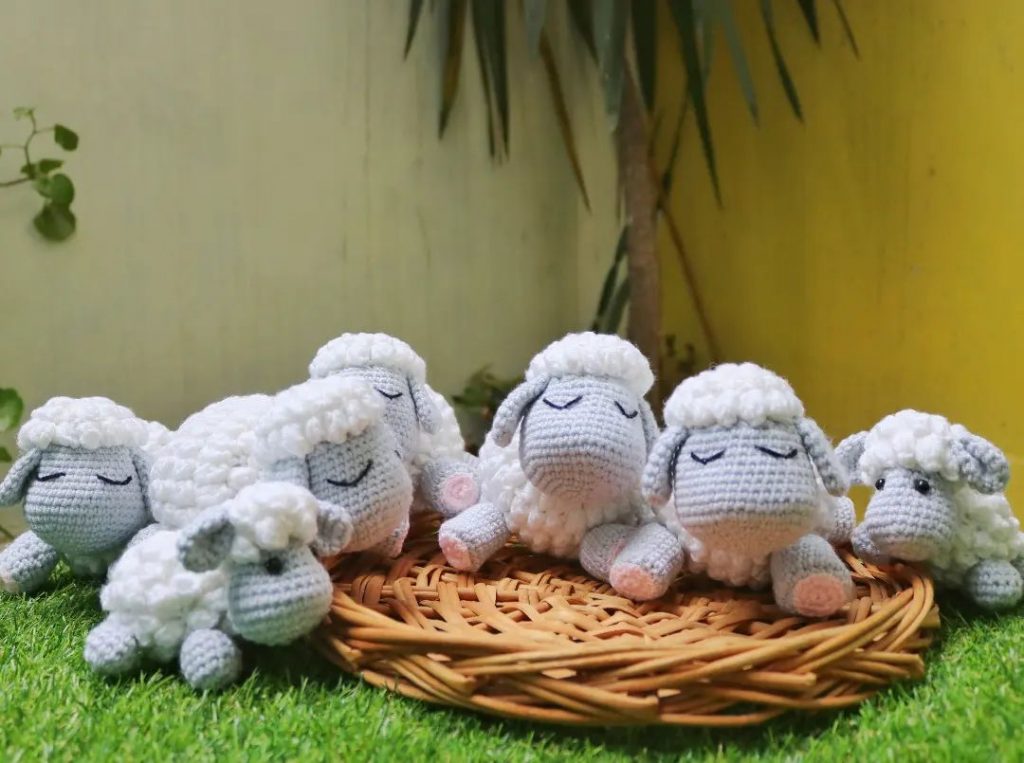
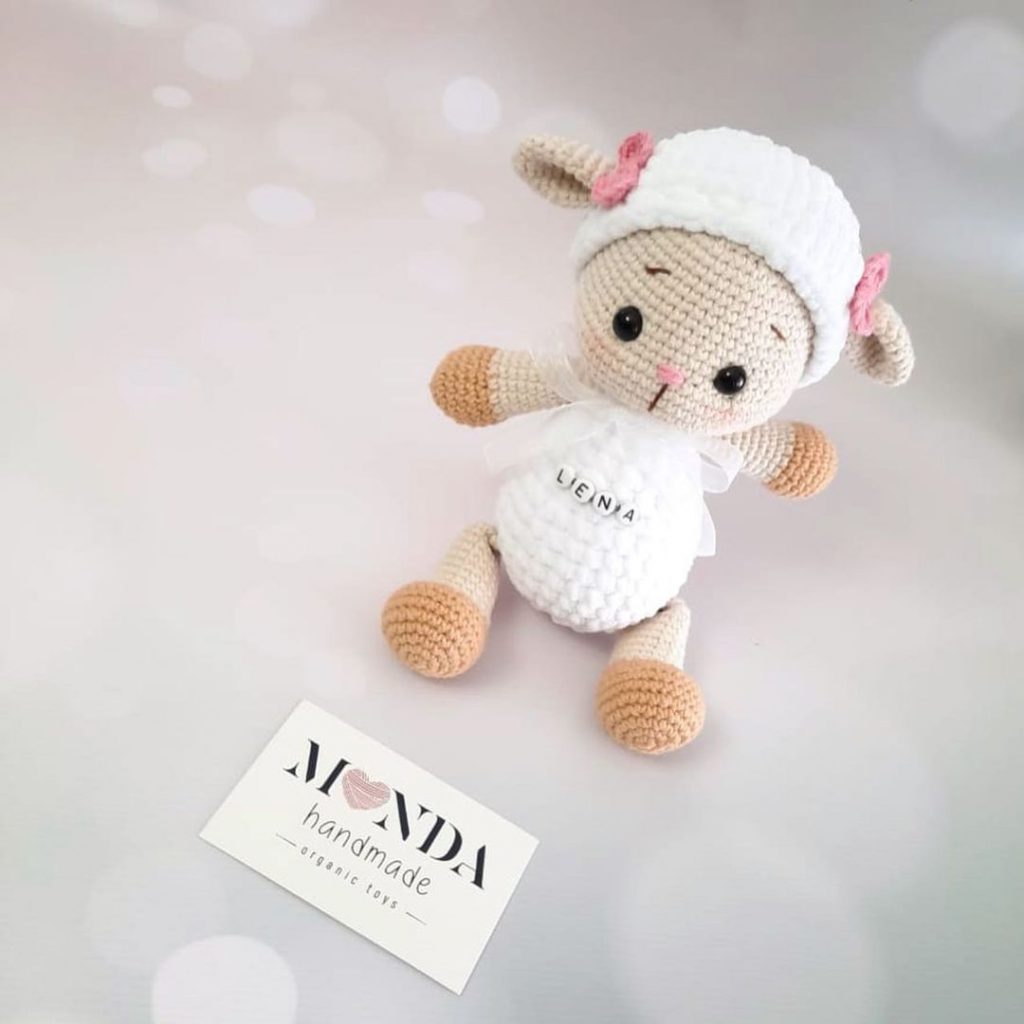
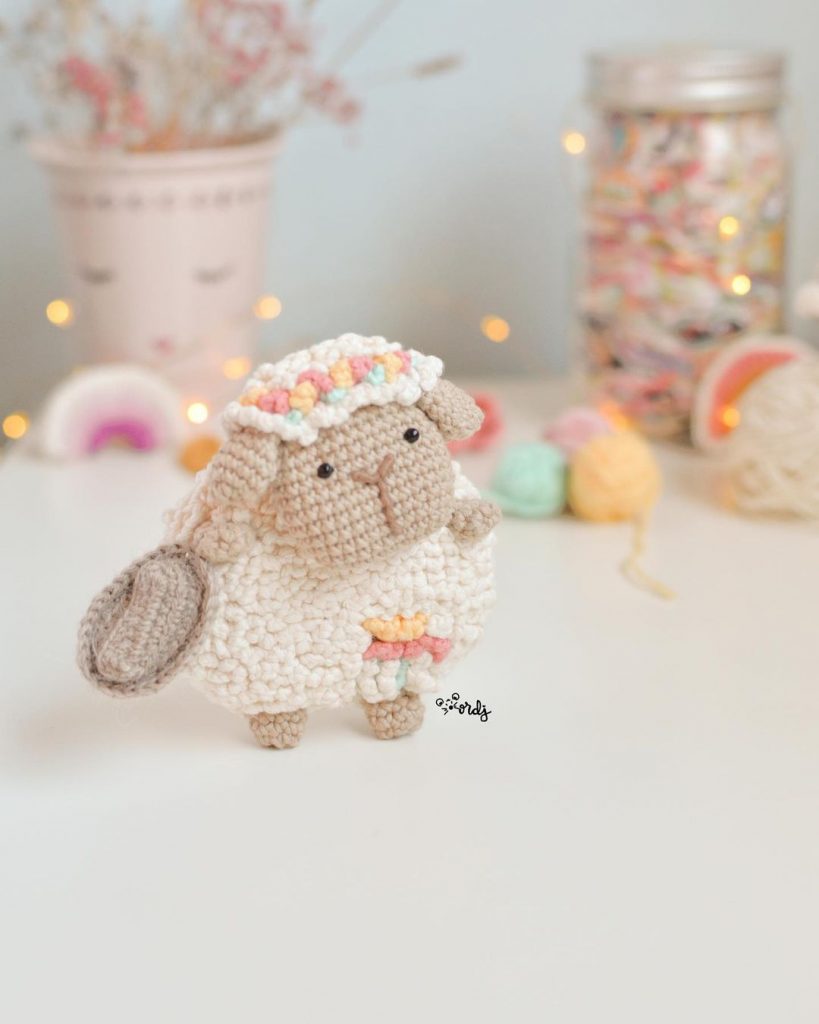
Using hook size E/4 (3.5 mm) sheep stands about 6.5 inches tall (17 cm) and at the widest part around mouth and body is about 18 inches (46 cm) in circumference
Design Notes
– This pattern is written using US crochet terminology. I choose to use a size E crochet hook. That said, the ultimate desired result is to achieve a tight crochet fabric that when stuffed will not allow the stuffing show through. If a different sized hook works better for you, then by all means, use it! Do note, however, that if you change the hook size, or the type of yarn you are using, that this will have an effect on the size and look of your finished item.
– The majority of this pattern is written in rounds. The face will be created in rows.
– It will be helpful to place a stitch marker at the beginning stitch of the round and to move it up as you start each additional round.
– At the end of each round/row I will note in parenthesis how many stitches you should have once completed.
Abbreviations/Stitches Used
BLO – back loop only
bo -bobble (described below under special stitches)
ch – Chain
FLO – Front Loop Only
Rnd(s) – Round(s)
Row(s) – Row(s)
sc – Single crochet
sc2tog – Single crochet 2 stitches together (decrease)
sl st – Slip stitch
st(s) – Stitch(s)
[ ] – Work instructions between brackets as many times as directed
magic circle/adjustable ring
Special Stitches
Bobble (bo): I used a 4dc bobble in this pattern. Essentially it’s 4 half finished double crochets all in the same stitch that are joined at the end as one stitch. And because that is all sorts of confusing, here are some directions! You create the bobble as follows:
With the original single loop on your hook from your previous stitch(es)
- Yarn over, insert your hook into the next stitch
- Yarn over and pull up a loop (three loops on the hook)
- Yarn over and pull through two of the loops
- Stop here! (two loops on your hook). If you were doing a full double crochet you would yarn over again and pull it through the final two loops to finish the dc, but with a bobble you stop half way, leaving the extra loop on the hook. One of the five legs completed.
Ok, now repeat steps 1-4, three more times, inserting the hook into the same stitch that you just worked into. Also remember that each time you repeat the sequence that you should have one more loop added to your hook.
Now, yarn over and pull through all five of the loops on your hook. This closes your bobble stitch. Congratulations, you just made a bobble!
>Design Note: When making bobbles some patterns will have you make a chain after you have made the bobble to secure them even more. I DO NOT have you make this chain in the pattern, simply make your sc in the next stitch followed by a bobble and so on as the pattern directs.
Body
In Color (B)
We will be working from the bottom base of the sheep up to the top.
Rnd 1: 6sc in adjustable (magic) circle (6sts)
Rnd 1 alternative: If you don’t know how to/do not like using an adjustable circle you can ch2 and then 6sc in 2nd chain from hook (6sts)
Rnd 2: 2sc in each st around (12sts)
Rnd 3: [Sc in the next st, 2sc in next st] 6 times (18sts)
Rnd 4: [Sc in the next 2st, 2sc in the next st] 6 times (24sts)
Rnd 5: [Sc in the next 3st, 2sc in the next st] 6 times (30sts)
Rnd 6: [Sc in the next 4st, 2sc in the next st] 6 times (36sts)
Rnd 7: [Sc in the next 5st, 2sc in the next st] 6 times (42sts)
Rnd 8: [Sc in the next 6st, 2sc in the next st] 6 times (48sts)
Rnd 9: [Sc in the next 7st, 2sc in the next st] 6 times (54sts)
Switch to Color (A)
Rnd 10: [Sc in the next st, bo in the next st] 27 times (54sts)
Rnd 11: [Sc in the next 8sts, 2sc in the next st] 6 times (60sts)
Rnd 12: [Sc in the next st, bo in the next st] 30 times (60sts)
Rnd 13: Sc in each st around (60sts)
Rnd 14: [Sc in the next st, bo in the next st] 14 times, sc in the next 14sts, [sc in the next st, bo in the next st] 9 times (60sts)
Rnd 15: Sc in each st around (60sts)
Rnd 16-23: [Repeat Rnd 14 and Rnd 15] 4 times (you will have: 4 rounds with bobbles and sc and 4 rounds with just sc, 60sts each round)
Rnd 24: Repeat Rnd 14 (60sts)
Begin stuffing and shaping at any time and continue to do so until finished.
Rnd 25: [Sc in the next st, sc2tog in the next st] 20 times (40sts)
Rnd 26: [Sc in the next st, bo in the next st] 20 times (40sts)
Rnd 27: [Sc in the next 3st, sc2tog] 8 times (32sts)
Rnd 28: [Sc in the next st, bo in the next st] 16 times (32sts)
Rnd 29: [Sc2tog] 16 times (16sts)
Rnd 30: [Sc in the next st, bo in the next st] 8 times (16sts)
Rnd 31: [Sc2tog] 8 times (8sts)
Rnd 32: Sc in the 1st st, bo in the next st, leave the remaining sts unworked. Sl st, Fasten off. Leave a tail to sew the hole closed, securing the last bobble you created over the hole.
Ears
in Color (B)
Make 2
Rnd 1: 4sc in adjustable (magic) circle (4sts)
Rnd 1 alternative: If you don’t know how to/do not like using an adjustable circle you can ch2 and then 4sc in 2nd chain from hook (4sts)
Rnd 2: 2sc in each st around (8sts)
Rnd 3: [Sc in the next st, 2sc in next st] 4 times (12sts)
Rnd 4: [Sc in the next 2sts, 2sc in the next st] 4 times (16sts)
Rnd 5: [Sc in the next 3sts, 2sc in the next sc] 4 times (20sts)
Rnd 6: [Sc in the next 4sts, 2sc in the next st] 4 times (24sts)
Rnd 7: [Sc in the next 5sts, 2sc in the next st] 4 times (28sts)
Rnd 8: Sc in each st around (28sts)
Rnd 9: [Sc in the next 6sts, 2sc in the next st] 4 times (32sts)
Rnds 10-19: Sc in each st around (32sts for 10 rows)
Rnd 20: [Sc in the next 6sts, sc2tog] 4 times (28sts)
Rnd 21: [Sc in the next 5sts, sc2tog] 4 times (24sts)
Rnd 22: [Sc in the next 4sts, sc2tog] 4 times (20sts)
Rnd 23: [Sc in the next 3sts, sc2tog] 4 times (16sts)
Rnd 24: [Sc in the next 2sts, sc2tog] 4 times (12sts)
Rnd 25: [Sc in the next st, sc2tog] 4 times (8sts)
Sl st to the 1st st. Fasten off. Leave a tail for attaching the ears to the head.
Face
In Color (B)
Working in rows
We will be starting at the bottom of the face and working towards the top
Ch 19
Row 1: Sc in the back bar of the 2nd chain from the hook and in each st across (18sts)
Rows 2-3: Ch 1, turn, sc in each st across (18sts for 2 rows)
Row 4: Ch 1, turn, Sc in the next 4sts, [2sc in the next st] 10 times, sc in the last 4sts (28sts)
Rows 5-7: Ch 1, turn, sc in each st across (28sts for 3 rows)
Row 8: Ch 1, turn, sc in the next 4sts, sc2tog, sc in the next 16sts, sc2tog, sc in the next 4sts (26sts)
Row 9: Ch1, turn, sc in the next 4sts, [sc2tog] 2 times, sc in the next 10sts, [sc2tog] 2 times, sc in the next 4sts (22sts)
Row 10: Ch1, turn, sc in the next 4sts, sc2tog, sc in the next 10sts, sc2tog, sc in the next 4sts (20sts)
Rows 11-12: Ch1, turn, sc in each st across (20sts for 2 rows)
Row 13: Ch1, turn, sc in the next 9sts, sc2tog, sc in the next 9sts (19sts)
Row 14: Ch1, turn, sc in each st across (19sts)
Row 15: Ch1, turn, sc2tog, sc in the next 15ts, sc2tog (17sts)
Sc around the entire edge of your face. When you get to the corner sc2tog taking one stitch from the top edge and one from the top of the corner that you are rounding. Decreasing this way made the face slightly rounder on the corners. I liked it better this way. At the end, sl st to the first st and fasten off. Leave a tail long enough for sewing the face to the body.
Tail
In Color (A)
Rnd 1: 4sc in adjustable (magic) circle (4sts)
Rnd 1 alternative: If you don’t know how to/do not like using an adjustable circle you can ch2 and then 4sc in 2nd chain from hook (4sts)
Rnd 2: 2sc in each st around (8sts)
Rnd 3: [Sc in the next st, bo in the next st] 4 times (8sts)
Rnd 4: [Sc in the next sc, 2sc in the next st] 4 times (12sts)
Rnd 5: [Sc in the next st, bo in the next st] 4 times (12sts)
Sl st to the 1st st. Fasten off. Leave a tail for sewing to the body.
Stuff the tail before attaching.
Feet
Make 4
In Color (B)
Rnd 1: 6sc in adjustable (magic) circle (6sts)
Rnd 1 alternative: If you don’t know how to/do not like using an adjustable circle you can ch2 and then 6sc in 2nd chain from hook (6sts)
Rnd 2: 2sc in each st around (12sts)
Rnd 3: [Sc in the next sc, 2sc in next st] 6 times (18sts)
Rnd 4: [Sc in the next 2sc, 2sc in the next sc] 6 times (24sts)
Rnd 5: In BLO sc in each st around (24sts)
Rnd 6: Sc in each st around (24sts)
>Design Option: When I made the sheep I switched to Color (A) at this point, and I think that it looks great. However, were I to make this sheep again, I might consider just staying with Color (B) the whole time. You choose!
Rnd 7-8: In FLO sl st around (24sts for 2 rows)
Sl st to the 1st st. Fasten off. Leave a tail for sewing the feet to the body
Stuff before attaching to the body.
Assembly
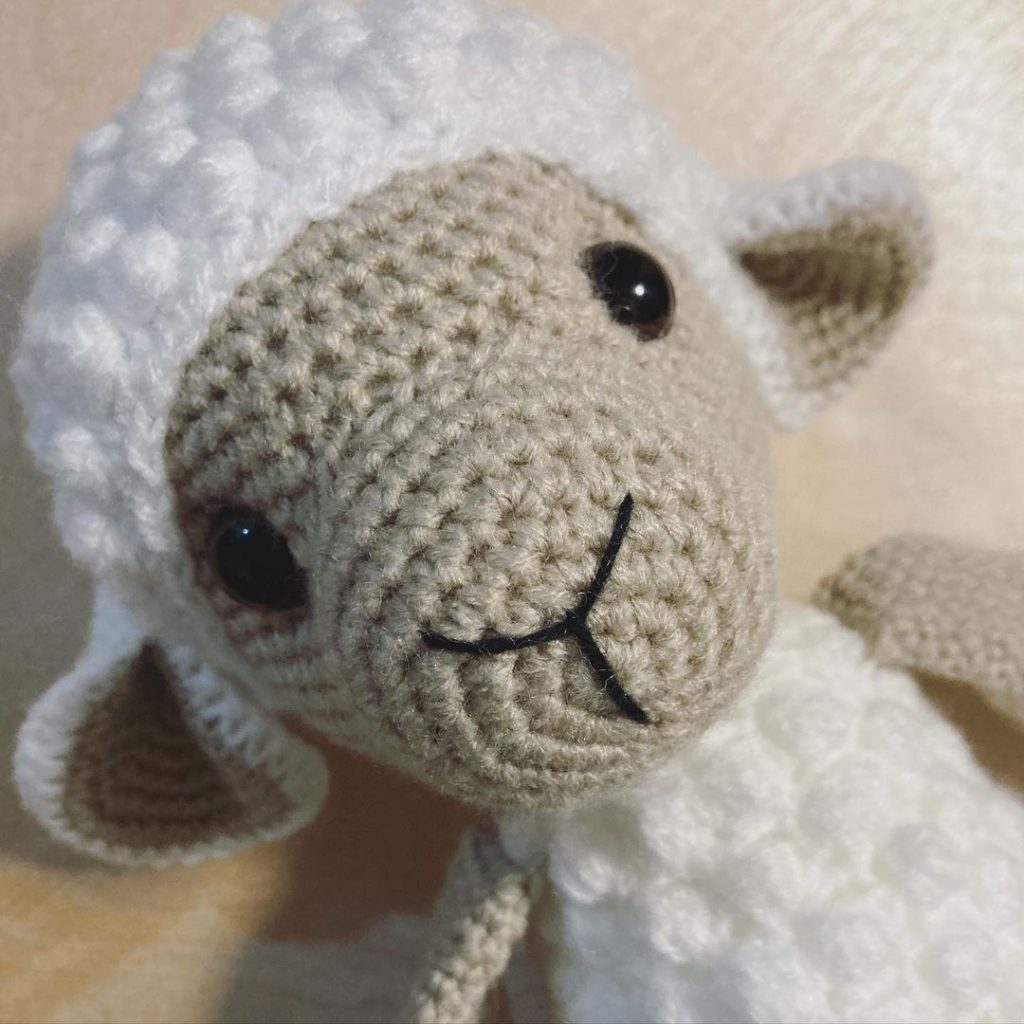
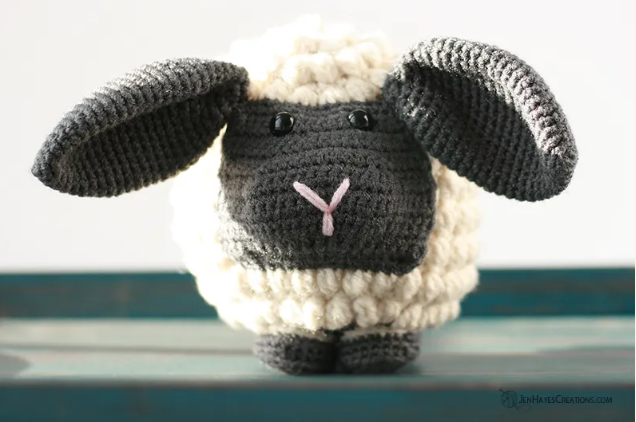
With the face: Remember to add the safety eyes before attaching. I initially stuffed only the protruding portion of the muzzle. Then, before closing up the hole completely I added additional stuffing to obtain an overall shape that I was most happy with.
I highly recommend pinning all of your pieces together before sewing anything. This will help to ensure that you have a placement that you are happy with. Once you are satisfied with placement attach all the pieces with your tapestry needle.
Using Color (C) Add stitching to the nose portion if desired.
More Amigurumi İdeas: