Materials needed:
1. YarnArt Jeans yarn (50 g/160 m). Any colors you see fit to create a bull. (I used brown, pink, gray and white). You can take an analogue of YarnArt Jeans by the thickness of the thread. Consumption – quite a bit of each color.
2. Hooks: 1.75mm (torso, hooves, nose, tail), 1.0mm (horns, ears).
3. Filler.
4. White felt: ~ 2 × 2 cm (with a margin).
5. Capron cover (or similar material, piece ~ 3x3cm).
6. Black sewing threads.
7. Needle.
8. Scissors, markers, pins and other tools that you usually use when working.
9. Good mood!
Symbols:
k.a. – amigurumi ring
sbn – single crochet
pr – increase
dec – decrease
dc – double crochet
pssn – half crochet
prpssn – increase from pssn
ch – air loop
ss – connecting column
(…) x6 – repeat 6 times
(xx) – total number of stitches in a row
We knit the head-body :
Hook 1.75 mm.
We fill with filler in the course of knitting (after about 25 rows).
1) In c.a. 6 sc (6)
2) 6 inc (12)
3) (inc, sc) x6 (18)
4) (inc, 2 sc) x6 (24)
5) (inc, 7 sc) x3 (27)
6) 4 sc, (inc, 8 sc) x2, inc, 4 sc (30)
7) 30 sc (30)
8} (inc, 9 sc) x3 (33)
9) 5 sc, (inc, 10 sc) x2, inc , 5 sc (36)
10) 36 sc (36)
11) (2 sc, inc) x5, 21 sc (41)
12) inc, 5 sc, inc, 7 sc, inc, 5 sc, inc, 20 sc ( 45)
13) 5 sc, inc, 12 sc, inc, 26 sc (47)
14) 12 sc, inc, 34 sc (48)
15) 5 sc, inc, (4 pss, prpss) x3, 4 pss, inc , 12 sc, inc, 9 sc (54)
16) 17 sc, inc, 36 sc (55)
17) 55 sc (55)
18) 18 sc, inc, 36 sc (56)
19) 56 sc (56)
20) 56 sc (56)
21) 6 sc, (dec, 12 sc) x3, dec, 6 sc (52)
22) 52 sc (52)
23) 9 sc, dec, (11 sc, dec) x3, 2 sc (48)
24) (6 sc, dec) x6 (42)
25) 42 sc (42)
26 ) (dec, 5 sc)x6 (36)
27) 36 sc (36)
28) (dec, sc)x12 (24) (Photo 1. Part 1. To see the photo, scroll through the carousel located after the description of the tail)
If you want bull, which stands on its own leg, then we cut the thread, tighten the loop.
If you want a bull-Christmas tree toy, then knit two more rows:
29) 12 dec (12)
30) 6 dec (6)
Cut the thread, tighten the hole, hide the tail inside the body.
We knit a muzzle-nose :
Hook 1.75 mm.
1) dial 7 ch, start knitting from the 2nd loop from the hook:
5 sc, 3 sc in one loop, 4 sc, inc (14)
2) inc, 4 sc, 3 inc, 4 sc, 2 inc (20)
3) sc, inc, 4 sc, (sc, inc) x3, 5 sc, inc, sc, inc (26)
4) (2 sc, inc) x5, 3 sc, inc, 3 sc, inc, 2 sc, inc (34)
5) (4 sc, inc) x2, 11 sc, inc, 4 sc, inc, 7 sc (38)
6) 38 sc (38)
7) 8 sc, inc, 12 sc, dec, 3 sc , dec, 3 sc, dec, 5 sc (36)
8) 22 sc, dec, 5 sc, dec, 5 sc (34)
+ (dec, sc) x6, 3 cc (Photo 2. Part 1).
We cut the thread, leaving a long tail, we will sew the muzzle to the body with it. We tighten the loop.
Fill with filler.
We knit a ponytail :
Hook 1.75 mm.
1) dial 19 ch, start knitting from the 2nd loop from the hook:
18 cc (18)
Cut the thread, leaving a long tail, we will sew the tail to the body with it.
We tighten the loop.
Cut off two short pieces of thread. We drag them with a hook through the extreme VP (Photo 3, 4. Part 1). We fix the threads by tying knots. Cut off excess length if necessary. We stratify the threads with a needle, forming a brush.
We knit the base (hooves) :
Those who knit a bull-Christmas tree toy do not need to knit the base.
Hook 1.75 mm.
1) In c.a. 8 prs (8)
2) (3 prss in one loop, prs) x4 (16)
3) prs, (3 prss in one loop, 3 prs) x3, 3 prss in one loop, 2 prs (24)
4) 2 sbn, (4 dcs in one loop, 5 sbn) x3, 4 dcs in the wave loop, 3 sbn (36) (Photo 6. Part 2)
+ 2 cc per ps [ps – loop front wall]. We consider the new row from here.
5th row knit for zc (back wall)!
5) 2 sc, 2 inc, sc, 2 dec regular * , sc, (2 inc, 2 sc, 2 dec regular, sc) x2, 2 inc, 2 sc, 2 dec regular (36)
6) (3 sc, inc, 3 sc, dec) x4 (36) Cut the
thread, leaving a long tail, we will sew the base to the body with it. We tighten the loop.
We take a cover (or something else) (Photo 7. Part 2).
We cut out the insole, repeating the shape of the canvas from the first four rows, only a little smaller so that the insole fits freely (Photo 8. Part 2).
Note *
We knit NOT as usual an invisible decrease, capturing the front half-loops, but a classic decrease, knitting the first loop not completely, then the second, then we knit three loops together on the hook.
We knit horns :
Hook 1.0 mm.
We divide the thread in half in thickness (the thread is twisted from 4 thinner threads, we divide it into halves of two thin threads (Photo 9. Part 2).
I advise you to knit two horns in parallel at once.
We collect a chain of 12 ch, close in a circle with ss
1) 4 sbn, dec usual * , 4 sbn, dec usual (10)
2) 8 sbn, dec (9)
3) 9 sbn (9)
4) 2 sbn, pssn, ssn, pssn, 2 sbn, dec ( 8)
5) 2 prs, prss, prs, pss, prs, 2 cc (8)
6) 2 prs, 3 prss, prs, dec (7)
7) 7 prs (7)
8) 3 prs, pss, prs, dec (6)
9) sb, dec usual, sb, dec usual (4)
+ decrease usual through the loop.
The horns are ready (Photo 9. Part 2).
Cut off the thread (Photo 10. Part 2). We drag the end of the thread into the loop (Photo 11. Part 2) and tighten. We insert the tip of the thread into the needle (Photo 12. Part 2). With the help of a needle we drag the thread inside the horn.
We fill the lower part of the horns with filler.
We knit ears :
Hook 1.0 mm.
Also, as for the horns, we divide the thread in half in thickness and knit from the halves.
I advise you to knit two ears in parallel at once.
1) In c.a. 4 sc (4)
2) inc, sc, inc, sc (6)
3) 6 sc (6)
4) sc, dec, sc, dec (4)
+1 dec
Ears are ready.
Cut the thread, tighten the loop.
We embroider the inside of the ears with a needle (I embroidered with the same yarn that I knitted the nose with).
Assembly and decoration
1) Sew on the muzzle-nose:
We estimate the location of the muzzle on the body (the top of the muzzle is approximately below the 9-10th row of the body, the tail of the thread should be on the right side of the bull.
Fix it with pins and sew to body with a tail of thread left over from knitting the muzzle.The rest of the thread is hidden inside the body.
2) Embroider the nostrils:
We estimate the location of the nostrils and mark the very edges of the nostrils with pins. The pins are located on the 5th row of the muzzle. We insert the thread into the needle, which was used to knit the muzzle. We will embroider in two threads. We start the needle from below (through an open hole in the body), leave the tail, so that later we can fix the thread.
(Who has a Christmas tree toy: when embroidering the nostrils, insert the needle somewhere behind the body, then just hide the ends of the threads inside).
We bring out the needle near the pin and drag the thread through. Next, you need to embroider a figure similar to the roof of a house with two stitches. We retreat from the pin one row up and two columns towards the center, insert the needle tangentially and stretch the thread.
Further from this place we retreat one more loop to the center and one row down, insert the needle tangentially (Photo 20. Part 3) and stretch the thread. Thus, a flat outline of the nostril was obtained.
Now you need to give the nostril volume. We start the needle under the stitch and stretch the thread.
It turns out that we wrap the stitch around with threads. We do this several times, gradually heading to the top of the nostril.
Then, in the same way, we continue to wrap the second stitch around, gradually moving towards the edge of the nostril. Having reached the edge, one nostril is ready.
We insert the needle into the edge of this nostril, and bring it out near the second pin. Similarly, we mirror the flat contour of the second nostril (Photo 24, Part 4) and give it volume. Having reached the edge, the second nostril is ready. We bring the needle out approximately to the place where it was started at the very beginning.
We fix the threads by tying a couple of knots.
3) Eyes:
First draw a sketch of the eyes you want on paper. We try them on a toy.
If the result suits, transfer to felt and cut out along the outer contour.
We take a needle with black sewing threads and embroider pupils and a vertical partition on the felt. Then, with the same threads, sew the eyes along the outer contour to the body.
If you do not want to sew the eyes to the body, they can be glued (option at your discretion).
4) Sew on the horns:
Sketch the location of the horns on the head.
We fix them with pins and sew them to the head with tails of threads left over from knitting them. We hide the rest of the threads inside the body.
5) Sew on the ears:
Sketch the location of the ears on the head.
We fix them with pin and sew them to the head with tails of threads left over from knitting them. We hide the rest of the threads inside the body.
6) Sew on the tail:
Sew on the tail at the back in the center between the 17th and 18th rows.
We hide the rest of the threads inside the body.
7) Sew on the base:
Don’t forget to put on the plastic insole.
We carefully try on the base to the body so that it is located strictly in the center. Then we fix the base with pins and check the bull for stability.
If the steer falls forward or backward, then move the base closer to the priest or closer to the nose until the steer is confidently standing.
After that, we start sewing. Sew on the tail left over from knitting the base. First, we put the needle behind the back wall of the base loop, then into the body, we drag the thread, etc. around the perimeter. Sewing to the body is carried out at the level of the 25-26th rows. We hide the rest of the thread inside the body.
In principle, the bull is ready.
8, 9 points – optional!
8) Embroider the spots:
Take a yarn that is not the color of the body and embroider the spots. The number of spots, their shape and size is up to you.
9) Toning:
At your discretion. (I slightly toned the nostrils and hooves).
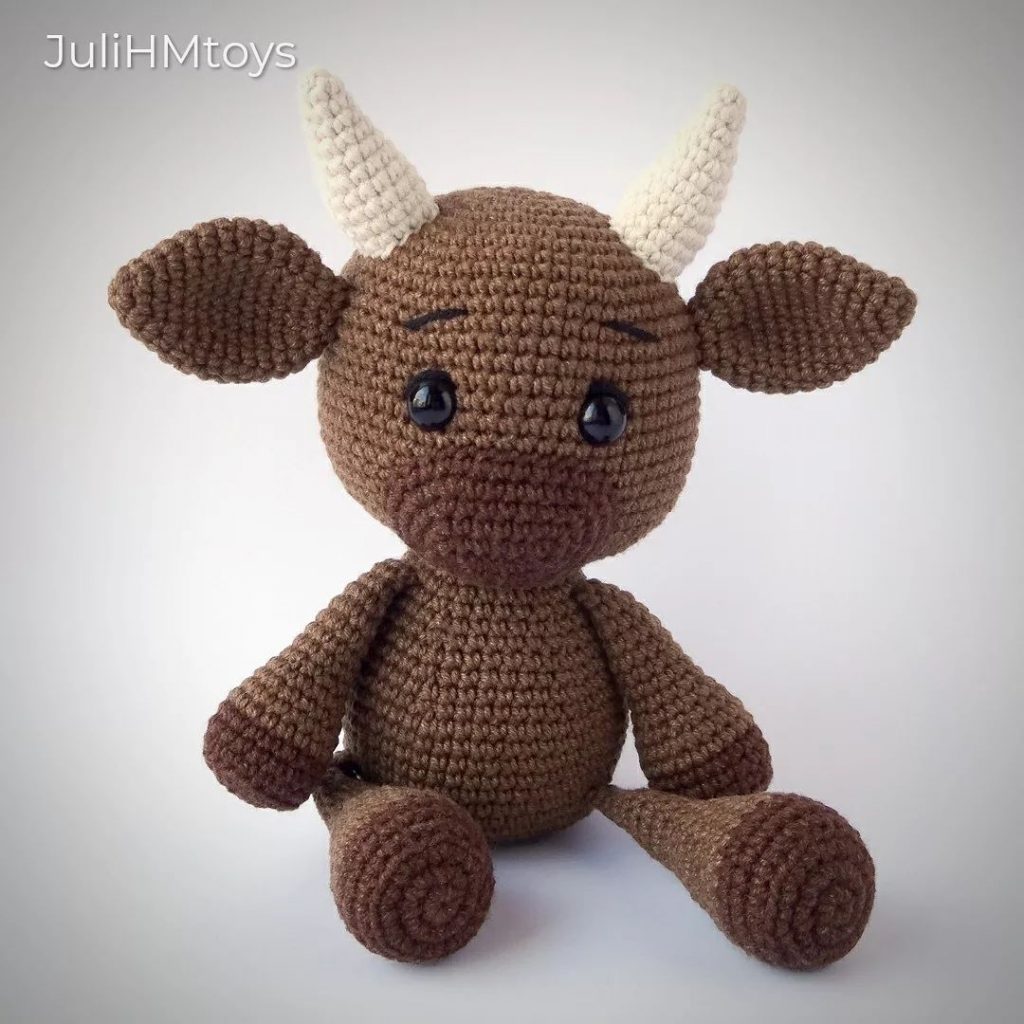
10) We admire the finished bull!
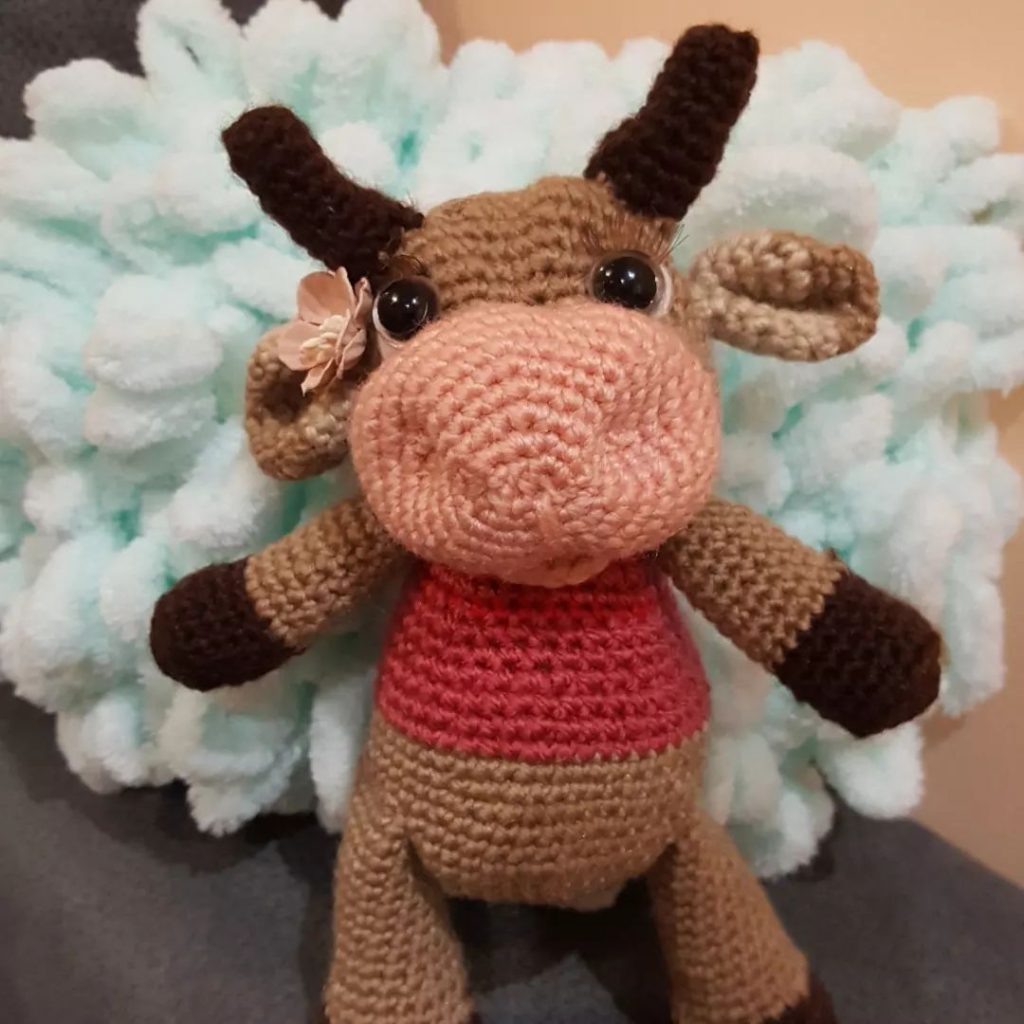
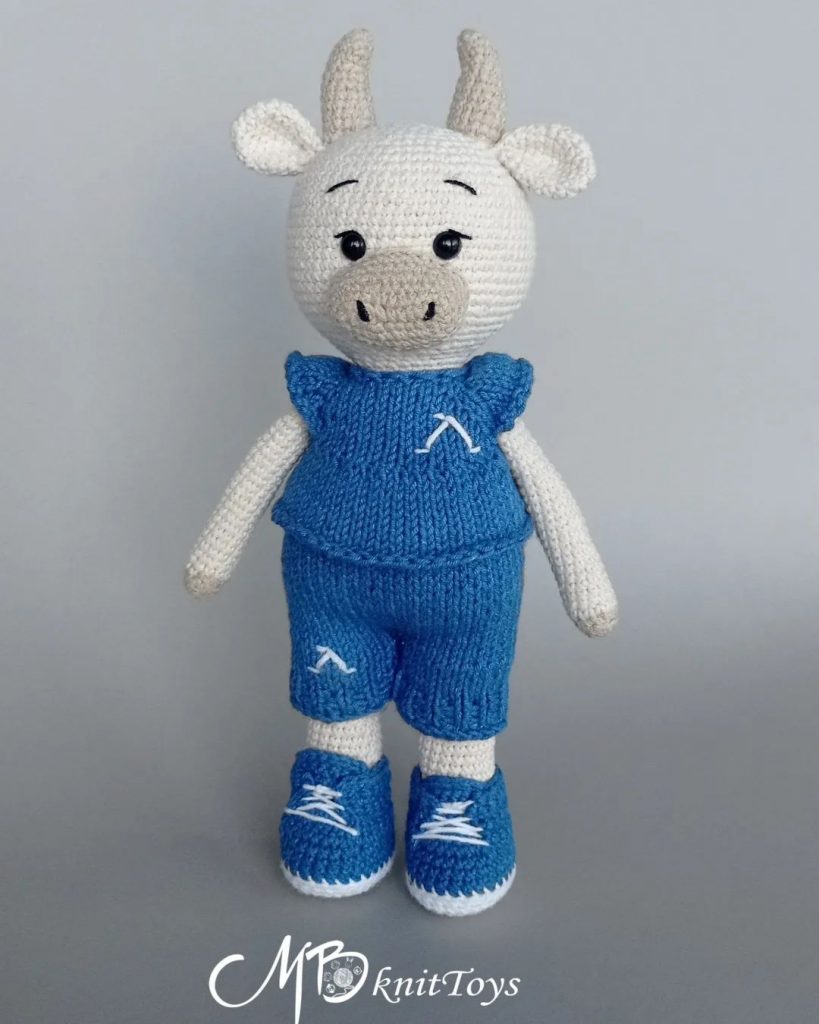
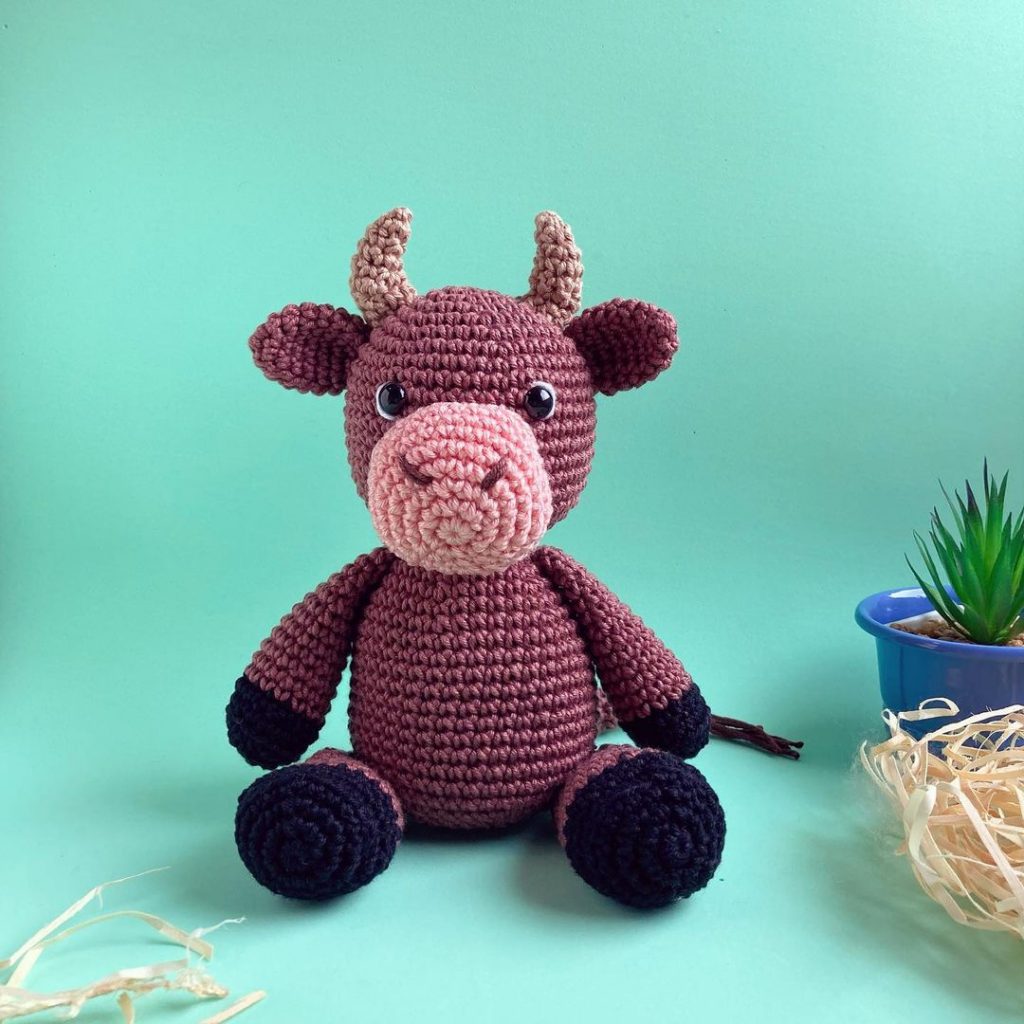
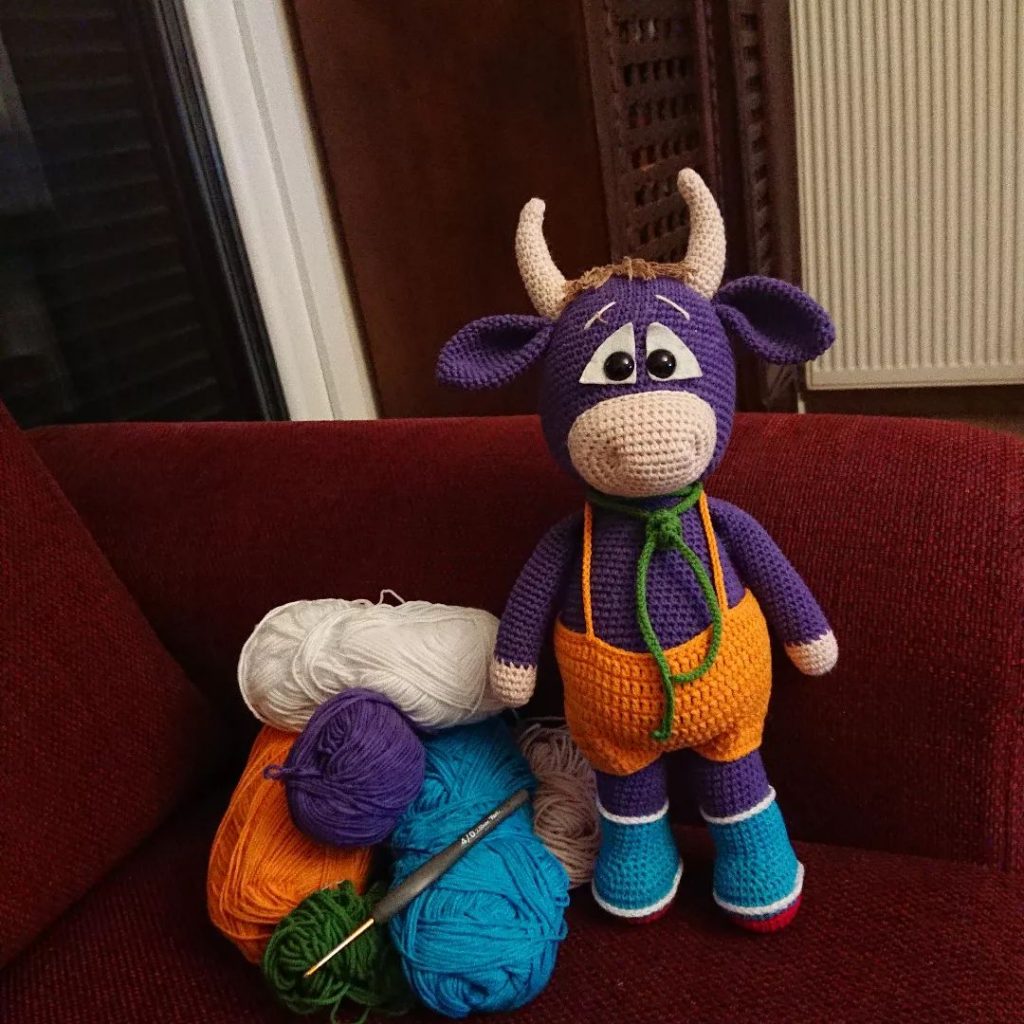
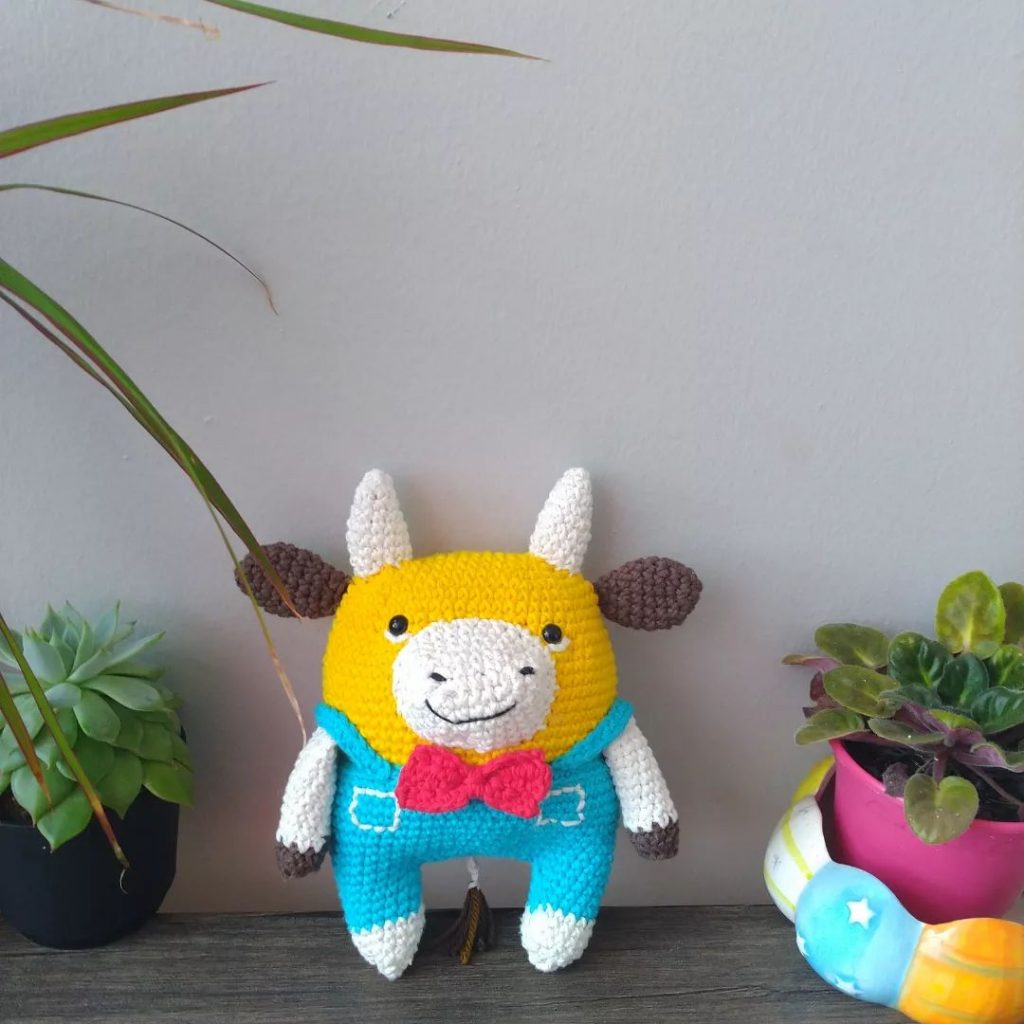
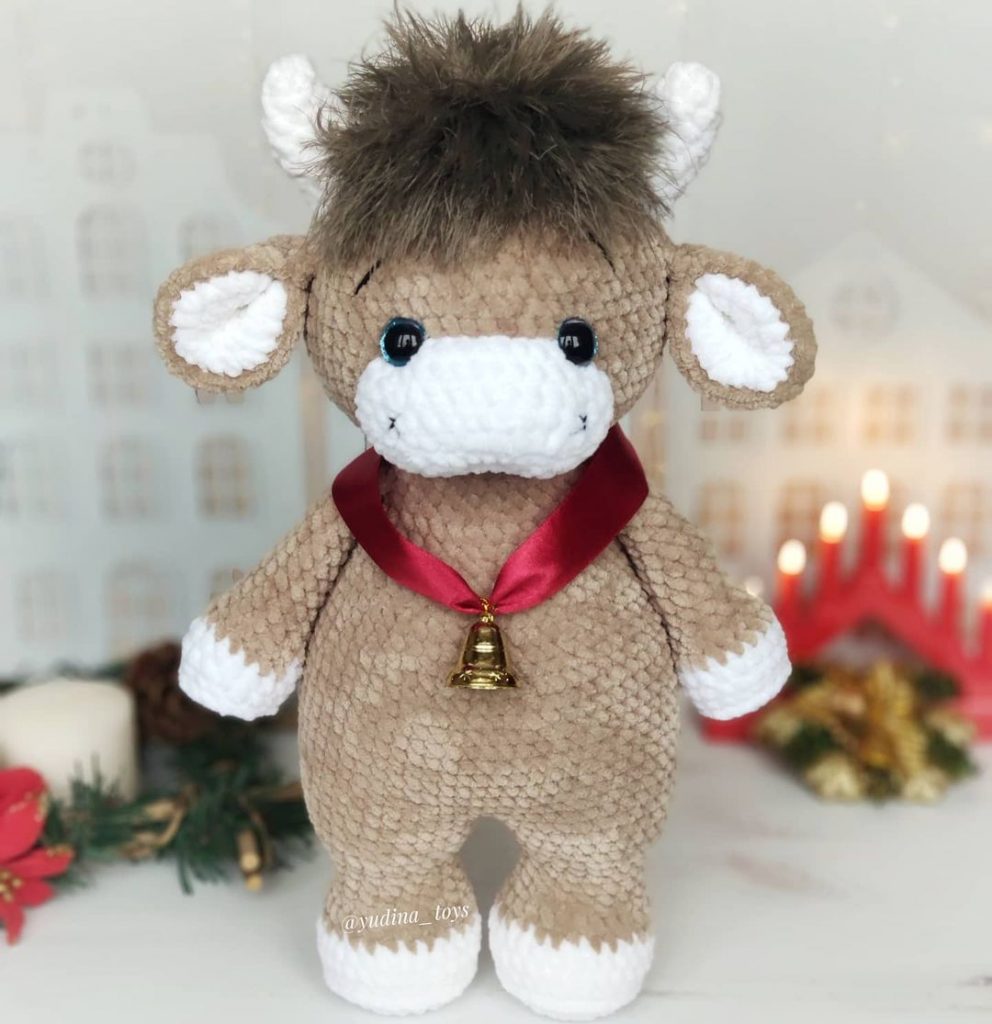
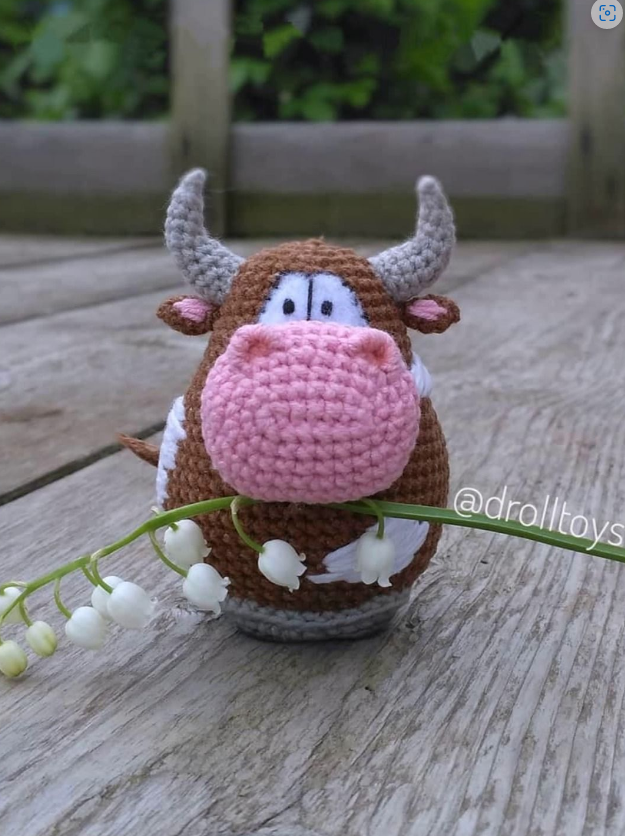
More Amigurumi Bull İdeas: