YOU WILL NEED
↠ main yarn – DK weight yarn in beige color (I use Yarn and Colors Must-Have) – 1 skein;
↠ additional yarn – if you crochet the bunny from the cotton yarn you can use it as additional yarn too; if you choose another main yarn, be sure that it strong or use another, stronger yarn as additional which matches the color – few meters;
↠ crochet hook 2,5 mm;
↠ stuffing;
↠ ribbon and bells for decoration.
ABBREVIATION
The pattern is written in English, using US crochet terminology.
ch – chain
sc – single crochet
inc – increase
dec – decrease
sc3tog – single crochet three together decrease
rsc – reverse single crochet
MAIN DETAIL
Ch 20
ROW 1: start in the second ch from a hook, sc in next 19 ch [19]
ROW 2: ch 1 turn the detail, inc in next st , sc in next 17 st, inc in next st [21]
ROW 3: ch 1, turn the detail, dec, sc in next 18 st, inc in next st [21]
ROW 4: ch 1, turn the detail, inc in next st, sc in next 18 st, dec [21]
ROW 5: ch 1, turn the detail, inc in next st, sc in next 18 st, dec [21]
ROW 6: ch 1, turn the detail, dec, sc in next 18 st, inc in next st [21]
ROW 7: ch 1, turn the detail, inc in next st, sc in next 18 st, dec [21]
ROW 8: ch 1, turn the detail, sc in next 20 st, inc in next st [22]
ROW 9: ch 1, turn the detail, sc in next 22 st [22]
ROW 10: ch 1, turn the detail, dec, sc in next 18 st, dec [20]
ROW 11: ch 1, turn the detail, dec, sc in next 16 st, dec [18]
ROW 12: ch 1, turn the detail, dec, sc in next 14 st, dec [16]
ROW 13: ch 1, turn the detail, inc in next st, sc in next 13 st, dec [16]
ROW 14: ch 1, turn the detail, dec, sc in next 13 st, inc in next st [16]
ROW 15: ch 1, turn the detail, inc in next st, sc in next 13 st, dec [16]
ROW 16: ch 1, turn the detail, dec, sc in next 13 st, inc in next st [16]
ROW 17: ch 1, turn the detail, inc in next st, sc in next 13 st, dec [16]
ROW 18: ch 1, turn the detail, dec, sc in next 14 st [15]
ROW 19-20: ch 1, turn the detail, sc in next 15 st [15] – 2 rows
ROW 21: ch 1, turn the detail, dec, sc in next 13 st [14]
ROW 22: ch 1, turn the detail, inc in next st, sc in next 10 st, sc3tog
ROW 23: ch 1, turn the detail, sc3tog, sc in next 9 st, inc in next st [12]
ROW 24: ch 1, turn the detail, sc in next 10 st, dec [11]
ROW 25: ch 1, turn the detail, dec, sc in next 9 st [10]
ROW 26-27: ch 1, turn the detail, sc in next 10 st [10] – 2 rows
ROW 28: ch 1, turn the detail, sc in next 8 st, dec [9]
ROW 29: ch 1, turn the detail, dec, sc in next 7 st [8]
ROW 30a: ch 1, turn the detail, inc in next st, sc in next 3 st, don’t finish this row – skip next 4 st
ROW 31a: ch 1, turn the detail, dec, sc in next 3 st [4]
ROW 32a: ch 1, turn the detail, dec 2 times [2]
Fasten off.
ROW 30b: start crochet in the first stitch in row 30a, sc in next 4 st [4]
ROW 31b: ch 1, turn the detail, dec, sc in next 2 st [3]
ROW 32b: ch 1, turn the detail, dec, sc in next st [2]
ROW 33b: ch 1, turn the detail, sc in next 2 st [2]
Fasten off.
Make 2 main details.
Place both details together, matching up all sides.
Begin attaching details together with reverse sc around.
Stop in the middle of the last side, stuff the detail. Stuff slightly.
Continue crochet rsc and close with rsc in first st and fasten off, weave in yarn ends.
Now the most important part!
Highlight the legs, tail, ears, and head.
We need a needle and a piece of additional thread (see in “you will need”).
Make a knot at the end of the thread. Insert the needle from the back and draw it up in point 1
Insert needle near this point and output from the other side of the toy, pull tightly.
Then insert the needle again, and output in point 2, pull tightly.
Repeat this movement along the line until the paws are pronounced.
Do the same for the tail, head, and ears, follow the lines as shown on
The bunny is almost ready! Decorate him with accessories. Also, you can embroider the eyes and nose.
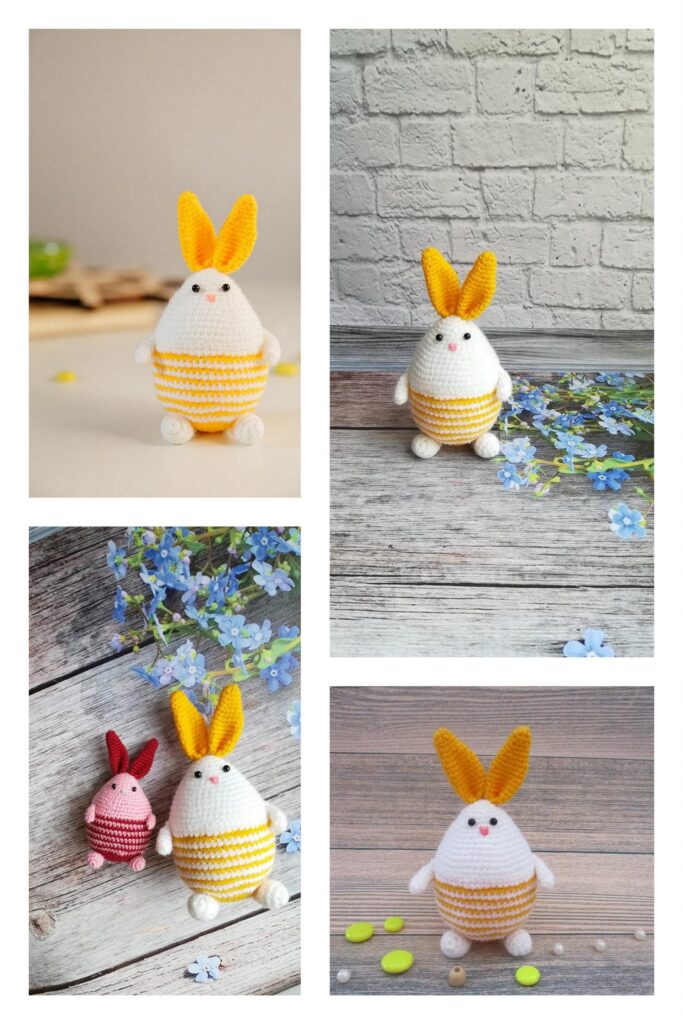
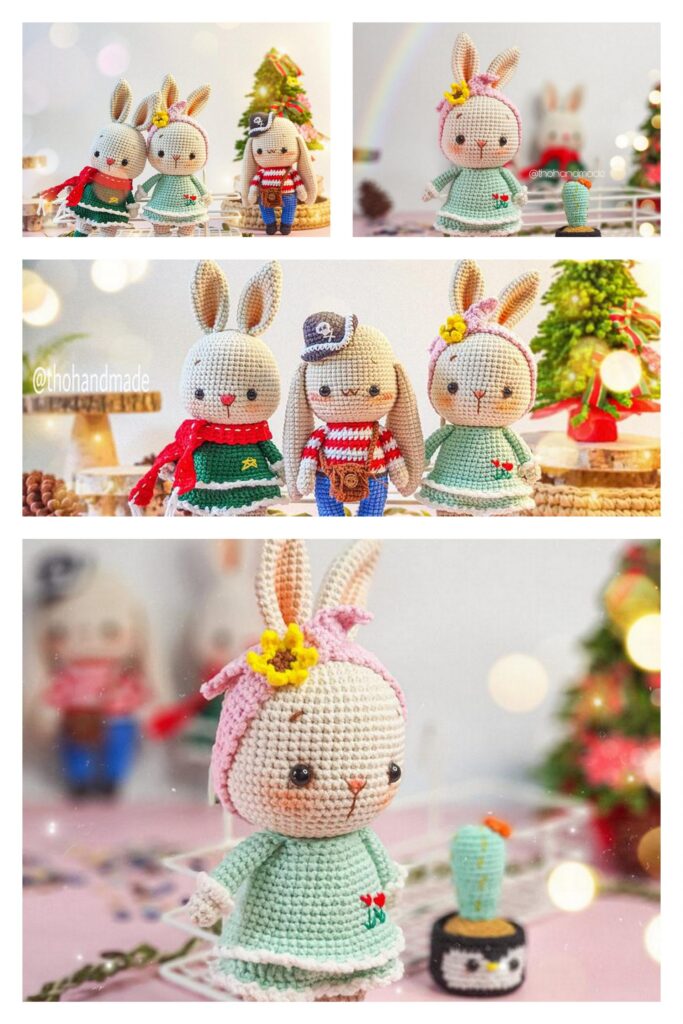
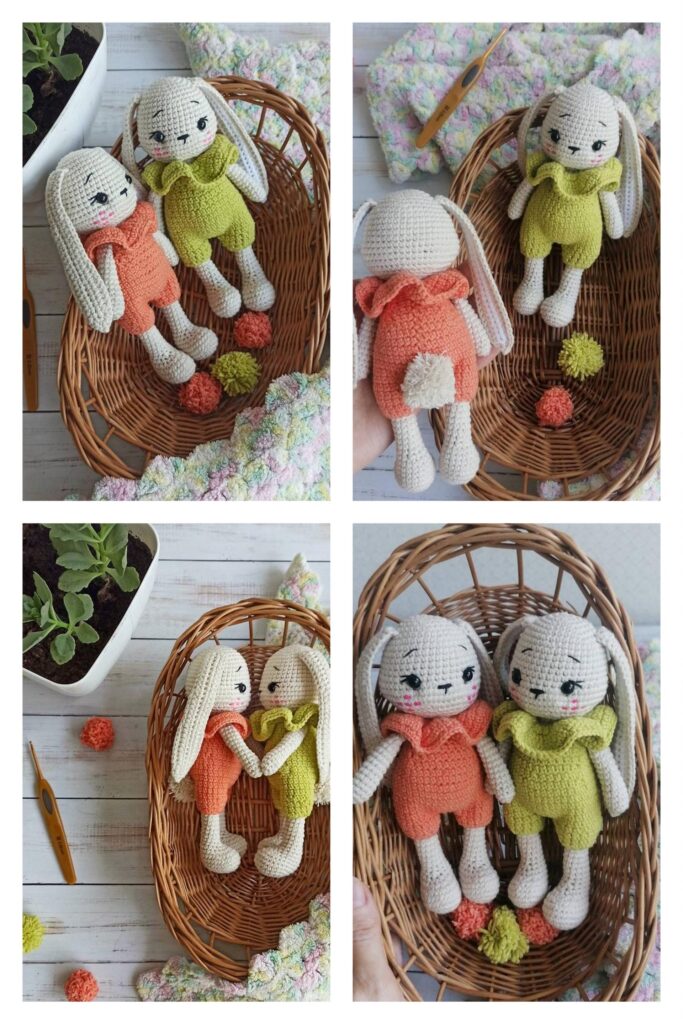
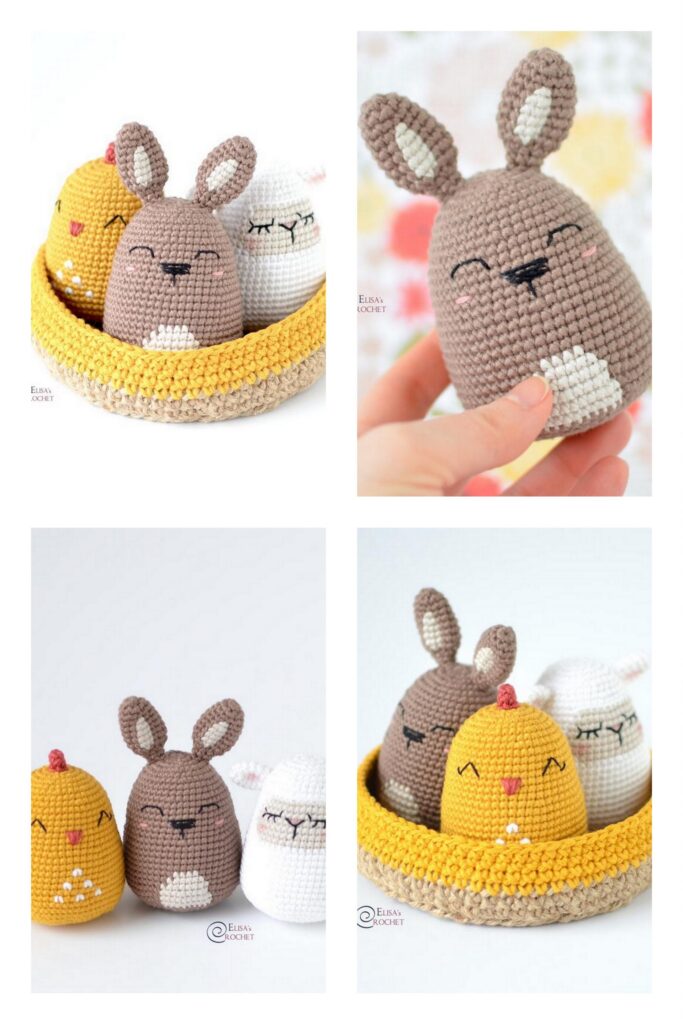
More Amigurumi Bunny Ideas: