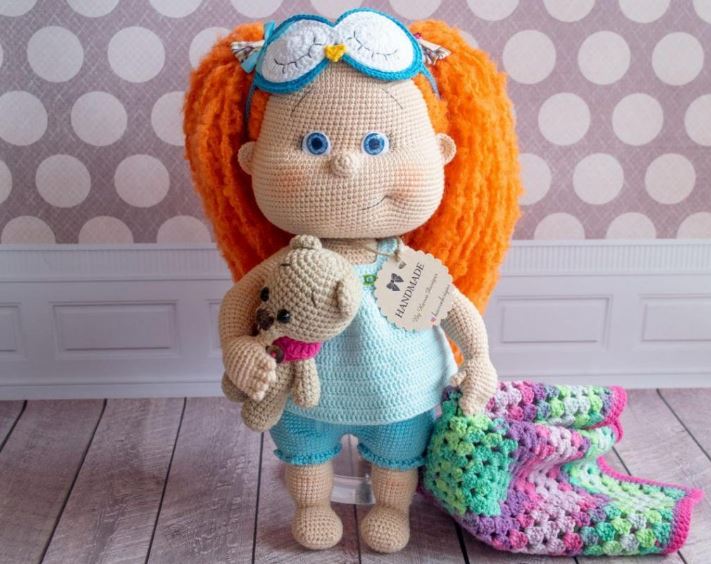
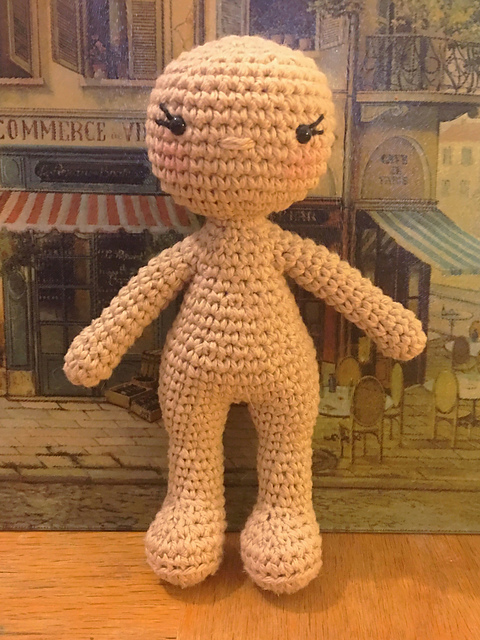
Free pattern for my Eva doll base, which is made in one piece from the feet up to the head.
Materials:
– Worsted weight yarn – approx. 150 yards skin tone color, 50 yards hair color
(I used Sugar n’ Cream cotton yarn for both of the dolls pictured, in the colors Jute & Warm Brown for the first one, and Soft Ecru and Sunshine for the second.
– Suggested hook size: 3.25mm (D)
– 2 x 6mm safety eyes
– Black embroidery floss
My doll measures approximately 8.5” tall when made with the above materials.
You can use any weight yarn or thread that you are comfortable using. You do not need to use what I used for my doll, just adjust your hook size accordingly.
Stitch abbreviations:
Sc: single crochet
Inc: increase
Dec: decrease
St: stitch
Ch: chain
MR: magic ring
FO: fasten off
BLO: back loops only
**Pattern is worked in continuous rounds.**
Arms
(Make 2)
R1: 5 sc in MR (5)
R2: sc inc x 5 (10)
R3: 10 sc (10)
R4: (3sc,sc dec) x 2 (8)
R5-14: 8 sc (8)
Stuff and FO.
Legs
(Make 2)
R1: 6 sc in MR (6)
R2: sc inc x 6 (12)
R3: (1 sc, sc inc) x 6 (18)
R4: 18 sc in BLO (18)
R5: 18 sc (18)
R6: 5 sc, sc dec x 4, 5 sc (14)
R7: 5 sc, sc dec x 2, 5 sc (12)
R8: 4 sc, sc dec x 2, 4 sc (10)
R9-13: 10 sc (10)
R14: (4 sc, sc inc) x 2 (12)
R15: 12 sc (12)
R16: (5 sc, sc inc) x 2 (14)
R17: 14 sc (14)
Fasten off the 1st leg, but not the 2nd. Then continue on to the body.
Body & Head
Stuff the body as you go.
R1: Starting where you left off on the 2nd leg, 5 sc (if you are not at the center st where the legs should be connected, sc until you are at the center st then continue as written), ch 1, sc 14 around the 1st leg, sc in ch 1, then continue 9 sc around the first leg. (29)
R2: 5 sc, sc in other side of ch 1, 24 sc (30)
R3-6: 30 sc (30)
R7: (3 sc, sc dec) x 6 (24)
R8-10: 24 sc (24)
R11: (2sc, dec) x 6 (18)
R12: 18 sc (18)
R13: Attaching the arms: Insert your hook into 1 st of the 1st arm and then into the nect st of the body and sc these 2 stitches together. Repeat 2 more times so that you have 3 sc connecting the first arm to the body. 6 sc around to the other side of the body, then repeat the process with the second arm, so that you have 3 sc again connecting that arm, then continue the last 6 sc on the body. (18)
R14: Working around the body and the outer 5 sts of each arm: 2 sc, sc inc, 10 sc, sc inc, 8 sc (24)
R15: (2 sc, sc dec) x 6 (18)
R16: (1 sc, sc dec) x 6 (12)
Do not fasten off. Finish stuffing the body, then continue on to the neck and head.
Head
R1-2: 12 sc (12)
R3: sc inc x 12 (24)
R4: (3 sc, sc inc) x 6 (30)
R5: (4 sc, sc inc) x 6 (36)
Stuff the neck area as firmly as possible to support the head or insert neck support if desired.
R6-13: 36 sc (36)
R14: (4 sc, sc dec) x 6 (30)
R15: (3 sc, sc dec) x 6 (24)
R16: (2 sc, sc dec) x 6 (18)
Place your safety eyes between rounds 10 & 11, 8 stitches apart.
R17: (1 sc, sc dec) x 6 (12)
Stuff.
R18: sc dec x 6 (6)
Fasten off and sew the head closed.
Stitch a nose between rounds 9 & 10. Embroider eyelashes.
Hair
Hair part:
Ch 10, then place a stitch marker on the 10th chain.
Do not fasten off – continue on to 1st strand of hair.
Strands of hair:
– Continuing on the ch 10, ch 29.
– Starting in 2nd ch from hook, (1sc, sc inc) x 6, 1sc, 15 sl st. *Sl st to the next ch of the beginning ch 10, ch 29, starting in 2nd ch from hook, (1 sc, sc inc) x 6, 1 sc, 15 sl st.
– Repeat from * 7 more times.
– When you get to the last chain of the ch 10, make 3 strands of hair in that ch. This will be the back of the head.
– Continue around the other side of the ch, repeat from * 8 more times.
– Fasten off and sew or glue the hair to the head.
You’re done!
Congratulations
More Amigurumi Doll Ideas

