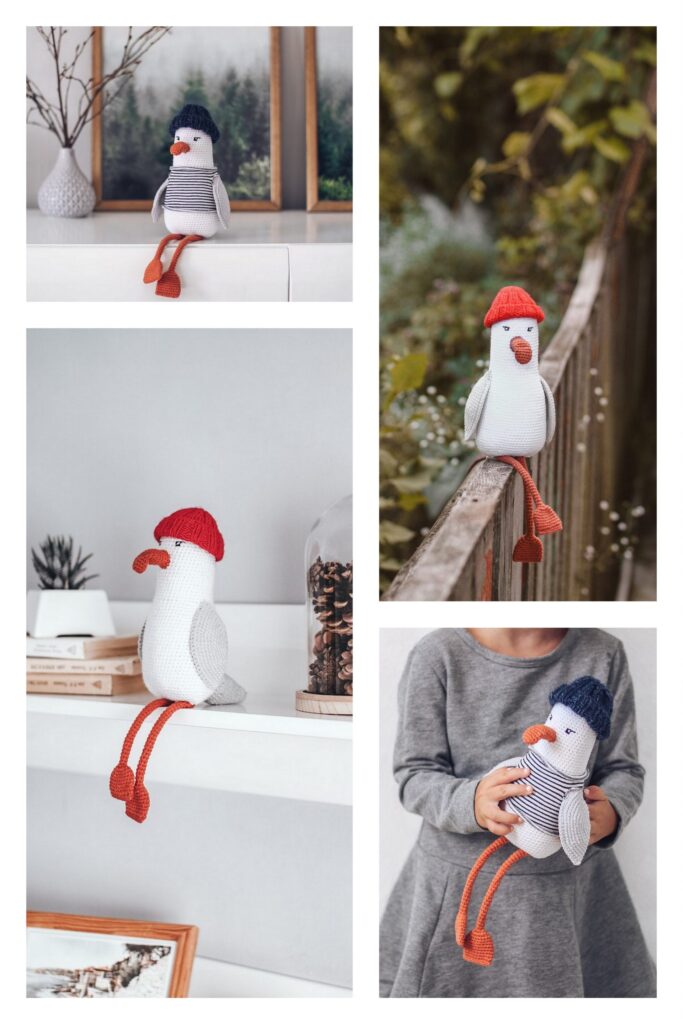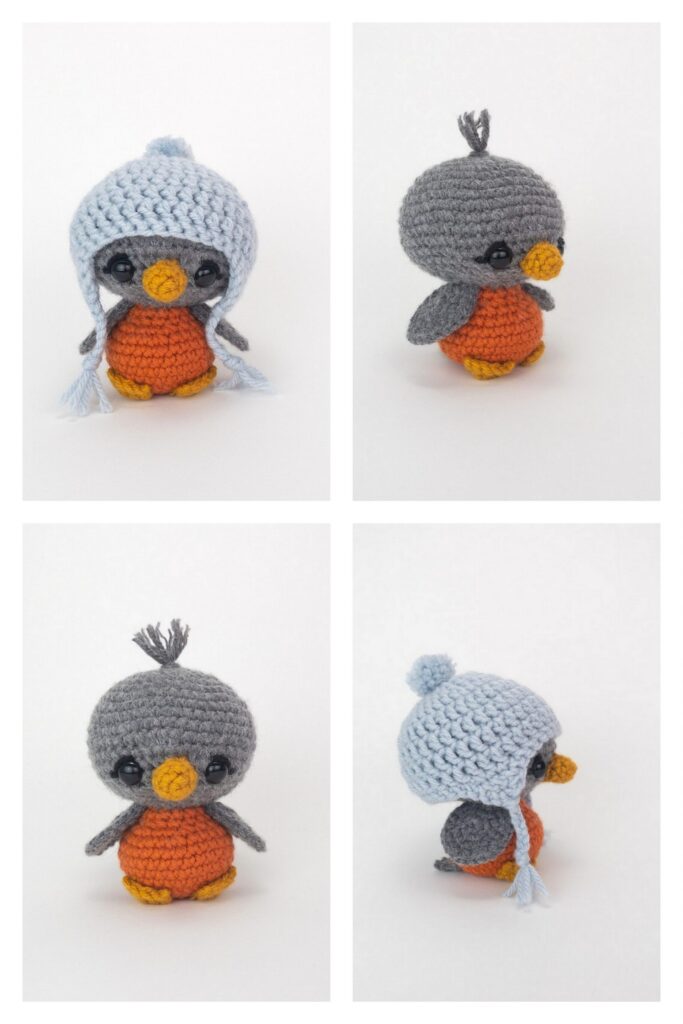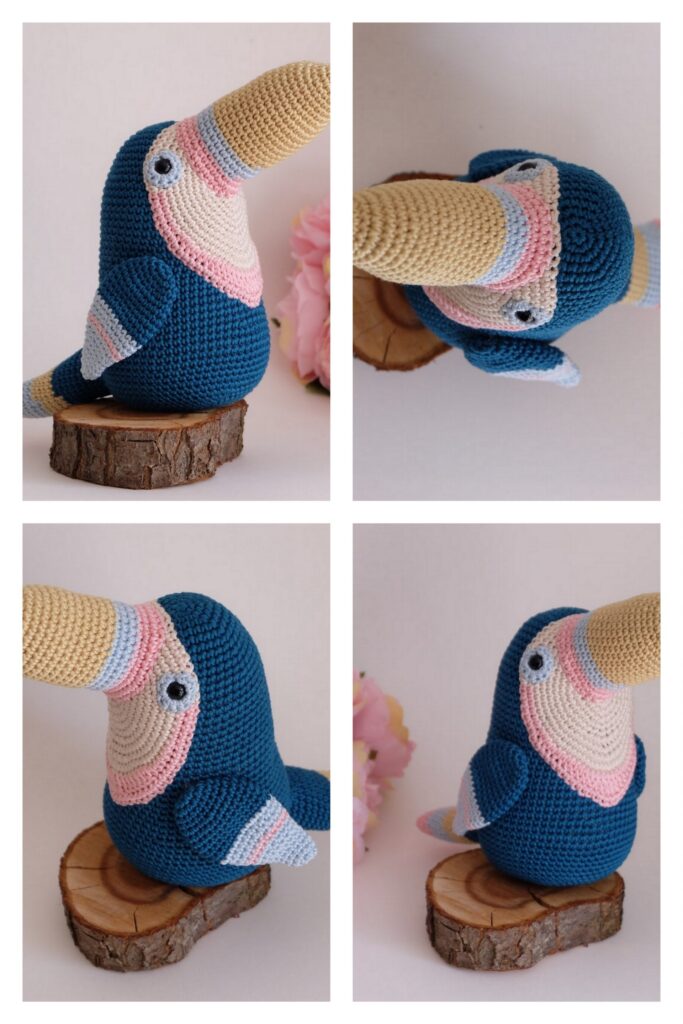
Pink Robin
Level: Beginner
This pattern is written in US terminology
Materials:
Yarn – DK / Light worsted Made by
Penguins Merino & Novita Baby
Main Colour – Dark Grey or Tan
approx. 20g
Belly – Pink or red approx. 15g
Beak & feet – Black 5g
Recommended hook size: 2.5mm
Safety eyes: 8 mm x 2 – safety eyes
are not recommended for young
children. Alternatively, eyes may be
embroidered with black thread.
Toy stuffing
Tapestry needle for construction and
embroidery
Stitch marker
Size: approx. 9cm tall when made using the recommended yarn and hook and should sit in the palm of your hand
Abbreviations:
Ch. Chain
MR. Magic Ring
St. Stitch
SS. Slip stitch
Sc. Single crochet
Sc inc. Single crochet increase
Sc dec. Single crochet invisible decrease
BLO. Back loops only
FLO. Front loops only
Copyright
This document and the pattern contained within is the property of Alexa Templeton (Lex in Stitches).
The resale, translation, copying or sharing (including online) of this document is not allowed. You may sell
your completed robin, but credit should be made to the designer. Please enjoy this pattern & respect copyright.
Work in continuous rounds unless stated otherwise
The Body
Start in body colour. Use invisible colour changes throughout.
1- Sc x 6 in to a MR (6)
2- Sc inc x 6 (12)
3- (Sc, Sc inc) x 6 (18)
4- (Sc x 2, Sc inc) x 6 (24)
5- (Sc x 3, Sc inc) x 6 (30)
6- (Sc x 4, Sc inc) x 6 (36)
7-13. Sc x 36 (36) – 7 rounds
Step by step photos for r14-16 are on the next page.
14- Sc x 12, Change to belly colour, Sc x 6,
Ch 3 ,
Sc in 2nd Ch from your hook, Sc in the next Ch space, Ss back in to the same St below your
Ch 3 – (Ss does not count as a St), Sc x 6,
Change to body colour, Sc x 12 (38 + 2 unworked spaces on the Ch) The unworked spaces on your Ch are
marked with stitch markers in p
15- Sc x 11, Change to belly colour, Sc x 7,
Sc in next unworked space on your Ch from previous round, (these are marked by the stitch markers in photo 3)
Sc inc in next space on Ch,
Sc inc, (these stitches will be made in the first sc you made on your ch from the previous round),
Sc x 8,
Change to body colour, Sc x 11 (42)
16- Sc x 10, Change to belly colour, Sc x 9,
Sc inc x 2,
Sc x 11, Change to body colour Sc x 10 (44)
Insert safety eyes between r 12-13 with 10 stitches still visible between them (your Ch 3 on r 14 marks the centre of the robin)
Tip: If you find you have a small gap around where you made your Ch3 on r14 do not worry. Using a small piece
of left over yarn, in either belly or body colour, weave all around the gap on the inside of the body and pull snug
to close. Tie the yarn ends together to secure.
17- Sc x 9, change to belly colour, Sc x 26, change to body colour, Sc x 9 (44)
18- Sc x 8, Change to belly colour, Sc x 28, change to body colour, Sc x 8 (44)
19- Sc x 7, Change to belly colour, Sc x 30, change to body colour, Sc x 7 (44)
20- Sc x 6, change to belly colour, Sc x 3, Sc inc, (Sc x 7, Sc inc) x 3, Sc x 4, change to body colour, Sc x 6 (48)
21- Sc x 5, change to belly colour, Sc x 38, change to body colour, Sc x 5 (48)
22- Sc x 4, change to belly colour, Sc x 40, change to body colour, Sc x 4 (48)
23- Sc x 3, Change to belly colour, Sc x 3, Sc dec, (Sc x 6, Sc dec) x 4, Sc x 5, change to body colour, Sc, Sc dec (42)
24- Sc dec, change to belly colour, Sc x 5, (Sc dec, Sc x 5) x 4, Sc x 3, Sc dec, Sc, change to body colour, Sc (36)
25- Change to belly colour, Sc x 2, Sc dec, (Sc x 4, Sc dec) x 5, Sc x 2 (30)
Stuff firmly and continue to stuff as you go.
26- (Sc x 3, Sc dec) x 6 (24)
27- (Sc x 2, Sc dec) x 6 (18)
28- (Sc, Sc dec) x 6 (12)
29 Sc dec x 6 (6)
Break yarn and pull through. Weave the loose end through the FLOs of r29 to close off the body.
The body should be almost bean shaped.
The Beak
Use black yarn
1- Sc x 4 in to a MR (4)
2- (Sc inc, Sc) x 2 (6)
3- (Sc inc, Sc x 2) x 2 (8)
4- Sc x 8 (8)
5- (Sc inc, Sc x 3) x 2 (10)
Ss, break yarn and pull through. Leave a tail of yarn for sewing later. The beak is not stuffed. Fold flat.
The Feet
Use black yarn. Make 2.
1 Work all stitches in to a MR
(Ch 4, Sc in 2nd Ch from your hook,
Sc x 2, Ss in to ring) x 3, Sc, Ch 2,
Sc in to 2nd Ch from hook, Sc, Ss
Tighten your MR. Break yarn and fasten off invisibly. Leave a tail of yarn for sewing later.
Wings
Use body colour. Make 2.
1- Sc x 6 in to a MR (6)
2- Sc inc x 6 (12)
3- (Sc, Sc inc) x 6 (18)
4- (Sc x 2, Sc inc) x 6 (24)
Fold the piece in half to make a semicircle (you will now have 12 stitches on top of another 12 stitches)
5- Ch 1, We will now work across both layers
(Sc x 3, Sc inc) x 3 (15)
Turn
6- (Ch 5, Ss in to the 5th Ch from your hook, Ss in to the next St) x 4
(Ch 4, Ss in to the 4th Ch from your hook, Ss in to the next St) x 3
(Ch 3, Sc in to the 3rd Ch from your hook, Ss in to the next St) x 3
Ss in the remaining 4 Sts
The Tail
Use body colour
1- Ch 4, Sc in 2nd Ch from your hook, Sc x 2, Ch 5, Sc in the 2nd Ch from your hook, Sc x 3, Ch 4, Sc in the 2nd
Ch from your hook, Sc x 2 (10) Pull through & leave a tail of yarn for sewing later.
Construction
Sew the beak centrally between the eyes between r 10-14 approx.
Embroider a white stich on the outer side of each safety eye.
Sew the wings to each side of the body. The wings are sewn starting on r 14 of the body and angle down
obliquely.
Sew the feet on either side of the belly. The centre of the MR sits on r 22.
Sew the tail to the back of the body.
Optional details – embroider little Vs on the front of the belly.
Your Robin is now complete!
Congratulations
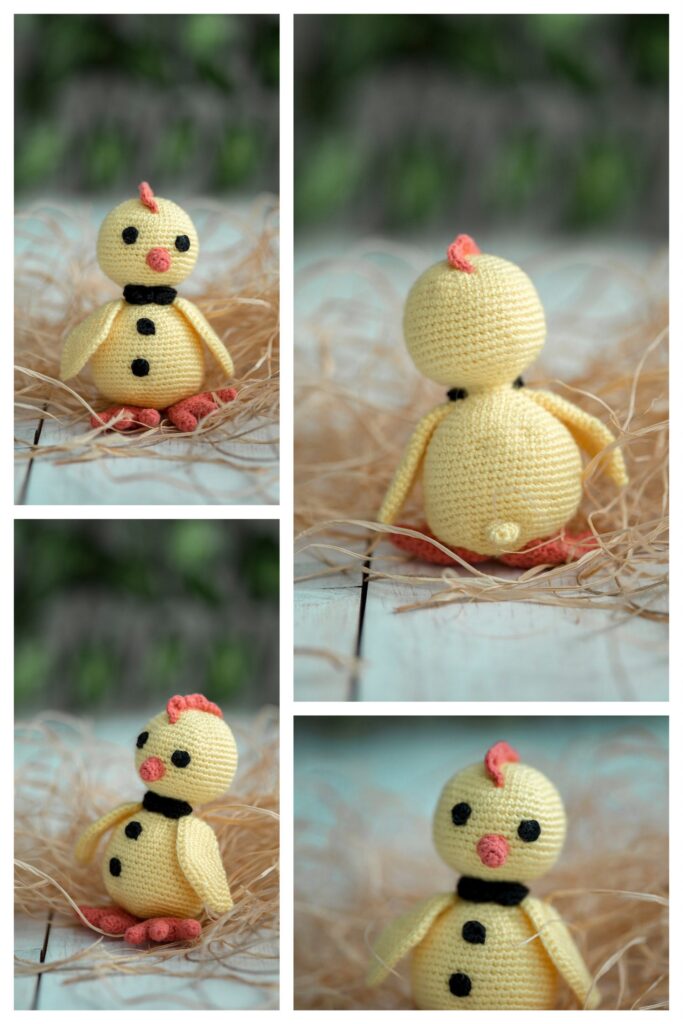
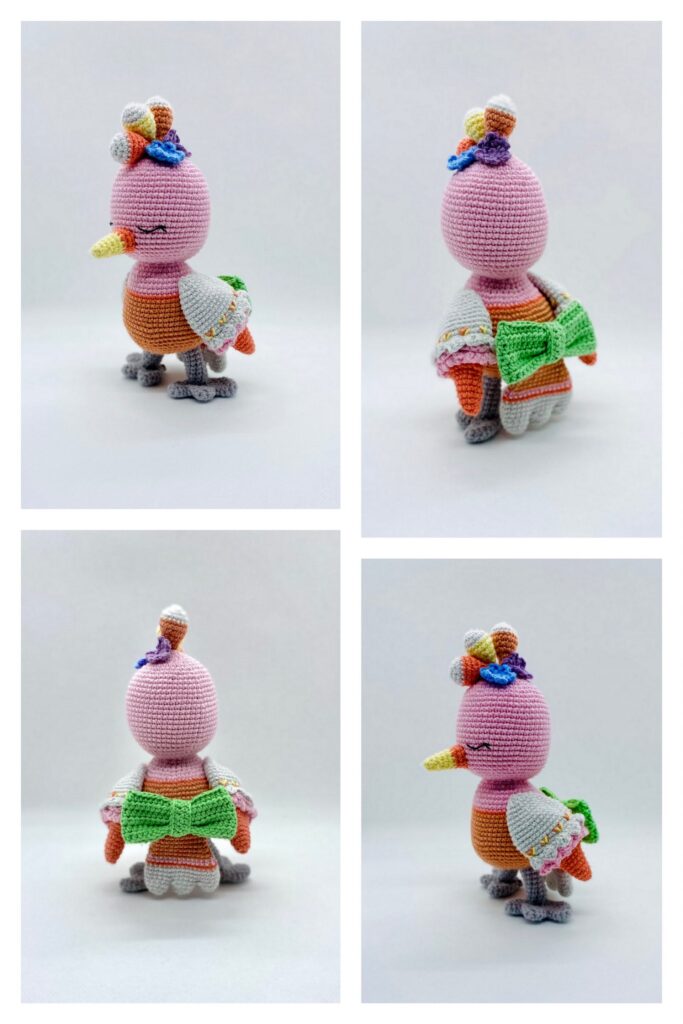
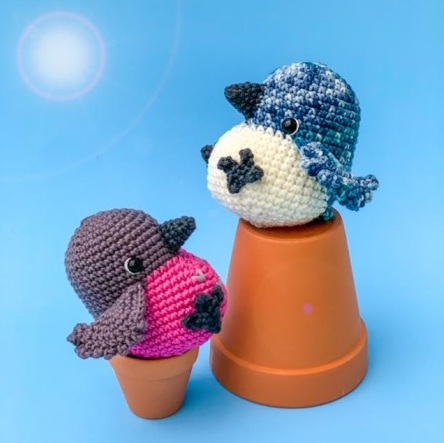
More Amigurumi Bird Ideas: