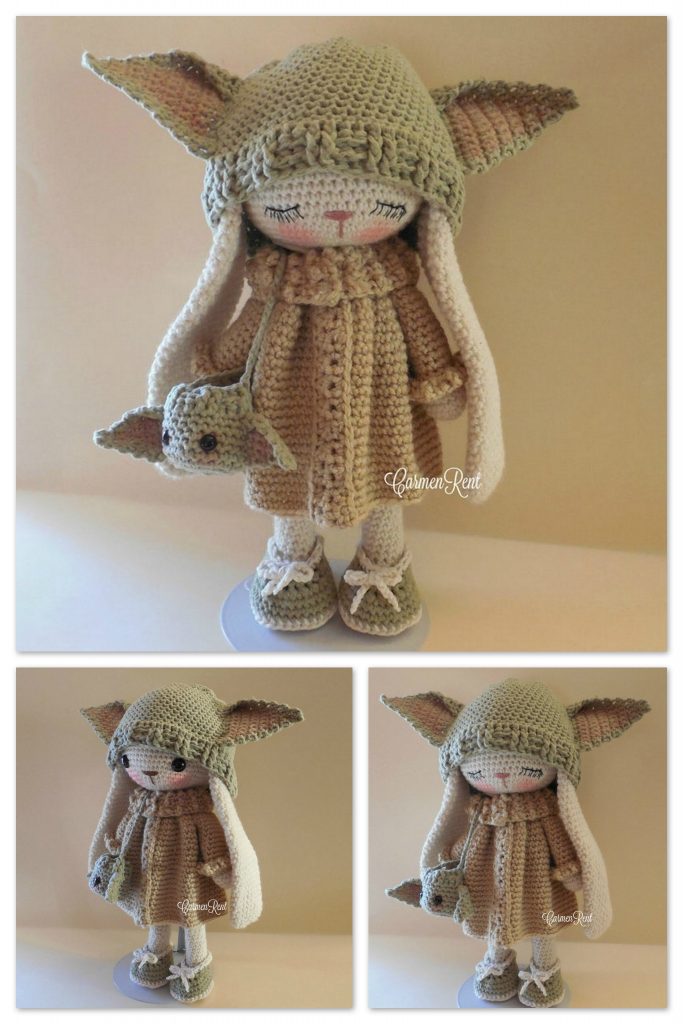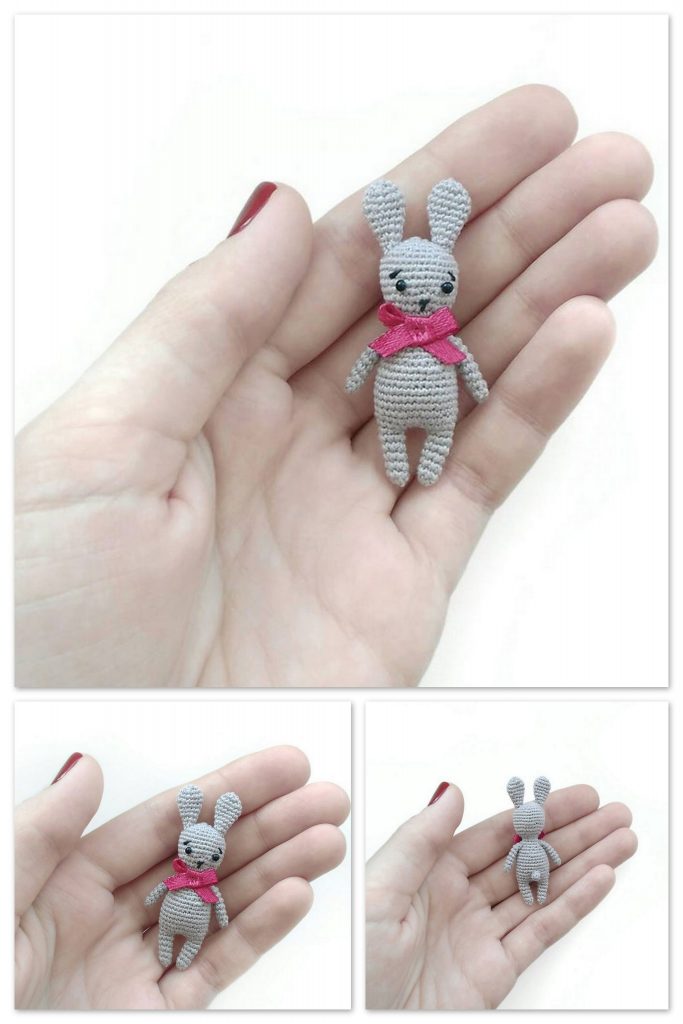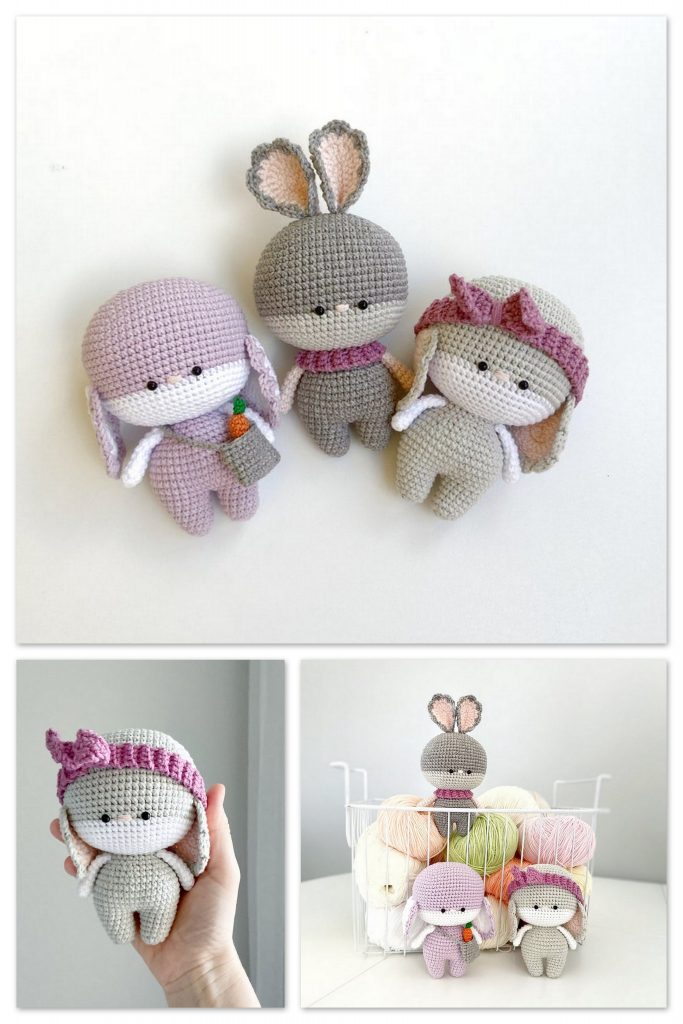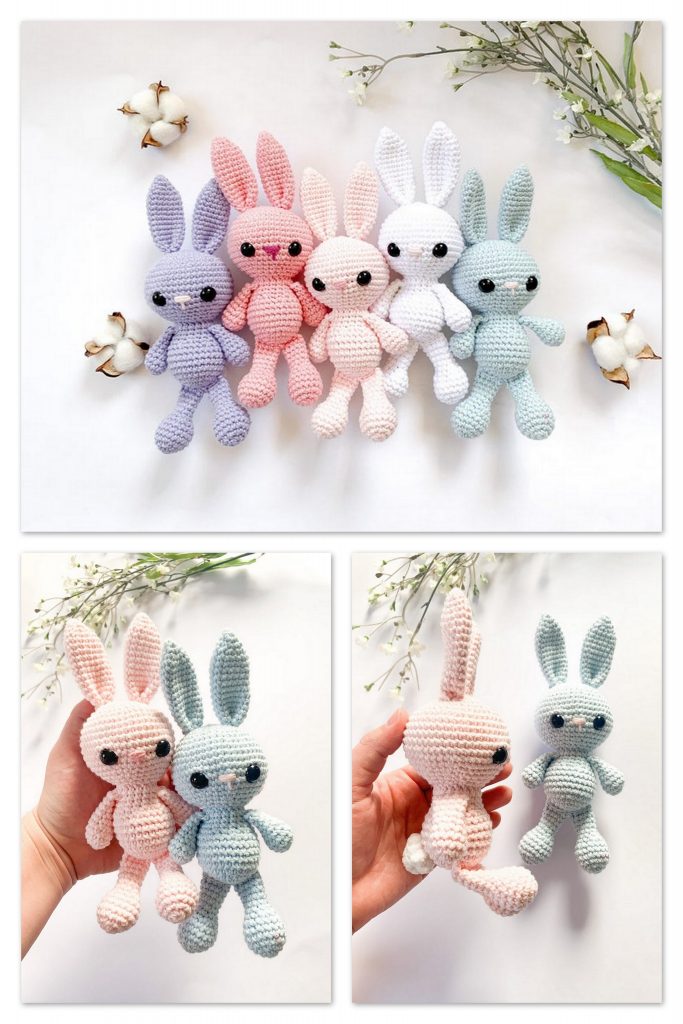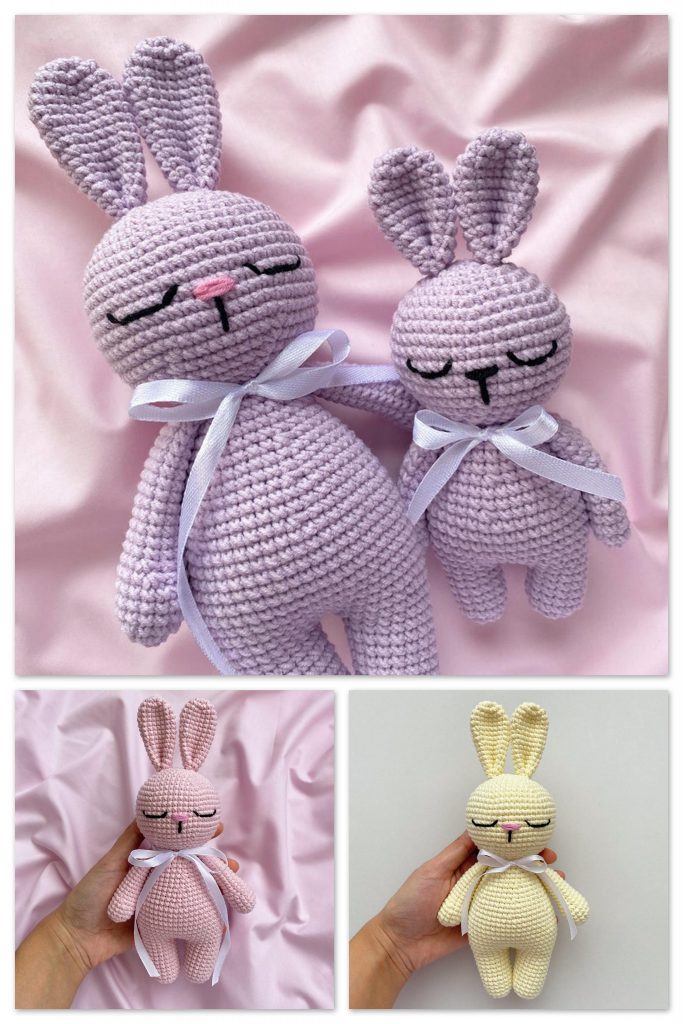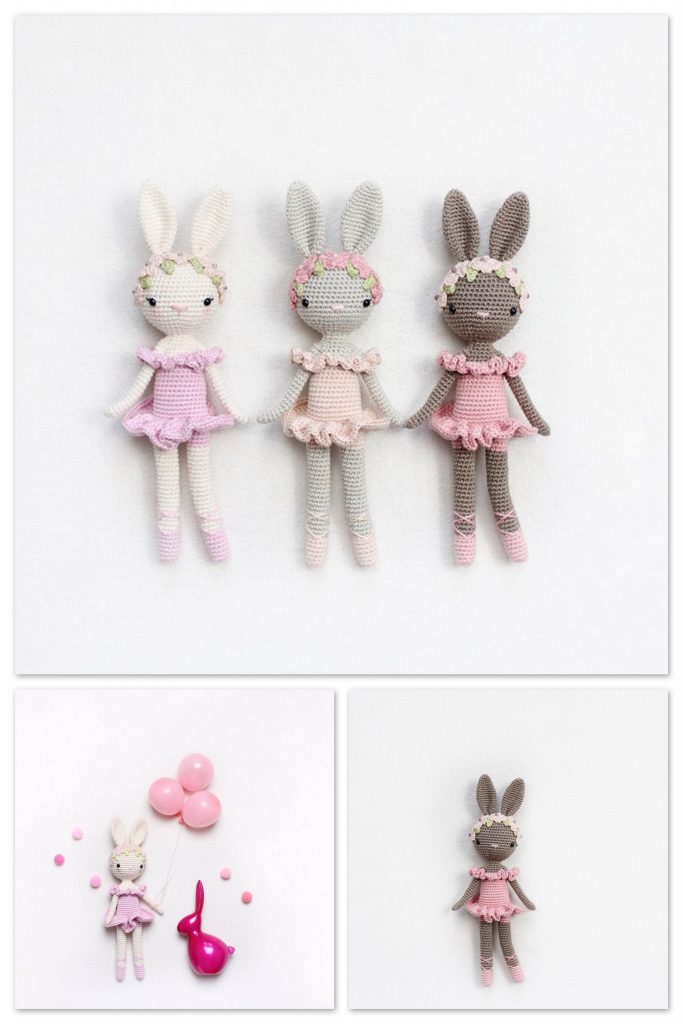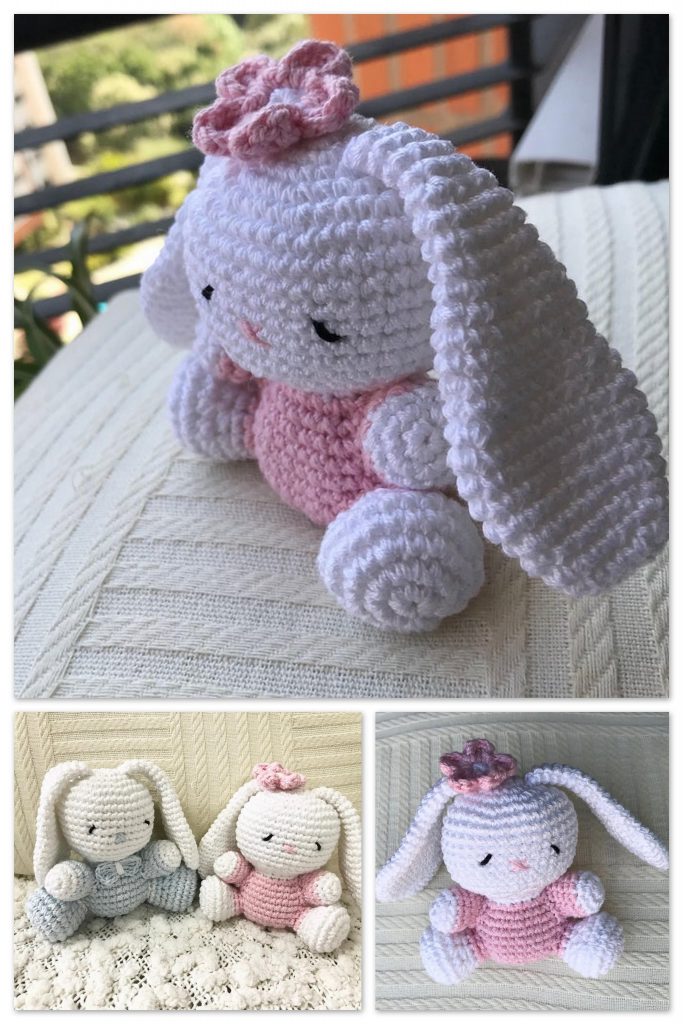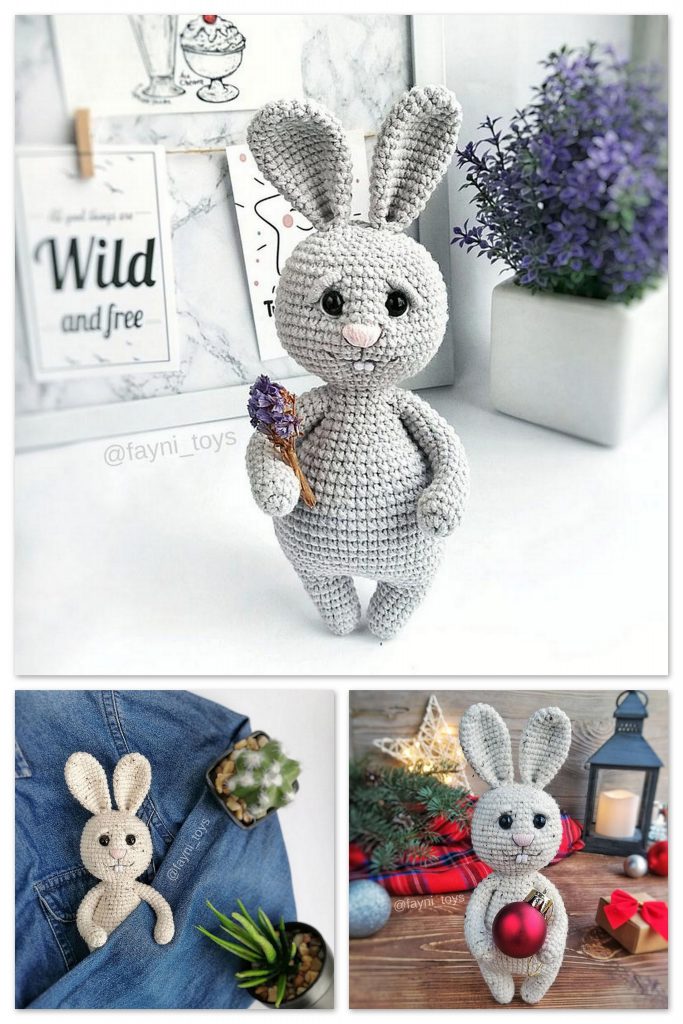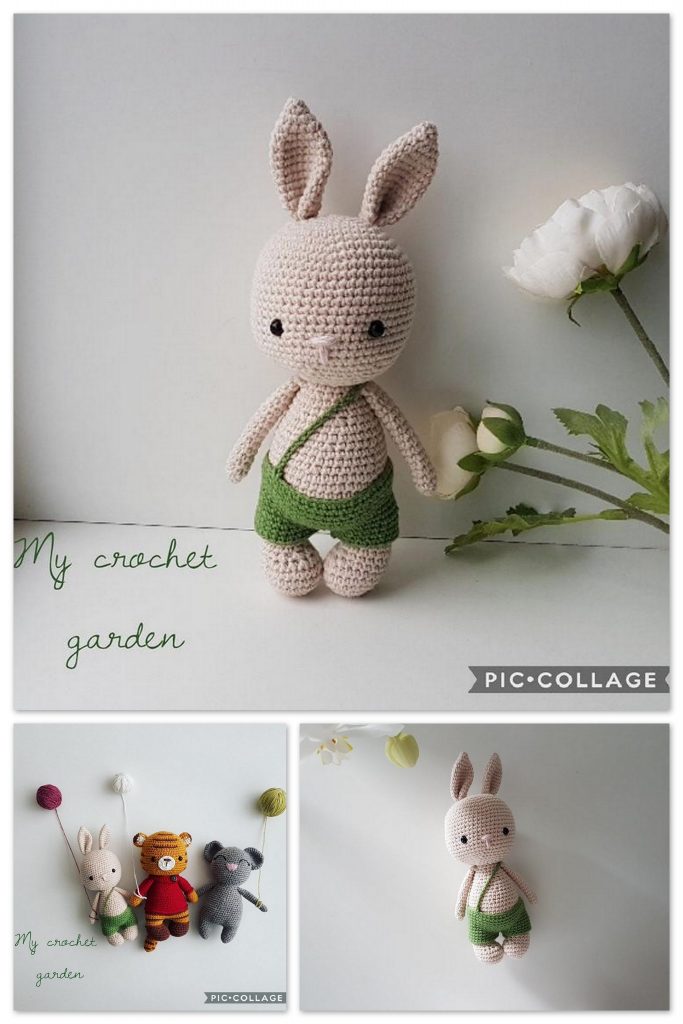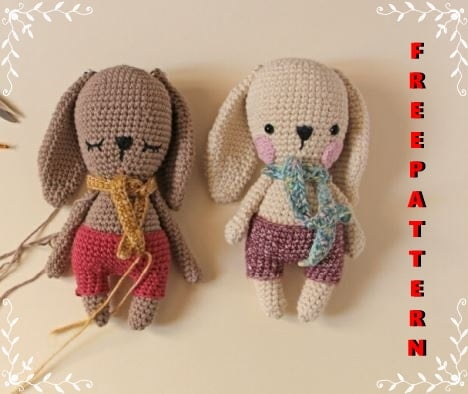
If you enjoy making amigurumi, here I share this easy and free amigurumi pattern for you for free. Your kids will love these toys.
Materials
● 100% Cotton yarn: 5 colors of your choice (for the rabbit’s body, pants, scarf, cheeks
and the nose embroidery).
● Crochet hook according to the thickness of the yarn used. In this pattern used a 3 mm
crochet (and 2,5 mm for the cheeks).
● Black safety eyes (I used 8 mm eyes, but you can use the size that you like most for
this project or you can make the eyes embroidered).
● Toy stuffing.
● Yarn needle.
● Scissors, sewing pins and stitch markers (if you don´t have you can use a thread, a
hairpin, a safety pin, etc.).
Abbreviations
● Mr – Magic ring.
● Sc – Single crochet.
● Ch – Chain.
● St / sts – Stitch / stitches.
● Sl st – Slip stitch.
● Hdc – Half double crochet.
● Dc – Double crochet.
● Inc – Single crochet increase (2sc in one st).
● Inv dec – Invisible single crochet decrease (2sc together, front loops only).
● Rnd – Round.
● [nº] – The number inside the brackets is the total stitches of the round. Ex: [12] means
that in total, at the end of the round, there must be 12 stitches.
● (…) xN – Repeat the instructions between the brackets N times. Ex: (1sc, 1inv st) x6,
means that we should weave 1sc, 1inv dec 6 times.
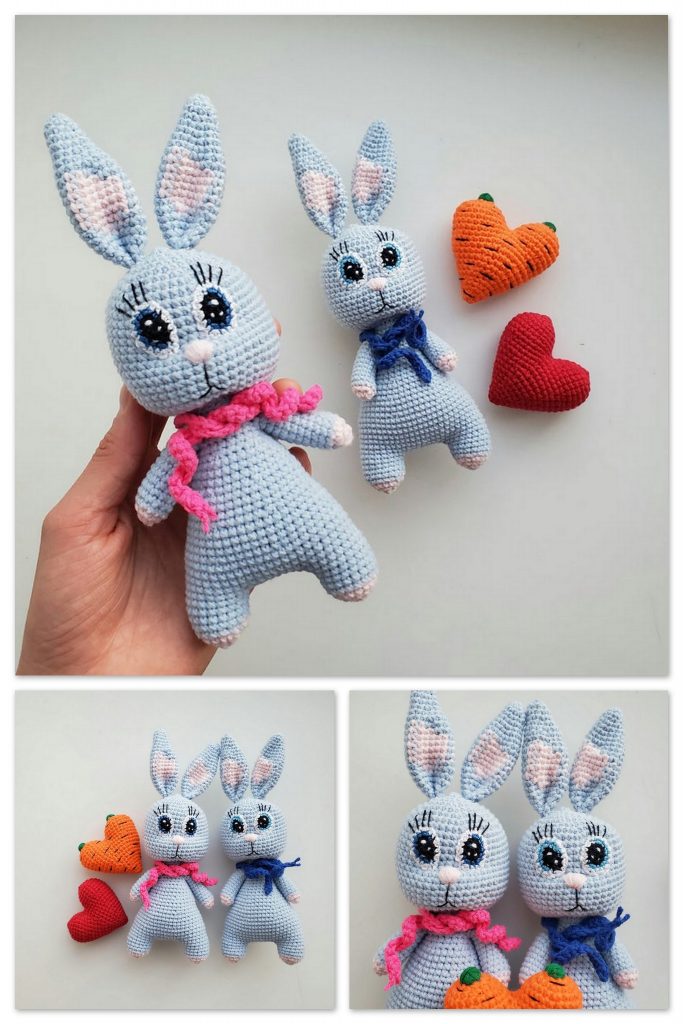
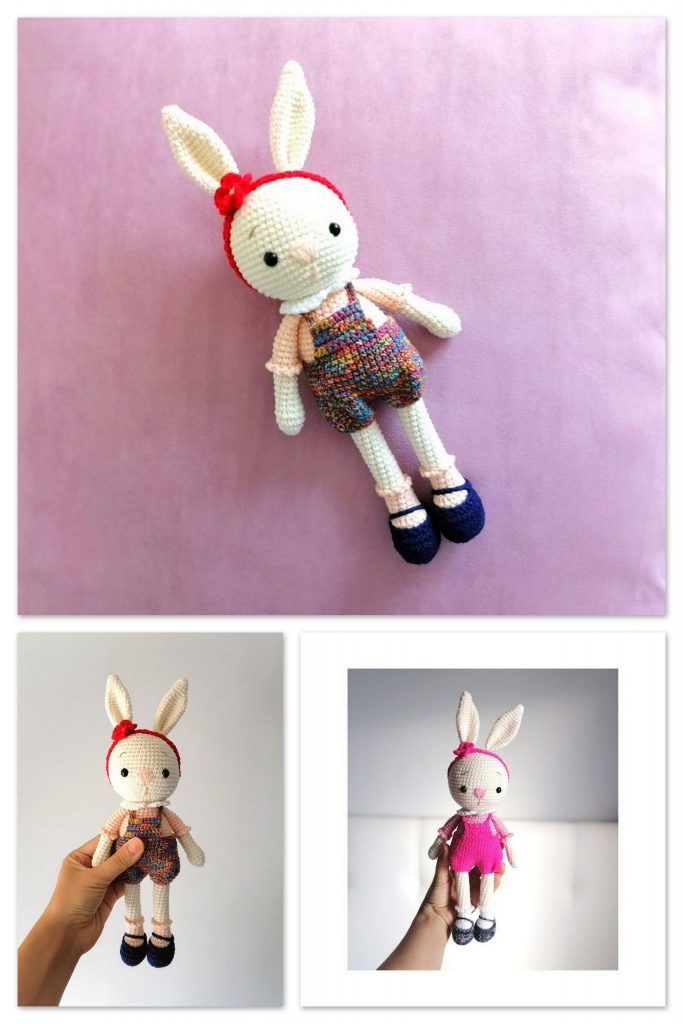
Amigurumi bunny free pattern
HEAD AND BODY:
Start with your main color (color A)
Rnd 1: 6sc in a mr [6]
Rnd 2: 6 inc [12]
Rnd 3: (1sc, 1inc) x6 [18]
Rnd 4: (2sc, 1inc) x6 [24]
Rnd 5: (3sc, 1inc) x6 [30]
Rnd 6: (4sc, 1inc) x6 [36]
Rnd 7: (5sc, 1inc) x6 [42]
Rnd 8: (6sc, 1inc) x6 [48]
Rnd 9-12: 48sc (4 rounds)
Rnd 13: (6sc, 1inv dec) x6 [42]
Rnd 14-17: 42sc (4 rounds)
Rnd 18: (5sc, 1inv dec) x6 [36]
Rnd 19-21: 36sc (3 rounds)
Rnd 22: (4sc, 1inv dec) x6 [30]
Rnd 23: (3sc, 1inv dec) x6 [24]
—Place the safety eyes between rounds 17 and 18 with 10 stitches in between—
Rnd 24: (2sc, 1inv dec) x6 [18]
Rnd 25: 18sc (only front loop)
Rnd 26: (2sc, 1inc) x6 [24]
Rnd 27: 24sc
Rnd 28: (3sc, 1inc) x6 [30]
Rnd 29-32: 30sc (4 rounds)
Stuff the head
Rnd 33: (4sc, 1inc) x6 [36]
Rnd 34-36: 36sc (3 rounds)
Rnd 37: (5sc, 1inc) x6 [42]
Rnd 38: 42sc
Rnd 39: (5sc, 1inv dec) x6 [36]
Rnd 40: (4sc, 1inv dec) x6 [30]
Stuff slightly (then we will put more stuffing).
To make the legs, divide the body with markers in this way: 10 stitches for each leg with
5 stitches in between (it is important that the 5 stitches that are in the middle are
centered and so, if it is necessary, add or undo stitches):
Leg 1:
Join the 10 stitches with a sl st and continue crocheting:
Rnd 1-8: 10sc (8 rounds)
Rnd 9: (4 inv dec, 1 sc, 1sl st) [6]
Close*
(*fasten off, leaving a long tail. Using a tapestry needle, pull the yarn tail through the
front loops and pull it tight to close. Weave in the yarn end).
—Stuff the leg #1 and the rest of the body through the hole in leg #2—
Leg 2:
Do the same as with the previous leg (I recommend leaving a long thread at the beginning to
sew the gap between the legs at the end).
Before starting round 9 finish stuffing what is missing. Finish and close.
-Check if there is the right amount of stuffing, sew the gap between the legs and fasten
off.
EARS (X2):
Make with the same color of the body
Rnd 1: 6sc in a mr [6]
Rnd 2: 6 inc [12]
Rnd 3-5: 12sc (3 rounds)
Rnd 6: (1sc, 1inc) x6 [18]
Rnd 7-8: 18sc (2 rounds)
Rnd 9: (2sc, 1inc) x6 [24]
Rnd 10: 24sc
Rnd 11: (1inv dec, 10sc) x2 [22]
Rnd 12: 22sc
Rnd 13: (1inv dec, 9sc) x2 [20]
Rnd 14: 20sc
Rnd 15: (1inv dec, 8sc) x2 [18]
Rnd 16-18: 18sc (3 rounds)
Rnd 19: (1inv dec, 7sc) x2 [16]
Rnd 20: 16sc
Rnd 21: (1inv dec, 6sc) x2 [14]
Rnd 22: 14sc
Rnd 23: (1inv dec, 5sc) x2 [12]
Rnd 24: (1inv dec, 4sc) x2 [10]
Rnd 25: (1inv dec, 3sc) x2 [8]
Rnd 26: 7sc, 1sl st [8]
Fasten off leaving a long thread to sew it onto the body.
ARMS (X2):
Make with the same color of the body
Rnd 1: 6sc in a mr [6]
Rnd 2: 6 inc [12]
Rnd 3-4: 12sc (2 rounds)
Rnd 5: (1inv dec, 4sc) x2 [10]
Rnd 6-15: 10sc (10 rounds)
Rnd 16: 9sc, 1sl st [10]
Fasten off leaving a long thread to sew it onto the body.
*The arms don´t need to be stuffed.
PANTS:
Make with another color of yarn (color B)
Make 40 ch and join with sl st in to first ch (to form a ring) and continue crocheting:
Rnd 1-4: 40sc (3 rounds)
Rnd 5: 2sc, (5sc, 1 inc) x6, 2 sc [46]
Rnd 6: 46sc
Rnd 7: 2sc, (5sc, 1 inv dec) x6, 2 sc [40]
Rnd 8: 2sc, (4sc, 1 inv dec) x6, 2 sc [34]
Rnd 9: 34sc
Separate with markers in this way (in the same way that we did before with the legs): 12
stitches for each leg with 5 stitches in between.
Leg 1:
Join the 12 stitches with a sl st and continue crocheting:
Rnd 1-2: 12sc (2 rounds)
Rnd 3: 11sc, 1 sl st [12]
Fasten off by hiding the excess thread.
Leg 2:
Do the same as with the previous leg (I recommend leaving a long thread at the
beginning to sew the gap between the legs at the end).
Sew the gap between the legs, Fasten off and hide the excess threads.
CHEEKS (X2):
Make with thinner yarn and 2,5 mm crochet hook (color C)
Rnd 1: 6sc in a mr [6]
Rnd 2: 6 inc [12]
Rnd 3: (1sc, 1inc) x6, 1sl st [18]
Fasten off leaving a long thread to sew it onto the body.
If you do with 3 mm crochet (and a yarn according) may be too big for the face of the
rabbit, if you see that it is so, do only rounds 1 and 2 ending with a sl st.
SCARF:
1- Make 69 ch
Turn and continue crocheting starting in the second stitch.
2- 1sl st, 1sc, 1hdc, 62dc, 1hdc, 1sc, 1sl st
Top off by hiding the excess thread.
ASSEMBLY:
1-Put the pants on to the rabbit taking care that the legs are well placed (make some
stitches if you want to fix them).
2-Place the cheeks, under the eyes, according to what looks good for you (using pins)
and sew.
3-Place the arms on each side of the body, just under the head, and sew.
4-Place the ears, with the help of pins, in the head according to what looks good for you
(I put the base of the ears on round 6 approximately) and sew.
*You can make a few stitches hidden under the ears, so that the ears are more attached to
the head (in the back of the head), as seen in the images.
5- Tie the scarfaround the neck.
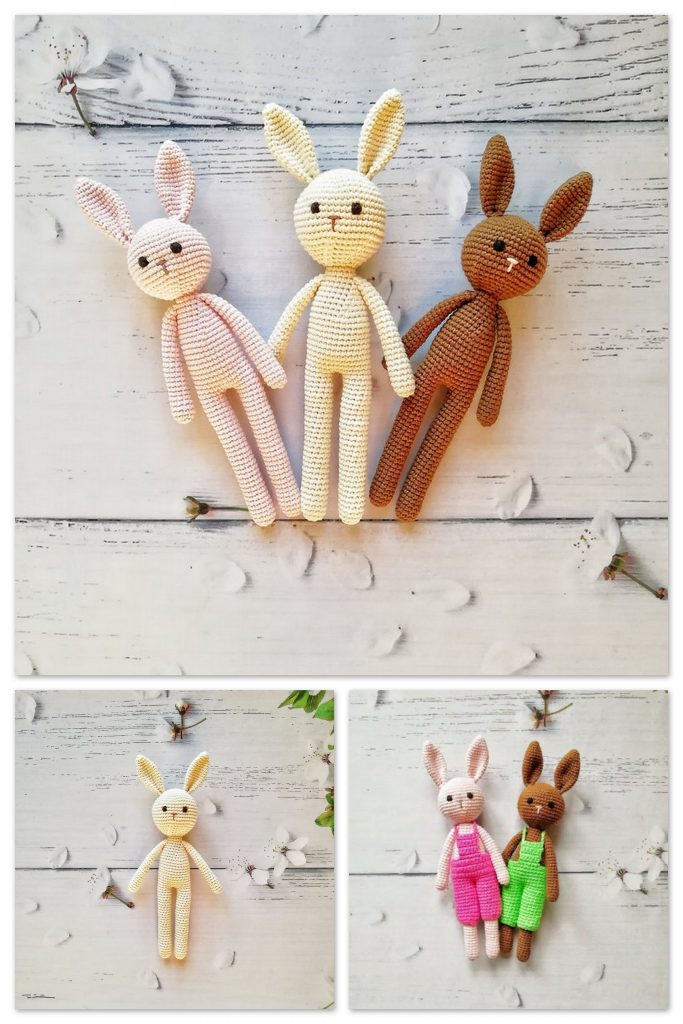
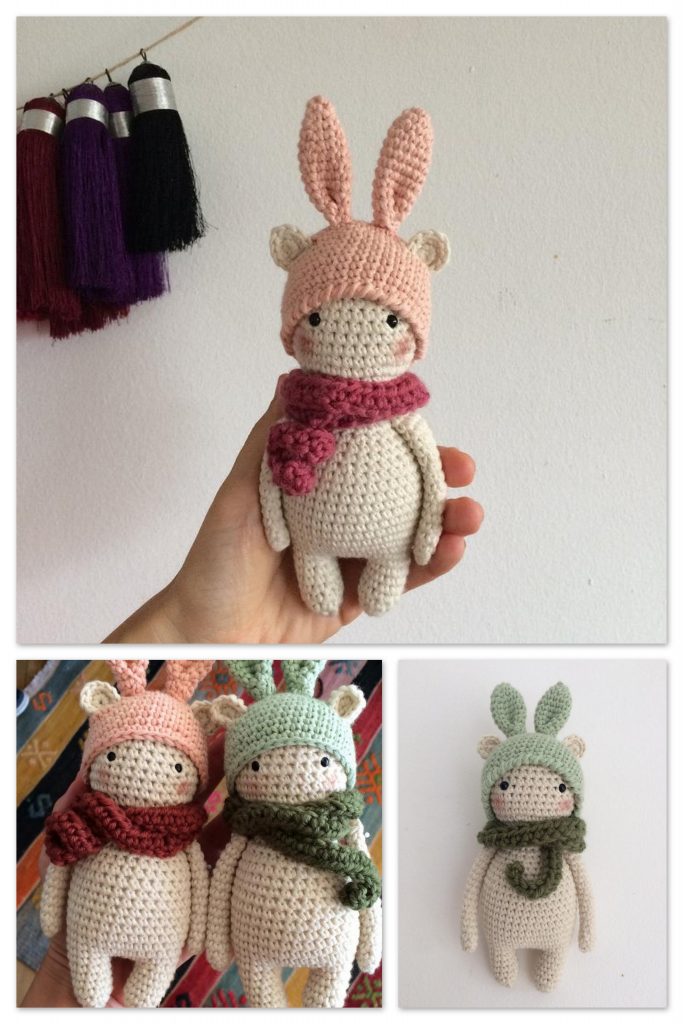
More Amigurumi Bunny İdeas