Abbreviations
Sc: Single crochet
ch: Chain
St: Stitch
inv.dec: invisible decrease
Materials you will need
2 mm crochet hook
8 ply cotton yarn in various colors
4,5 mm round, black, wooden beads
for eyes
stuffing of your choice
needle for sewing up the body parts
together
embroidery thread if you will want to
sew on the eyelashes to the doll’s eyes
HEAD
CH 6
R1: Starting from second chain from hook, Sc 4. 3sc in last st. continue your work
stitching around the other side of the chain, Sc 4, 2sc in last st. (12 sts)
R2: Sc 1, 2 sc in next st, rep 6 times. (18 sts)
R3: Sc 2, 2 sc in next st, rep 6 times. (24 sts)
R4: Sc 3, 2 sc in next st, rep 6 times (30 sts)
R5: Sc 4, 2 sc in next st, rep 6 times (36 sts)
R6-10: Sc 36
If you are using safety eyes, place them between row 10 and 11, leaving 6 stitches
between them.
R11: Sc 2, 2 sc in next st, rep 12 times (48 sts)
R12: Sc 7, 2 sc in next st, rep 6 times (54 sts)
R13-R17: Sc 54
R18: Sc 7, inv.dec 1, rep 6 times (48 sts)
R19: Sc48
R20: Sc 4, inv.dec 1, rep 8 times (40 sts)
R21: Sc 2, inv.dec 1, rep 10 times (30 sts)
R22: Sc 1, inv.dec 1, rep 10 times (20 sts)
R23: inv.dec.8, sc4 (12 sts)
Fasten off and stuff head firmly. Stuff little by little and form so you shape the head
nicely.
HAIR
R1: stitch 4sc in magic ring ch1 turn around
(Do not close the ring, chain one and continue stitching backwards, as you would with
the flat peace. We will be crocheting the rows here. Every row finish with the chain1,
turn around, and continue stitching in the second stitch from the hook.)
R2: 2sc in each st (8 sts) ch1 turn around
R3: Sc 1, 2 sc in next st, rep 4 times. (12sts) ch1 turn around
R4: Sc 2, 2 sc in next st, rep 4 times (16 sts)
R5: Sc 3, 2 sc in next st, rep 4 times (20 sts)
R6: Sc 4, 2 sc in next st, rep 4 times (24 sts)
R7: Sc 5, 2 sc in next st, rep 4 times (28 sts)
R8-13: Sc 28
R14: Sc 2, 2 sc in next st, rep 8 times (36 sts)
R15: Sc 36
Ch1 and begin single crochet stitching to the side, toward the top of the head, where
magic ring and first row is started.
Reaching the magic ring we will start making bangs.
Slip stitch 1 in the magic ring, chain 10, and return back slip stitching 9 at each stitch
on the chain.
Slip stitch again to the magic ring, ch 10, return back slip stitching to 9 stitches on the
chain, slip stitch to the magic ring, and repeat 3 more times, or until you create
desired number of the bangs. (in my case there are 5).
Finishing last peace of hair, single crochet to the working side of the hair, and
continue sc into each last row stitch (14 sts).
Reaching the end, tie off and leave long end for sewing the hair on the head.
Here are few samples of what you can do. Some you could see at presentations photo
on the start of this post. Would have been to much if I tried to write down each and
every pattern for different hair styles I’ve done; but as I said, if you will need any
help, feel free to contact me and ask. Will be glad to help you.
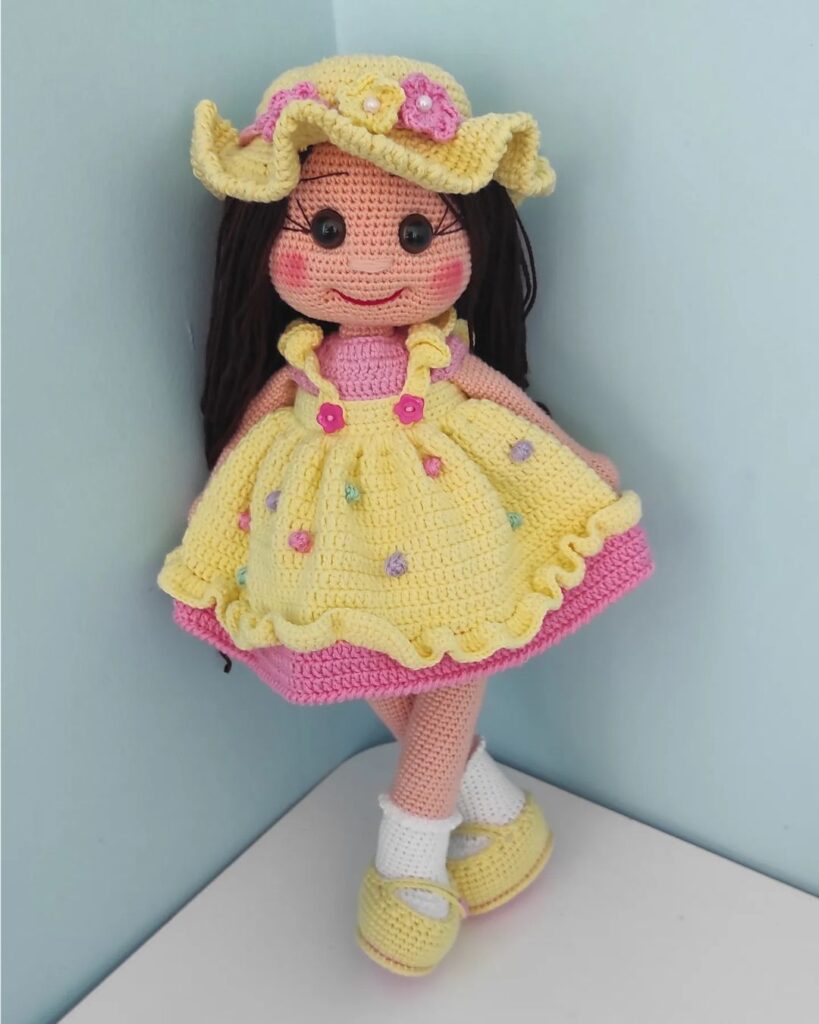
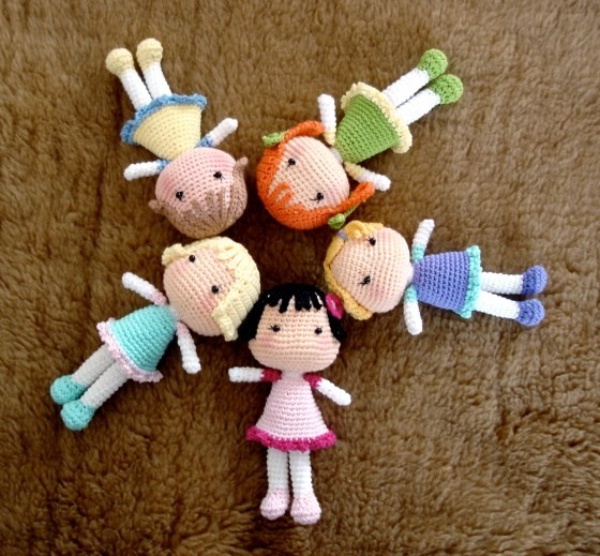
Hair we are making in this pattern is the one shown on the first photo published here;
look at the last doll in the line. One with light brown hair (yellow and blue dress).
LEGS & BODY
Leg1:
R1: 6 Sc in magic ring (6)
R2: 2 sc in each st around (12)
R3: 2sc in one st, sc1 x6 (18)
R4: 18 sc
R5: Inv.dec6, sc6 (12)
R6: Inv.dec3, sc6 (9)
Stuff the bottom of the leg.
Change color of the thread and continue with R7.
R7-R16: 9 sc
Tie off and leave long end for sewing later. Stuff the leg.
Leg2:
R1: 6 Sc in magic ring (6)
R2: 2 sc in each st around (12)
R3: 2sc in one st, sc1 x6 (18)
R4: 18 sc
R5: Inv.dec6, sc6 (12)
R6: Inv.dec3, sc6 (9)
Stuff the bottom of the leg.
Change color of the thread and continue with R7.
R7-R16: 9 sc
At this point stuff the leg and bring both legs together.
R17: ch1, sc to the second last stitch on the next leg, sc7, ch1, sc to next leg, leaving
one stitch free. Sc8. (18)
Pull out the yarn from the first leg you left for sewing later, through the gap between
the legs. So it doesn’t come to your way while crocheting. You will use this yarn to
sew this gap after body is done and stuffed.
R18-25: 18 sc
R26: Inv.dec.1, sc1 x6 (12)
R27-29: 12 sc
Tie off leaving long end for sewing the body to the head.
Stuff the body as firm as you can.
Now take the sewing needle and the yarn there is between the legs (one you left from
finishing the first leg) and sew the gap nicely.
ARMS X2
R1: 6 sc in magic ring (6)
R2-6: 6 sc
Change color
R7-R9: 6sc
Tie of and leave long end for sewing the arms to the body
DRESS
R1: 18 Sc in magic ring (18) (don’t close the ring completely)
R2-R3: 18 sc
R4: 2sc in one st, sc next 2 x6 (24)
R5-R6: 24 sc
R7: 2sc in one st, sc next 3sts x6 (30)
R8-R9: 30 sc
R10: 2sc in one st, sc next 4 sts x6 (36)
R11: 36 sc
Change color
R12: ch3, sc in next st repeat all around
Tie off and hide ends.
Put the dress over the body and sew the body on the head.
Sew on the hair, and finally place and sew the arms (I find it best if you leave 6
stitches looking in front of the dress, between each arm). I also suggest to sew the
arms on the dress only. Not only it is easier, but gives you space to sew and hide ends
nicely.
I hope you have enjoyed making it, and the hair you have learned will open up a
whole new possibilities.
Experiment and try different styles. Share what you have learned and teach us
something new as well.
Congratulations
More Amigurumi Doll İdeas :