Supplies
– 3.5mm (E) hook
– 15mm safety eyes
– Yarn needle
– Fiber fill
Yarn (acrylic, weight 4)
– Tan (I used Red Heart Super Saver – Buff)
– Hot Pink (I used Red Heart With Love – Hot Pink)
Notes
Abbreviations
ch: chain
sc: single crochet
inc: 2sc increase
dec: invisible decrease
dc: double crochet
dec3tog: Just like a regular invisible decrease, except you’re decreasing 3 stitches together instead of 2.
Attaching with thread vs. yarn tail
For a cleaner look on the face “mask” and snout, I opted to cut short tails, weave them in, and attach the pieces to the head with a standard needle and matching thread. However, you can also attach the snout using a yarn needle and the yarn tail. It’s up to you!
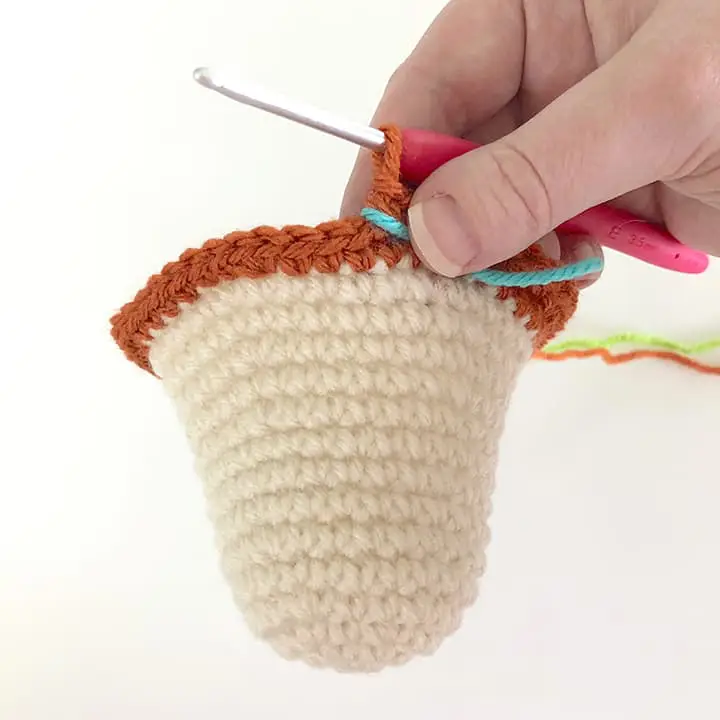
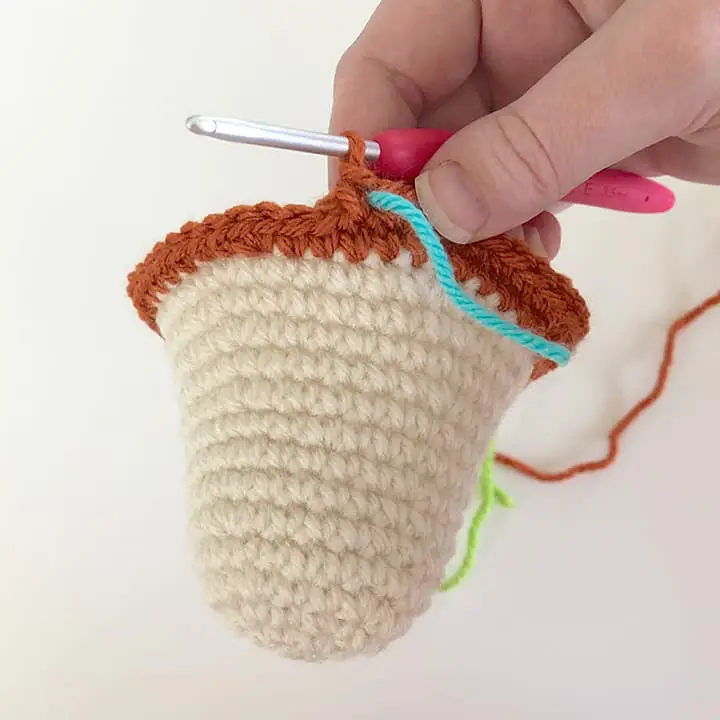
Regarding stitch markers
Note: The photos above show a fox, but the technique is the same for all of my patterns.It’s not necessary to mark stitches for the eyes on this pattern, but it does indicate to insert 2 stitch markers showing you where to begin attaching the ears.I recommend using strands of yarn in 2 different colors as your stitch markers: Two strands in color 1 (pink) to mark where you will place each ear, and one long strand in color 2 (green) to track the beginning/end of each round.The photos above demonstrate how to mark a stitch while crocheting a round: lay your strand of yarn acting as a marker over your working yarn and the stitch you’ll be working into, then complete the stitch as normal.You’ll essentially be weaving the long strand in color 2 through your work with each round. On odd rounds you’ll be laying the strand back-to-front, and on even rounds you’ll be laying the strand front-to-back.The advantage of using this technique is you’ll have the beginning of every single round marked, which makes it much easier to find your place if you make a mistake. That said, It’s perfectly fine to use a regular ol’ safety pin-like marker to keep track of your rounds instead. ?
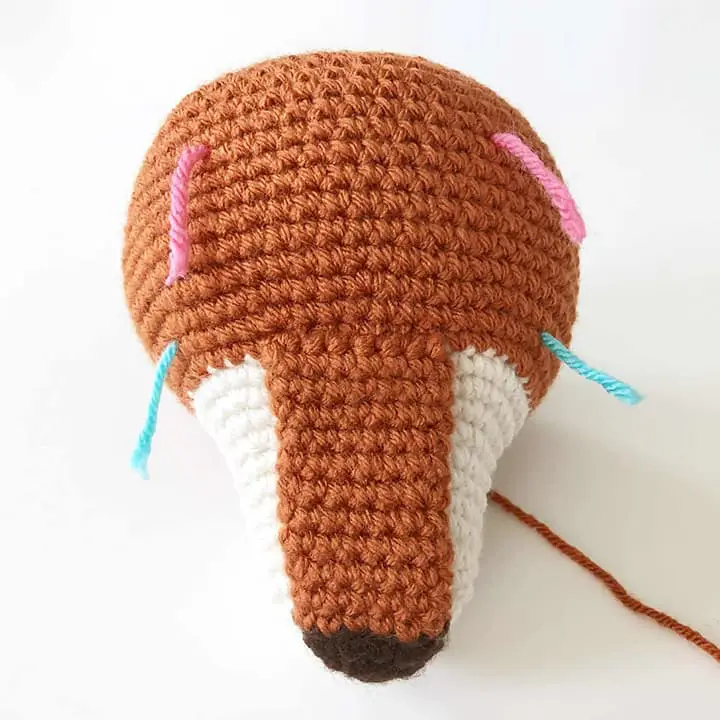
Monkey face tutorial
Here are the next steps to get your monkey face to look like the example photos (the stitches up the middle of the head is my stitch marker in color 2 mentioned above – it keeps track of the beginning/end of each round and can be pulled out when your work is completed):
Step 1 – Place the eye “mask” horizontally on the face, so the starting magic ring is centered in the bottom indent of the mask. Stitch around so the “mask” is secured to the face.
Step 2 – Attach the snout so the top-middle rests at the center of the “mask”. Stitch ¾ around and stuff, then finish stitching.
How to indent the eyes
Note: The video above shows a unicorn, but the technique is the same for all of my patterns.Step 1 – Cut a strand of yarn approximately 18″ long. Tie a large, secure knot in one end and thread the other end through your yarn needle.Step 2 – Insert your needle through the back opening of the head and sew between between the starting chains in each eye oval.Step 3 – Pull your strand of yarn taut, which will create indents.Step 4 – Fasten off with a knot and hide your yarn tail inside the head, then insert and secure your safety eyes. I found it difficult to push the safety eyes through two crochet layers, so I “drilled a hole” where the eye would go with a pair of scissors first. That made it much easier!
Instructions
Be sure to read the “notes” section before proceeding.
Snout
With tan yarn:
01. Chain 5 start: ch5, inc in 2nd ch from hook, sc 2, 5sc in the last ch. Continue on the other side of the chain base, sc 2, 3sc in the last ch [14]
02. inc, sc 4, *inc* 3 times, sc 4, *inc* 2 times [20]
03. inc, sc 6, *inc* 2 times, sc, inc, sc 6, *inc* 2 times, sc [26]
04. inc, sc 8, *inc, sc* 2 times, inc, sc 8, *inc, sc* 2 times [32]
05. inc, sc 10, inc, sc 2, inc, sc, inc, sc 10, inc, sc 2, inc, sc [38]
06. inc, sc 12, *inc, sc 2* 2 times, inc, sc 12, *inc, sc 2* 2 times [44]
07. inc, sc 14, inc, sc 3, inc, sc 2, inc, sc 14, inc, sc 3, inc, sc 2 [50]
08 – 09. sc in each st around [50]
10. sc 4, dec, *sc 8, dec* 4 times, sc 4 [45]
11. *sc 7, dec* [40]
12. sc 3, dec, *sc 6, dec* 4 times, sc 3 [35]
Fasten off and leave a long tail for sewing.
Eye Ovals (make 2)
With tan yarn:
01. Chain 3 start: ch 3, inc in 2nd ch from hook, 5sc in the last ch. Continue on the other side of the chain base, 3sc in the last ch [10]
02. inc, sc 2, *inc* 3 times, sc 2, *inc* 2 times [16]
03. inc, sc 4, *inc* 2 times, sc, inc, sc 4, *inc* 2 times, sc [22]
04. inc, sc 6, *inc, sc* 2 times, inc, sc 6, *inc, sc* 2 times [28]
05. inc, sc 8, inc, sc 2, inc, sc, inc, sc 8, inc, sc 2, inc, sc [34]
Place your ovals end-to-end to form a figure 8 and stitch the 3 touching stitches together.
Ears (make 2)
With hot pink yarn yarn:
01. start 6 sc into a magic ring [6]
02. inc in each st around [12]
03. *sc, inc* [18]
04. sc, inc, *sc 2, inc* 5 times, sc [24]
05. *sc 3, inc* [30]
06. sc 2, inc, *sc 4, inc* 5 times, sc 2 [36]
07. *sc 5, inc* [42]
08. sc in each st around [42]
09. *sc 5, dec* [36]
10. sc 2, dec, *sc 4, dec* 5 times, sc 2 [30]
11. *sc 3, dec* [24]
12. sc, dec, *sc 2, dec* 5 times, sc [18]
13. sc in each st around [18]
Fasten off and leave a long tail for sewing. Fold the top opening in half and slip stitch closed.
Head
With hot pink yarn:
01. start 6 sc into a magic ring [6]
02. inc in each st around [12]
03. *sc, inc* [18]
04. sc, inc, *sc 2, inc* 5 times, sc [24]
05. *sc 3, inc* [30]
06. sc 2, inc, *sc 4, inc* 5 times, sc 2 [36]
07. *sc 5, inc* [42]
08. sc 3, inc, *sc 6, inc* 5 times, sc 3 [48]
09. *sc 7, inc* [54]
10. sc 4, inc, *sc 8, inc* 5 times, sc 4 [60]
11 – 16. sc in each st around [60]
17. sc 44, insert marker color 1 into next sc (45th st from start of round), sc 15 [60]
18. sc 9, insert marker color 1 into the next sc (10th st from start of round), sc 50 [60]
19 – 20. sc in each st around [60]
21. sc 4, dec, *sc 8, dec* 5 times, sc 4 [54]
22. *sc 7, dec* [48]
23. sc 3, dec, *sc 6, dec* 5 times, sc 3 [42]
24. *sc 5, dec* [36]
25. sc 2, dec, *sc 4, dec* 5 times, sc 2 [30]
Stuff the head ¾ full and follow the steps under “monkey face tutorial” in the Notes section.
26. *sc 3, dec* [24]
27. sc, dec, *sc 2, dec* 5 times, sc [18]
28. *sc, dec* [12]
Finish stuffing.
29. *dec* [6]
Cut working yarn and close with an ultimate finish.
Attach the left ear starting in the marked stitch on the left side of the head and each of the next 7 stitches in the round.
Attach the right ear starting in the marked stitch on the right side of the head and each of the next 7 stitches in the round.
Arms (make 2)
With tan yarn:
01. start 6 sc into a magic ring [6]
02. inc in each st around [12]
03. *sc, inc* [18]
04. sc, inc, *sc 2, inc* 5 times, sc [24]
05. sc in each st around [24]
06. 4dc in the first st, sc 23 [27]
07. sc, dec3tog, ch, sc 23 [26]
08. sc in each st around [26]
09. sc, dec, sc 23 [25]
10. sc, dec, sc 22 [24]
Switch to hot pink yarn (tutorial):
11. sc in each st around [24]
12. *sc 10, dec* [22]
13. sc in each st around [22]
14. sc 10, dec, sc 10 [21]
15. sc in each st around [21]
16. sc 19, dec [20]
17. sc in each st around [20]
18. sc 9, dec, sc 9 [19]
19. sc in each st around [19]
20. sc 17, dec [18]
21. sc in each st around [18]
22. sc 8, dec, sc 8 [17]
23. sc in each st around [17]
24. sc 15, dec [16]
25. sc in each st around [16]
26. *sc 2, dec* [12]
Fasten off and leave a long tail for sewing. Stuff firmly with fiber fill. Fold the top opening in half and slip stitch closed.
Legs (make 2)
With tan yarn:
01. ch 3, inc in 2nd ch from hook, 5sc in the last ch. Continue on the other side of the chain base, 3sc in the last ch [10]
02. inc, sc 2, *inc* 3 times, sc 2, *inc* 2 times [16]
03. inc, sc 4, *inc* 2 times, sc, inc, sc 4, *inc* 2 times, sc [22]
04. inc, sc 6, *inc, sc* 2 times, inc, sc 6, *inc, sc* 2 times [28]
05. inc, sc 8, inc, sc 2, inc, sc, inc, sc 8, inc, sc 2, inc, sc [34]
06 – 07. sc in each st around [34]
08. sc 28, *dec* 3 times [31]
09. *dec* 3 times, sc 21, *dec* 2 times [26]
10. *dec* 2 times, sc 22 [24]
Now sc 12 additional stitches. Consider this the official end of round 10 (this ensures the color join will be on the heel). Continue with round 11 as normal.
Switch to hot pink yarn (tutorial):
11. sc in each st around [24]
12. sc 11, dec, sc 11 [23]
13. sc in each st around [23]
14. sc 21, dec [22]
15. sc in each st around [22]
16. sc 10, dec, sc 10 [21]
17. sc in each st around [21]
18. sc 19, dec [20]
19. sc in each st around [20]
20. sc 9, dec, sc 9 [19]
21. sc 17, dec [18]
22. *sc 7, dec* [16]
23. *sc 2, dec* [12]
Fasten off and leave a long tail for sewing. Stuff firmly with fiber fill. Fold the top opening in half and slip stitch closed.
Body
With hot pink yarn:
01. start 6 sc into a magic ring [6]
02. inc in each st around [12]
03. *sc, inc* [18]
04. sc, inc, *sc 2, inc* 5 times, sc [24]
05. *sc 3, inc* [30]
06. sc 2, inc, *sc 4, inc* 5 times, sc 2 [36]
07. *sc 5, inc* [42]
08. sc 3, inc, *sc 6, inc* 5 times, sc 3 [48]
09. *sc 7, inc* [54]
10. sc 4, inc, *sc 8, inc* 5 times, sc 4 [60]
11 – 17. sc in each st around [60]
18. sc 4, dec, *sc 8, dec* 5 times, sc 4 [54]
19. sc in each st around [54]
20. *sc 7, dec* [48]
21. sc in each st around [48]
22. sc 3, dec, *sc 6, dec* 5 times, sc 3 [42]
23 – 24. sc in each st around [42]
25. *sc 5, dec* [36]
26 – 27. sc in each st around [36]
28. sc 2, dec, *sc 4, dec* 5 times, sc 2 [30]
29 – 30. sc in each st around [30]
31. *sc 3, dec* [24]
Fasten off and leave a long tail for sewing. Stuff firmly with fiber fill.
Tail
With hot pink yarn:
01. start 6 sc into a magic ring [6]
02. *sc 2, inc* [8]
03. *sc 3, inc* [10]
04 – 12. sc in each st around [10]
13. sc 4, inc, sc 3, dec [10]
14. sc in each st around [10]
15. sc 4, inc, sc 3, dec [10]
16. sc in each st around [10]
17. sc 4, inc, sc 3, dec [10]
18. sc in each st around [10]
19. sc 4, inc, sc 3, dec [10]
20. sc in each st around [10]
21. sc 4, inc, sc 3, dec [10]
22. sc in each st around [10]
23. sc 4, inc, sc 3, dec [10]
24. sc in each st around [10]
25. sc 4, inc, sc 3, dec [10]
26 – 30. sc in each st around [10]
Fasten off and leave a long tail for sewing. Fold the top opening in half and slip stitch closed.
Congratulations
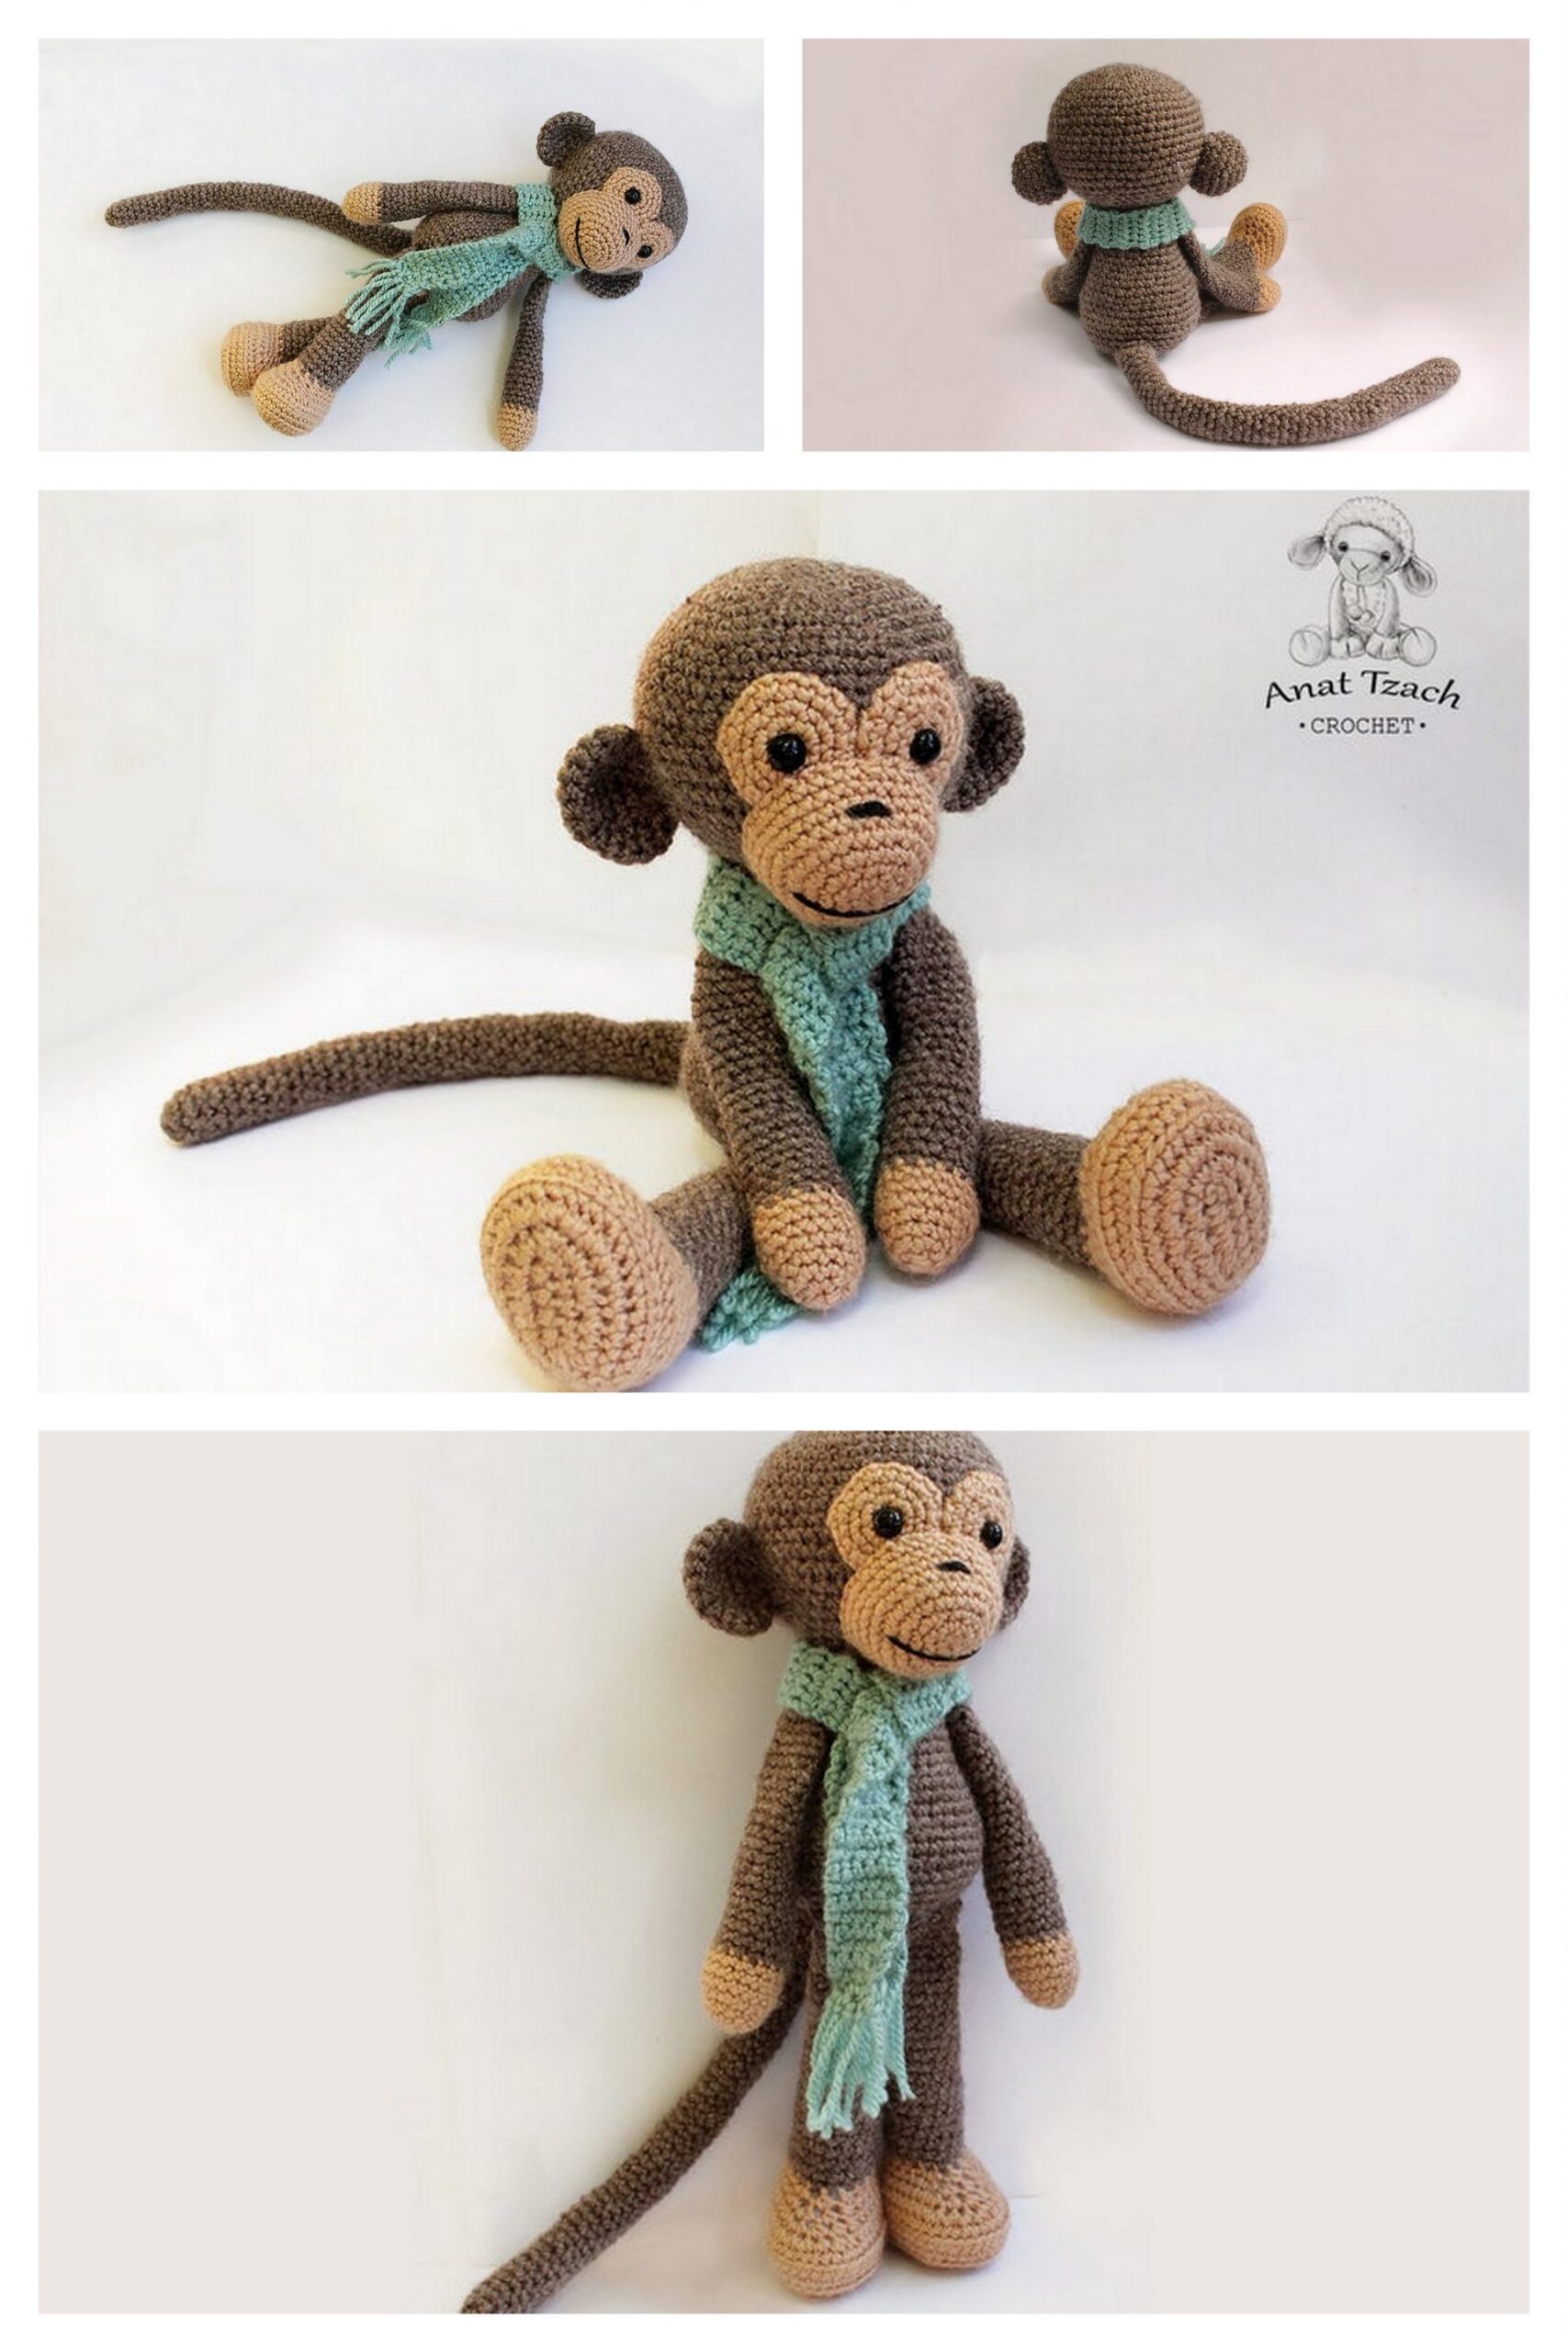
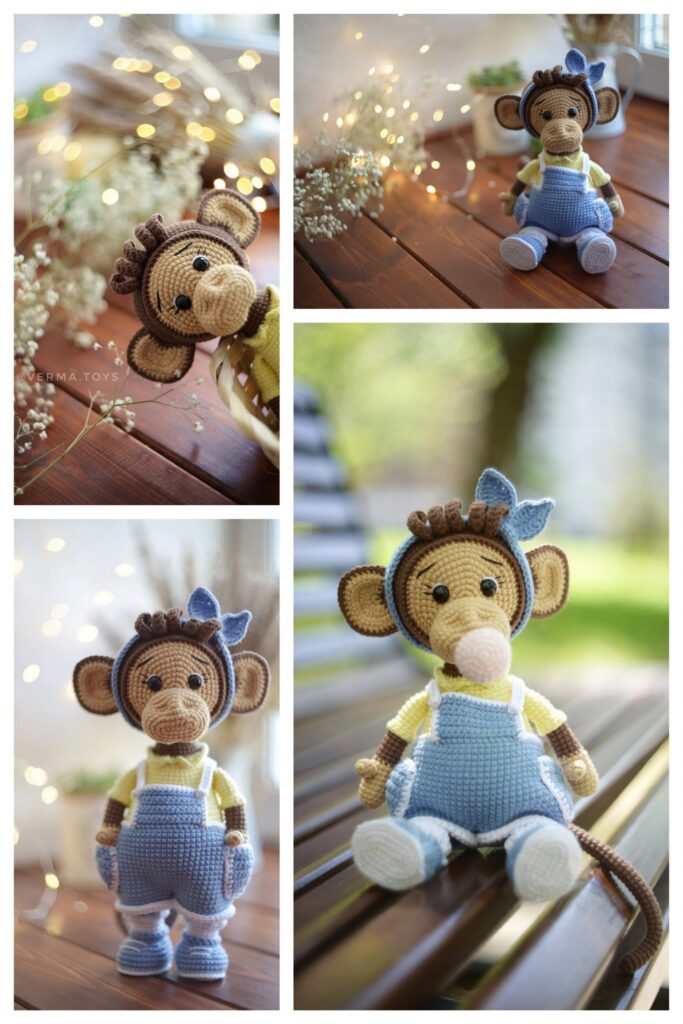
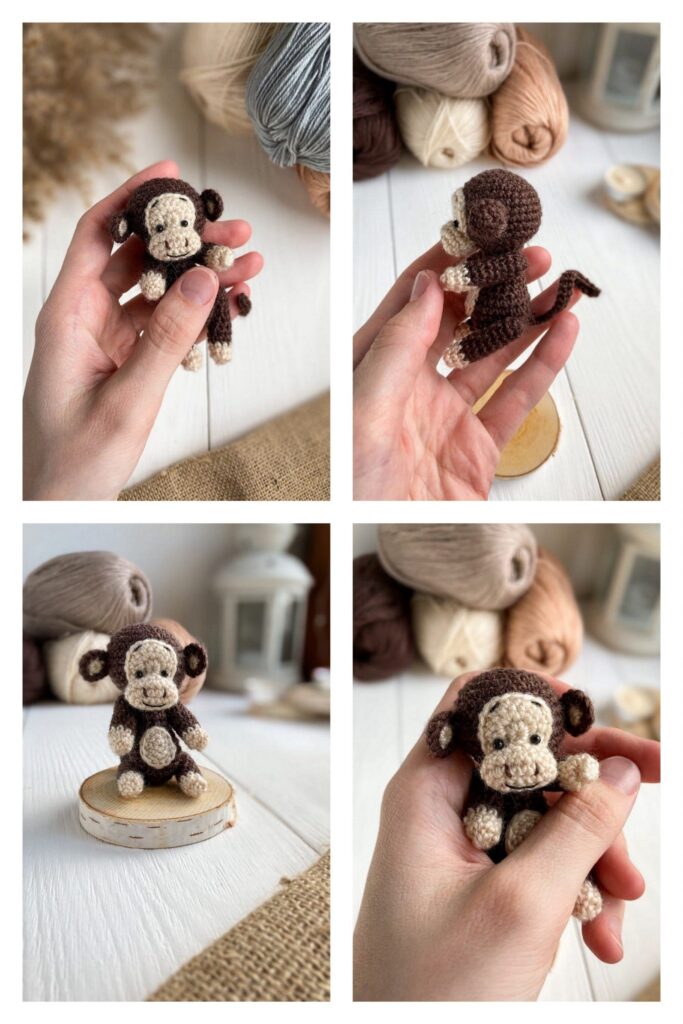
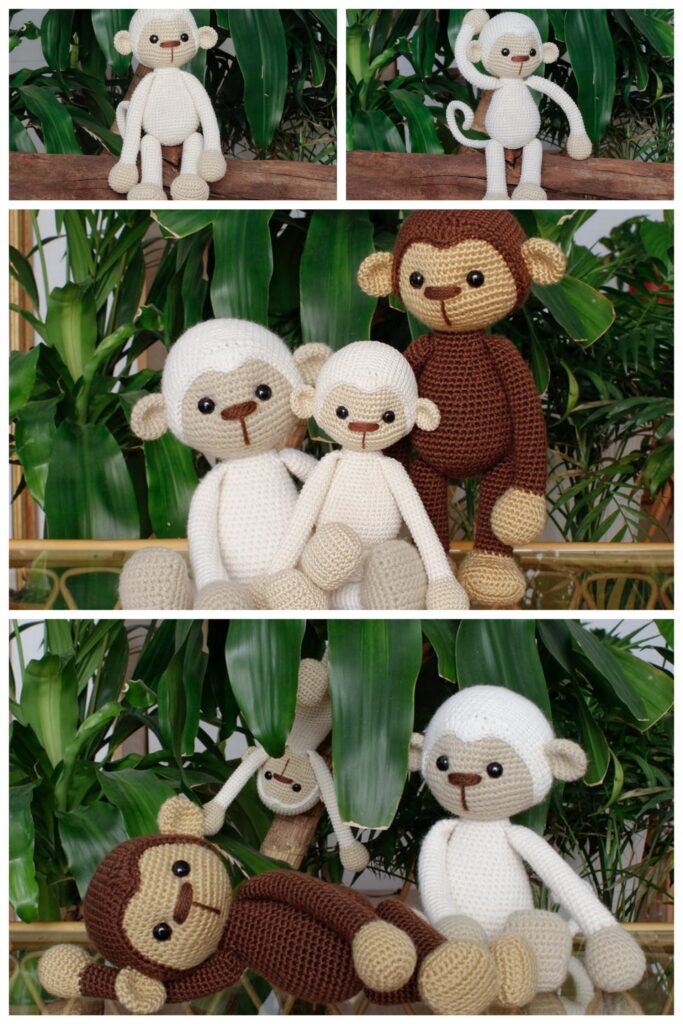
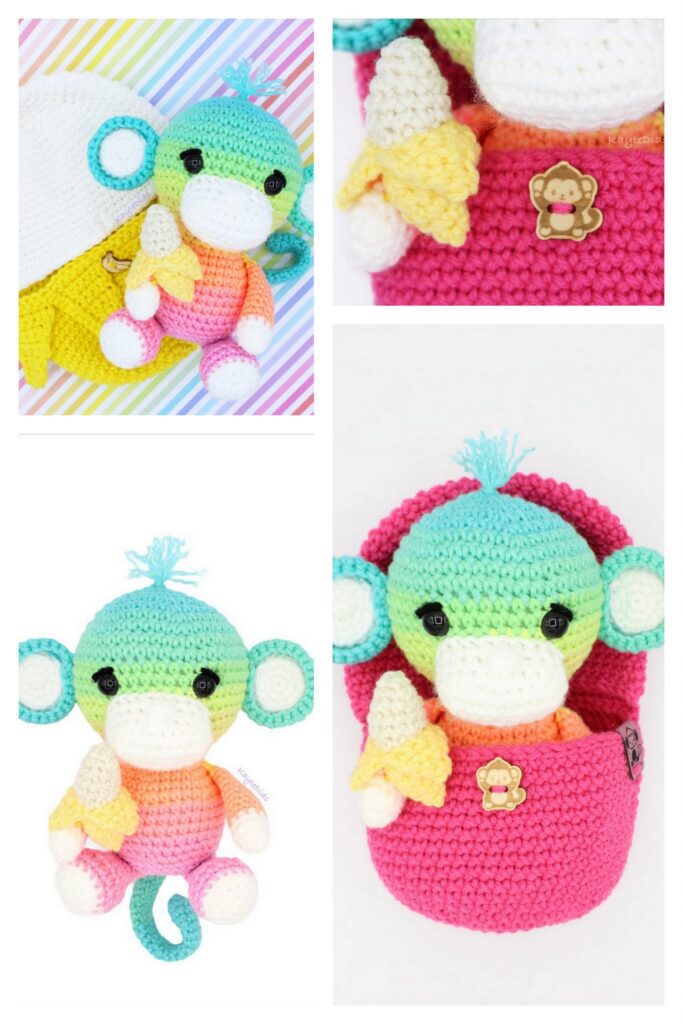
More Amigurumi Monkey Ideas:


