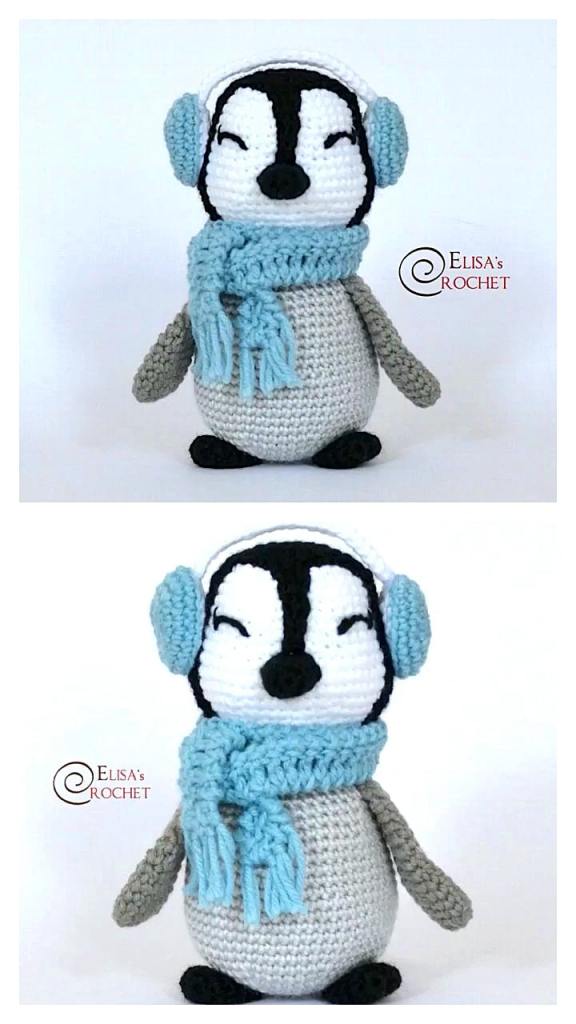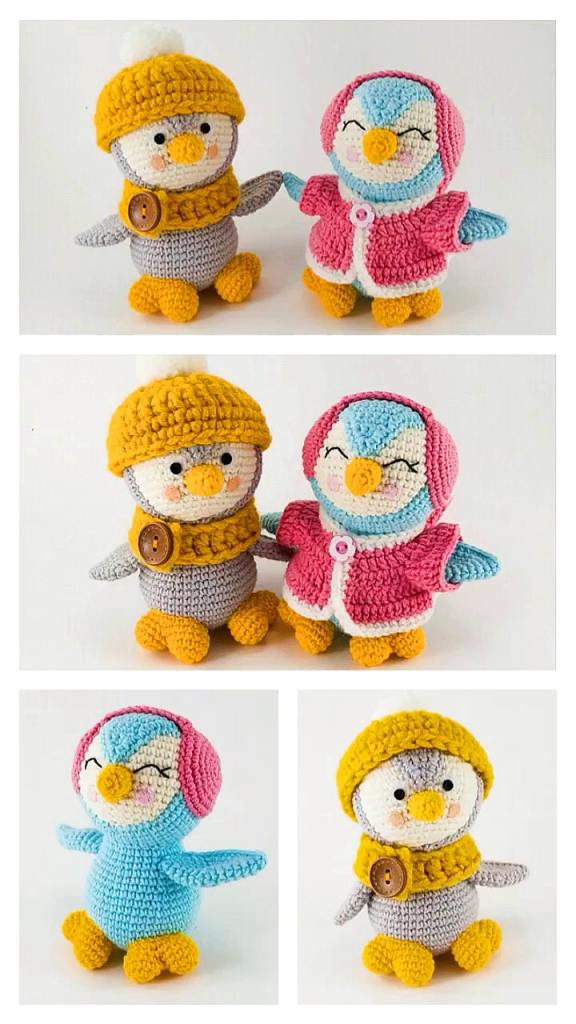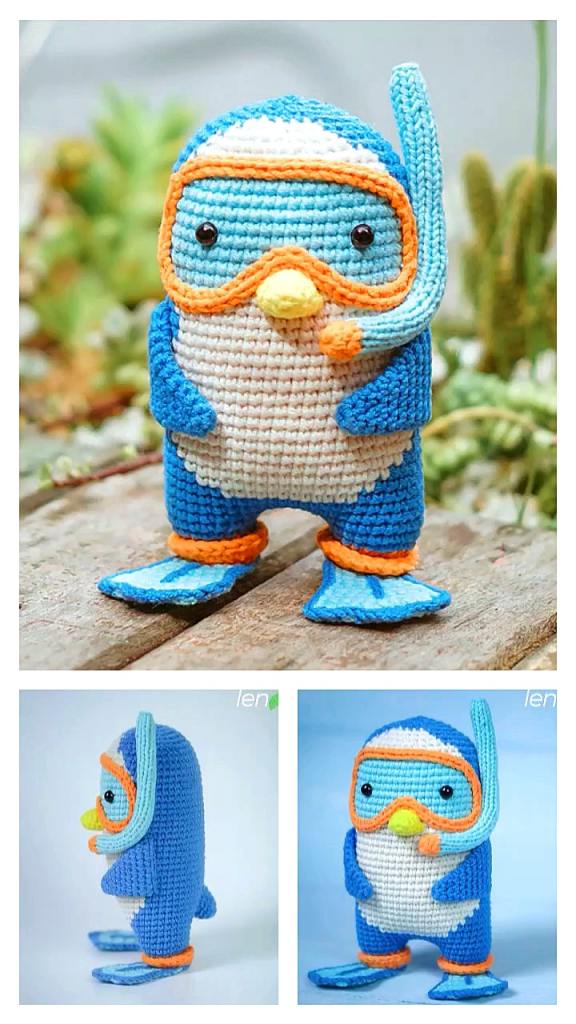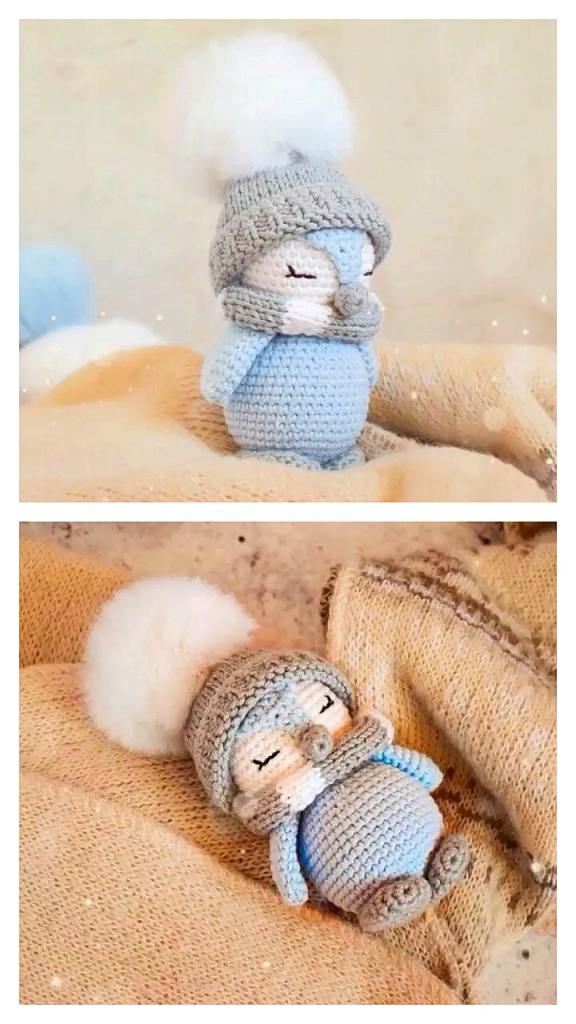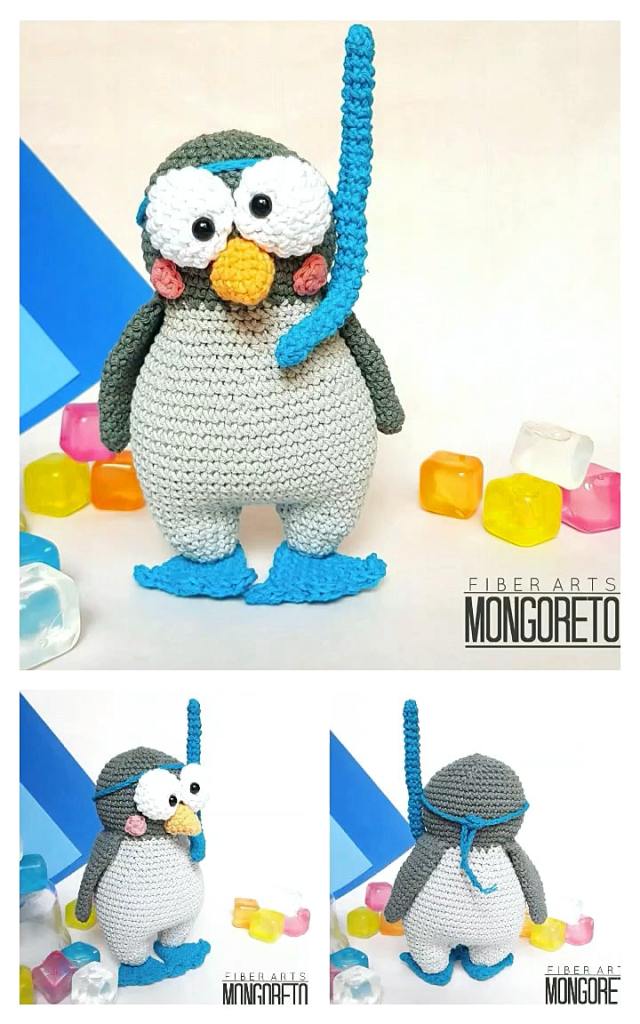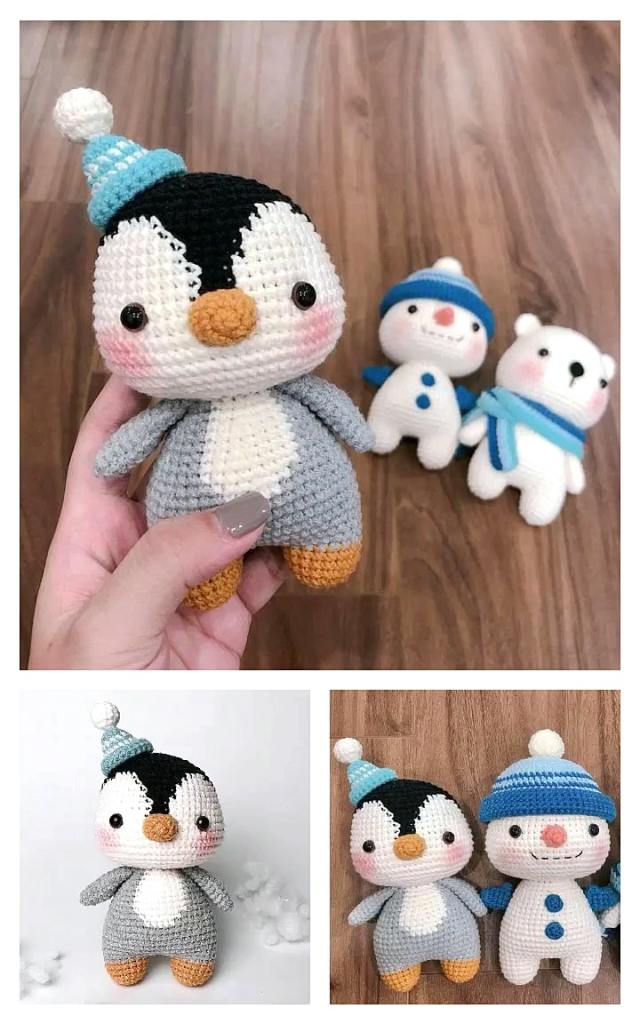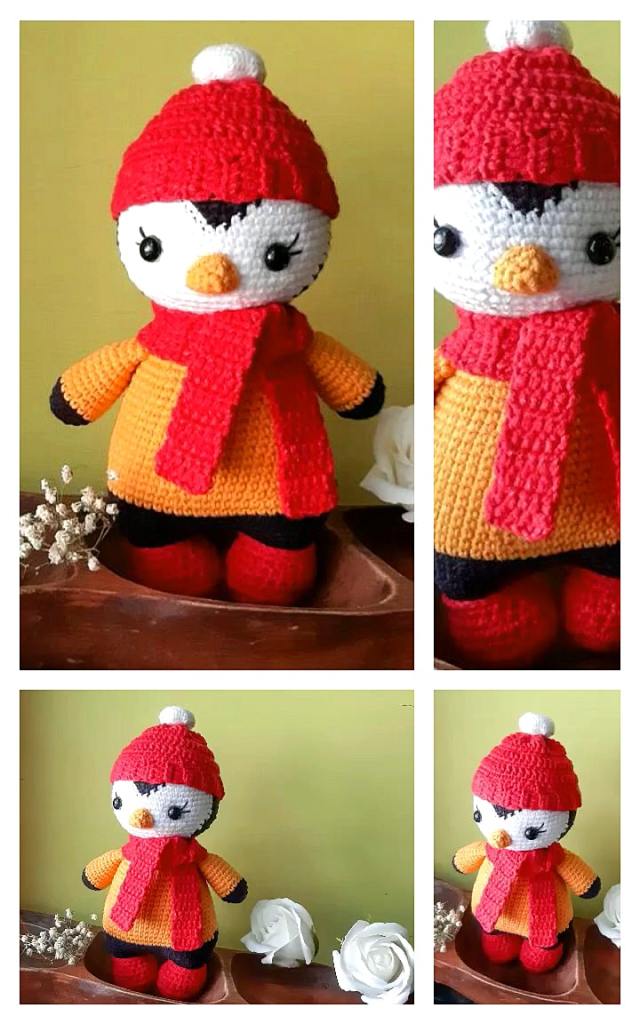
If you enjoy making amigurumi, here I share this easy and free amigurumi pattern for you for free. Your kids will love these toys.
Materials
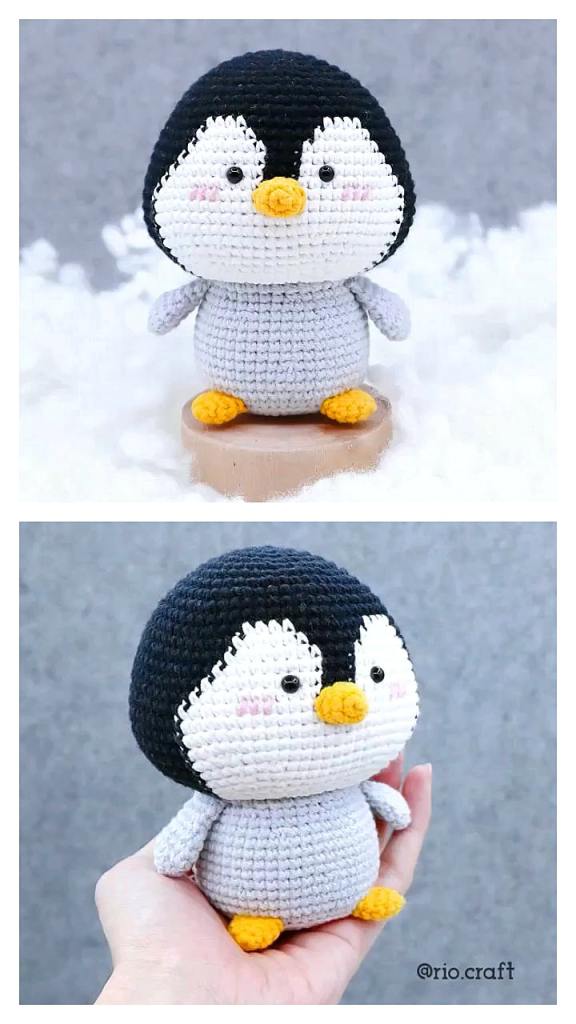
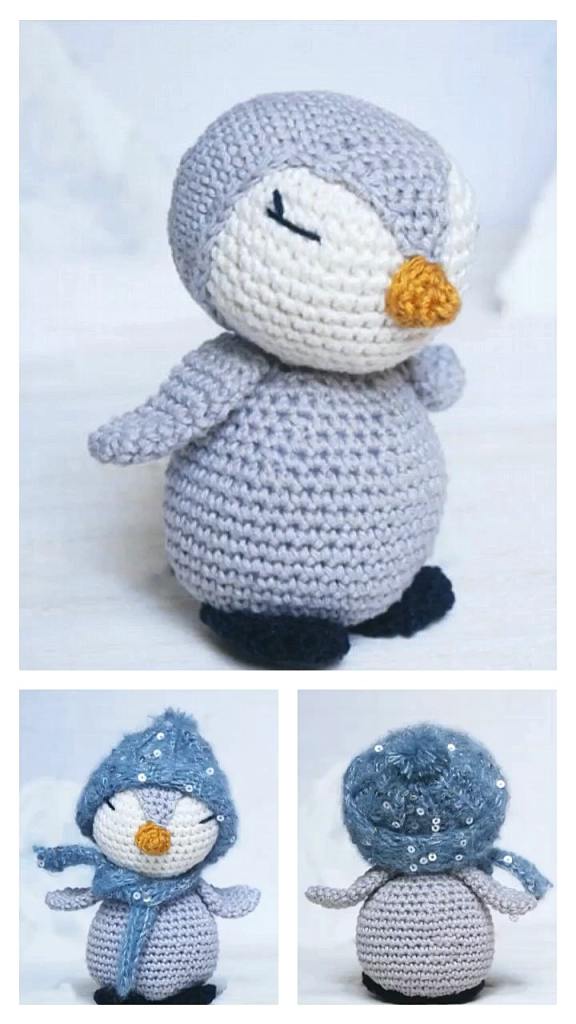
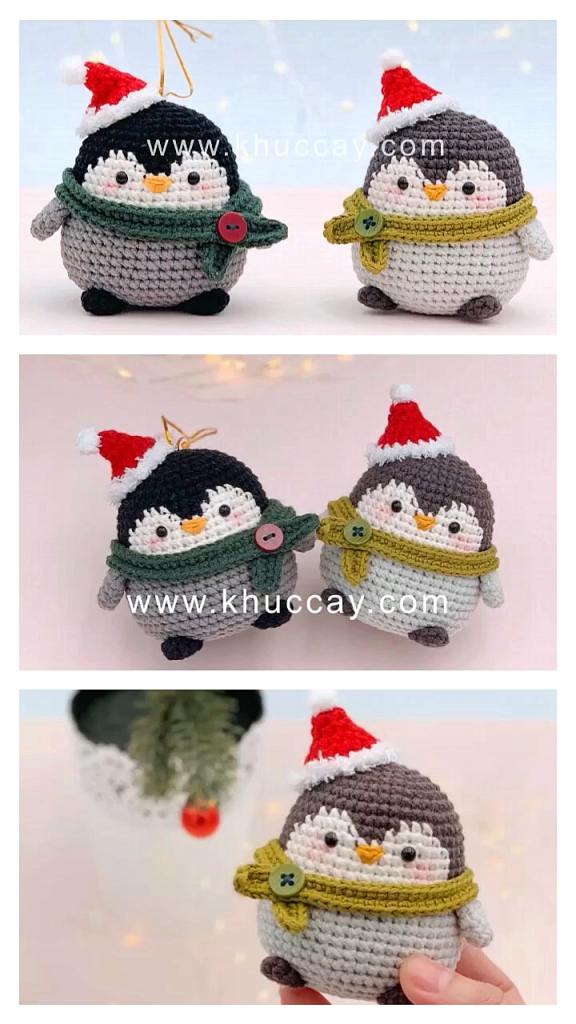
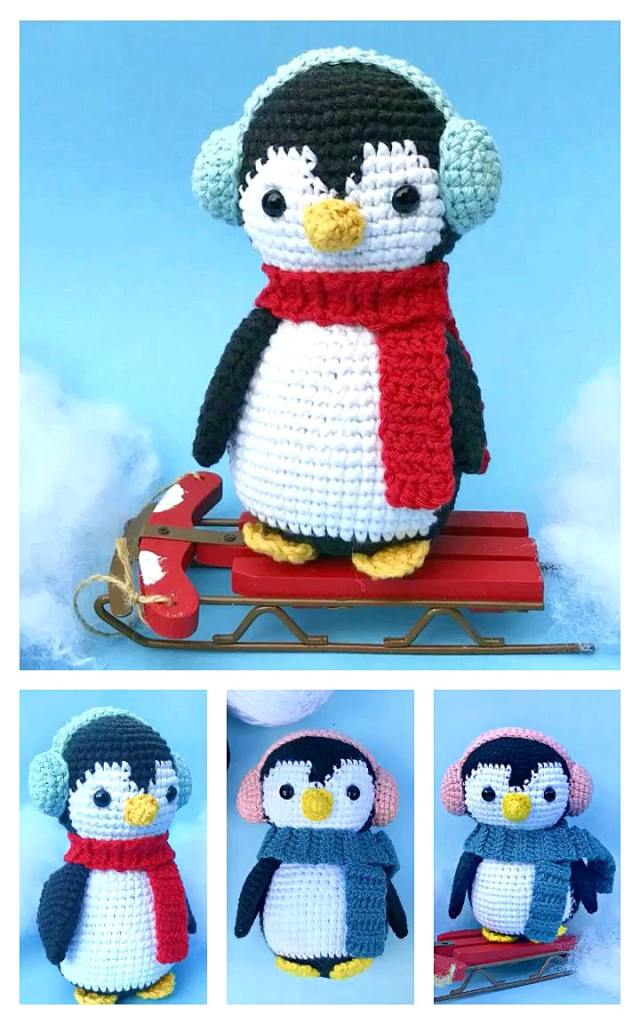
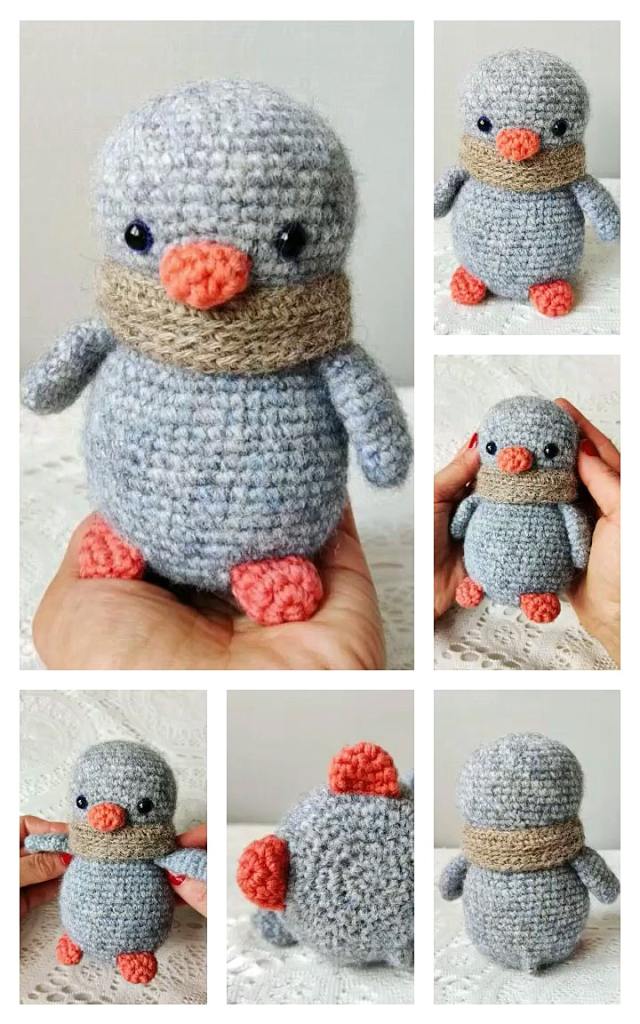
Size 4 worsted weight yarn (25g of light gray, 25g of dark gray; small amount of white, orange, and accent color for scarf and cheeks)
3.5 mm crochet hook (These are the hooks I use!)
5mm crochet hook (scarf)
9mm safety eyes
Black crochet/embroidery thread for eyelashes (optional)
Scissors
Tapestry needle
Stuffing
Stitch markers (A piece of scrap yarn does the trick!)
Abbreviations – US terminology
MC- Magic circle
SC- Single crochet
SC INC- Single crochet increase
INV DEC- Invisible decrease
HDC – Half double crochet
DC – Double crochet
Sl st – Slip stitch
St(s)- Stitch(es)
Beak
With orange
Round 1: Create a magic circle with 8 SC
Rounds 2-3: SC around (8)
Fasten off leaving a long tail for sewing.
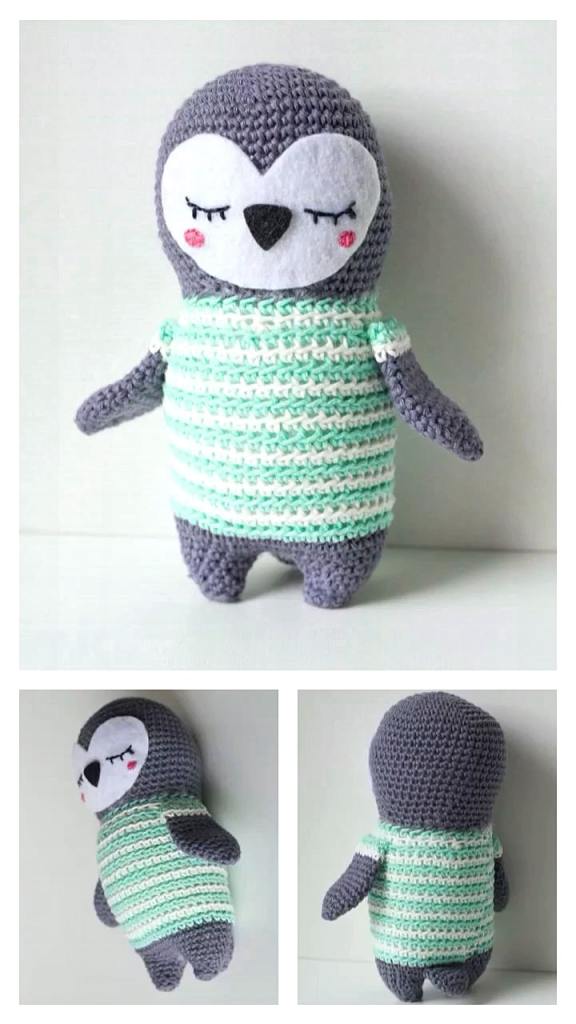
Face Piece
With white, chain 10
Row 1: HDC in the 2nd chain from your hook and in each chain across. Ch 1 and turn (9)
Row 2: SC, HDC, 2DC, Sl st, 2DC, HDC, SC, ch 1 and turn (9)
Row 3: Repeat row 2, ch 1 and turn.
Row 4: SC down the side, across the bottom and up the 3rd side placing 2 SC into each corner. Sl st into the next st to secure. Fasten off leaving a long tail for sewing.
Next, insert your safety eyes into the middle portion of each rounded section on your face piece. Optional: add eyelashes/eyebrows to your liking.
Do not place the backs onto your safety eyes just yet. We will save this piece to sew on part way through making the head below.
Body
With light gray
Round 1: Create a magic circle with 6 SC
Round 2: SC INC in each stitch around (12)
Round 3: SC in the first st, SC INC in the next, rep around (18)
Round 4: SC in the first 2 sts, SC INC in the next, rep around (24)
Round 5: SC in the first 3 sts, SC INC in the next, rep around (30)
Round 6: SC in the first 4 sts, SC INC in the next, rep around (36)
Round 7: SC in the first 5 sts, SC INC in the next, rep around (42)
Rounds 8-10: SC around (42)
Round 11: SC in the first 5 sts, INV DEC in the next, rep around (36)
Rounds 12-14: SC around (36)
Round 15: SC in the first 4 sts, INV DEC in the next, rep around (30)
Rounds 16-18: SC around (30)
Round 19: SC in the first 3 sts, INV DEC in the next, rep around (24)
Round 20: SC around (24)
Round 21: SC in the first 2 sts, INV DEC in the next, rep around (18)
Round 22: SC in the first st, INV DEC in the next, rep around (12)
Change to dark gray
*We will now start the head*
Round 23: SC in the first st, SC INC in the next, rep around (18)
Round 24: SC in the first 2 sts, SC INC in the next, rep around (24)
Round 25: SC in the first 3 sts, SC INC in the next, rep around (30)
Round 26: SC in the first 4 sts, SC INC in the next, rep around (36)
Round 27: SC in the first 5 sts, SC INC in the next, rep around (42)
Rounds 28-34: SC around (42)
Note: Here is where we will add the facial features before we start closing the head. Line up your face piece and push your safety eyes through the stitches on the head. Mine were between rounds 30 and 31; 4 stitches apart. Once you have everything placed where you would like, sew around the edges to secure.
Next, sew your beak centered between the eyes adding a small amount of stuffing as you go.
Lastly, add your cheeks by passing through one stitch on the edge of each side with your pink or red yarn.
Round 35: SC in the first 5 sts, INV DEC in the next, rep around (36)
Round 36: SC in the first 4 sts, INV DEC in the next, rep around (30)
Round 37: SC in the first 3 sts, INV DEC in the next, rep around (24)
*Continue to stuff the head firmly
Round 38: SC in the first 2 sts, INV DEC in the next, rep around (18)
Round 39: SC in the first st, INV DEC in the next, rep around (12)
Round 40: INV DEC around (6)
Fasten off and sew remaining part closed, weave in your end.
Flippers
With light gray make 2 (I left mine unstuffed)
Round 1: Create a magic circle with 6 SC
Round 2: SC INC in each stitch around (12)
Round 3: SC in the first st, SC INC in the next, rep around (18)
Rounds 4-5: SC around (18)
Round 6: SC in the first st, INV DEC in the next, rep around (12)
Round 7: SC in the first 2 sts, INV DEC in the next, rep around (9)
Rounds 8-11: SC around (9)
At the end of round 11 pinch the arm flat and make 4 SC across the top to close, fasten off and leave a long tail to sew onto the body.
Feet
With dark gray make 4 (we will use 2 to make each foot)
Round 1: Create a magic circle with 6 SC
Round 2: SC INC in each stitch around (12)
Round 3: SC in the first st, SC INC in the next, rep around (18)
Take 2 pieces with wrong sides facing together and sew around the edges to form one piece. Be sure to leave a tail remaining to sew onto the body. This completes one foot, repeat with the remaining 2 pieces to form the other foot.
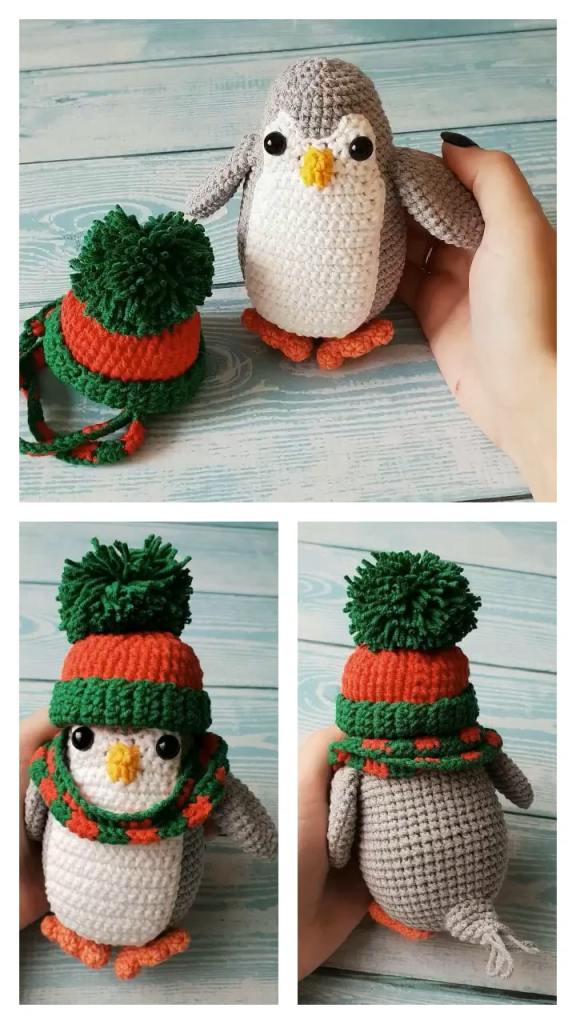
Scarf
Note: For the scarf we will be using the Crunch Stitch, which is a repeat of HDC into the first stitch followed by a slip stitch into the next. This will create a nice bumpy texture in our scarf.
With color of choice and 5mm hook chain 65
Row 1: *HDC into the 2nd chain from your hook, sl st into the next st*, *rep across, ch 2 and turn.
Row 2: *HDC into the first st, sl st into the next*, *rep across.
Fasten off leaving a tail to sew ends together after assembling.
Assembly
1. First, sew your flippers onto the body centered with your facial features at round 20.
2. Next, wrap your scarf around the neck twice. Using your remaining tail, sew the ends of your scarf together to create an infinity scarf.
3. Lastly, sew your feet centered onto the bottom of your penguin. I attached at the back of the feet and left the front half open for slight movement.
Etsy Best Amigurumi Ideas