MATERIALS
YARN: Paintbox yarns simply aran acrylic in:
A – Paper White (1 x 100g / 170yd)
B – Stormy Grey (1 x 100g / 170yd)
Small amount of Pink / Peach yarn for nose
HOOK: 3.5mm (US size E)
OTHER: 1 Set of double pointed needles in size 3.75mm (US size E)
3 Ply metallic embroidery thread
Fiberfill for stuffing
6mm Safety eyes
Tapestry needle
Stitch marker
* This pattern can be made with any sport of worsted weight yarn.
* The size of toy may vary depending on the size of hook and yarn used.
TERMINOLOGY
sc – single crochet
st – stitch
inc increase
dec – decrease
MR – magic ring
sl st – slip stitch
P – purl
F/O – fasten off
k – knit
k2tog – knit 2 together
[ ] – total # of sts per round
( ) repeat steps in brackets
NOTES
1- Work in continuous rounds without joining the round with a slip stitch. Do not turn at the end of each round.
2- Use a stitch marker to keep track of the beginning of each round.
3- Head and body are worked in one piece. Beginning at the top of the head, working down the body.
4- I recommend using invisible decrease to avoid the gap in the stitches.
5- Firmly stuff as you work and overstuff slightly before finishing the section being worked. This will allow for the
stuffing to fill out the shape after the crocheting is done.
6- I have used double strand knitting technique to create a shiny texture on the hats. This is a technique in which yarn
and metallic thread
7- If you do not want to use double strand knitting technique any store bought sparkly yarn would do (you will likely get a uniform shine this way, not the subtle twinkling effect created by the double strand technique).
8- I have embroidered initials onto the body as these were created for a custom order. If you do not wish to do so, you
can easily sew in buttons for a more traditional snowman.
HEAD + BODY
Using the color A (Paper White) yarn and 3.5 mm crochet hook,
begin with a MR.
Round 1: 6 sc in MR [6]
Round 2: (inc in each st) x 6 [12]
Round 3: (1 sc; inc) x 6 [18]
Round 4: (2 sc; inc) x 6 [24]
Round 5: (3 sc; inc) x 6 [30]
Round 6: (4 sc; inc) x 6 [36]
Round 7–12: sc in each st around [36]
Round 13: (4 sc; dec) x 6 [30]
Round 14: (3 sc; dec) x 6 [24]
Attach safety eyes between rows 8 and 9, with 4 sts apart.
Round 15: (2 sc; dec) x 6 [18]
Round 16: (1 sc; dec) x 6 [12]
Round 17: (inc in each st) x 6 [24]
Round 18–19: (sc in each st) around [24]
Round 20: ( 3 sc; inc) x 6 [30]
Stuff the head as you continue to work.
Round 21: sc in each st around [30]
Round 22: (4 sc; inc) x 6 [36]
Round 23: sc in each st around [36]
Round 24: (5 sc; inc) x 6 [42]
Round 25–29: sc in each sts around [42]
Round 30: (5 sc; dec) x 6 [36]
Round 31: (4 sc; dec) x 6 [30]
Start stuffing the body.
Round 32: (3 sc; dec) x 6 [24]
Round 33: (sc in next 2 sts; dec) [18]
Round 34: (1sc; dec) x 6 [12]
Round 35: (dec) x 6 [6]
Fill the head and body with fiberfill firmly. F/O and thread tail end of yarn onto a tapestry needle, insert the needle in and out of the remaining sts, pull tight to close and weave in end.
* Pattern instructions for the nose and pom-pom hat begin on the next page below.
NOSE
Using your Peach or Pink color yarn, begin with an MR.
Round 1: 4 sc in MR
Round 2: inc, sc in next 3 sts around [5]
Round 3: inc, sc in next 4 sts around [6]
Round 4: sc in each st around [6]
Sl st in next st and F/O leaving a tail for sewing
POM-POM HAT
Using 3.75 mm double pointed needles, with color B (Stormy Grey) yarn and metallic embroidery thread, holding the two strands together cast on 36 sts. Divide sts evenly among 3 needles. Place marker and join (being careful not to twist) to work in the round.
Ribbing – K1 P1 for 5 rounds
Body – Knit 7 rounds
Shape Top
Round 1: (k4; k2tog) around [30 sts]
Round 2: knit
Round 3: (k3; k2tog) around [24]
Round 4: knit
Round 5: (k2; k2tog) around [18]
Round 6: (k1; k2tog) around [12]
Round 7: (k2tog) around [6]
Cut yarn leaving a tail. Thread tail end of yarn onto a tapestry needle, insert the needle through remaining sts and pull tight to close. Make a small pom-pom using blue yarn and metallic thread and attach to the top of the hat.
ASSEMBLY
1- Stuff the nose lightly and sew it between the eyes beginning from the row 8.
2- Use color Peach yarn to embroider the letters on the body (if desired). If using buttons, sew them on the body
now.
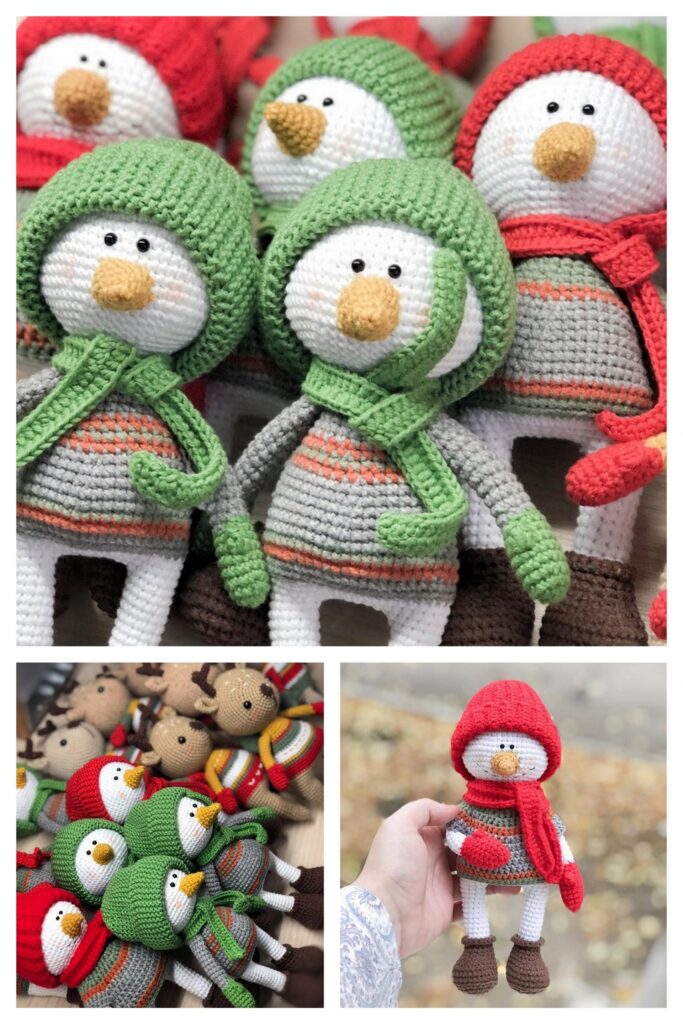
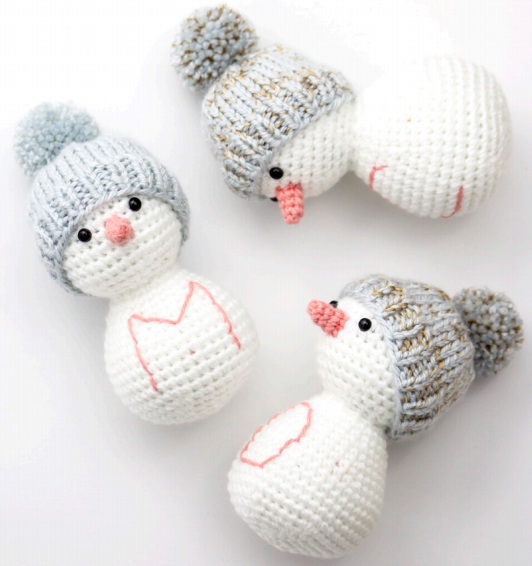
3- Just place the heads and your Snowman Friends are ready to frolic in the snow!
Congratulations
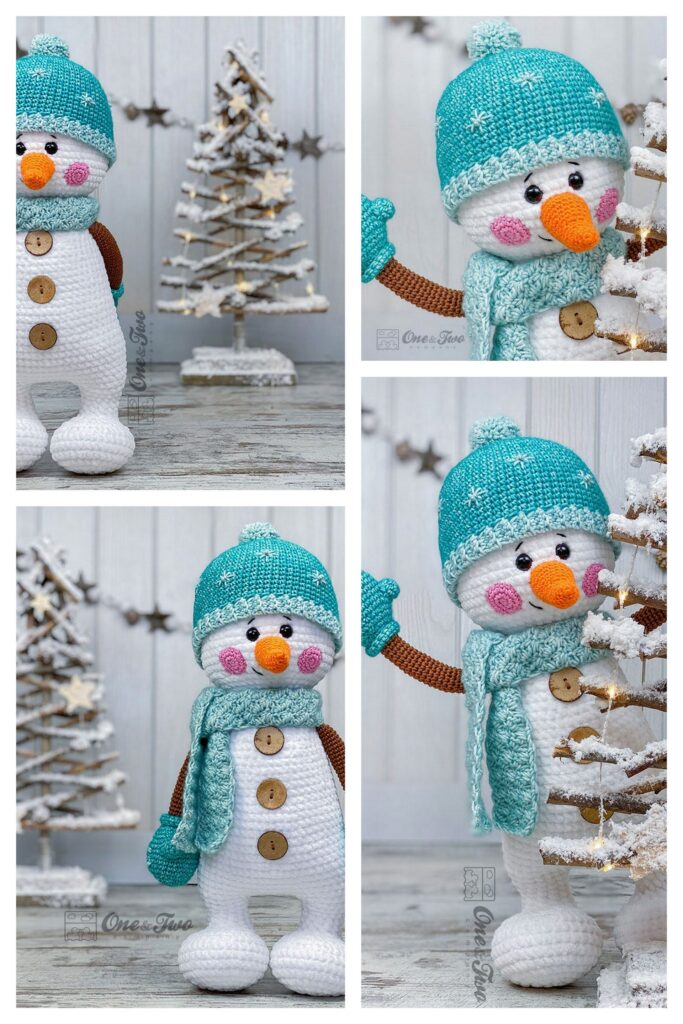
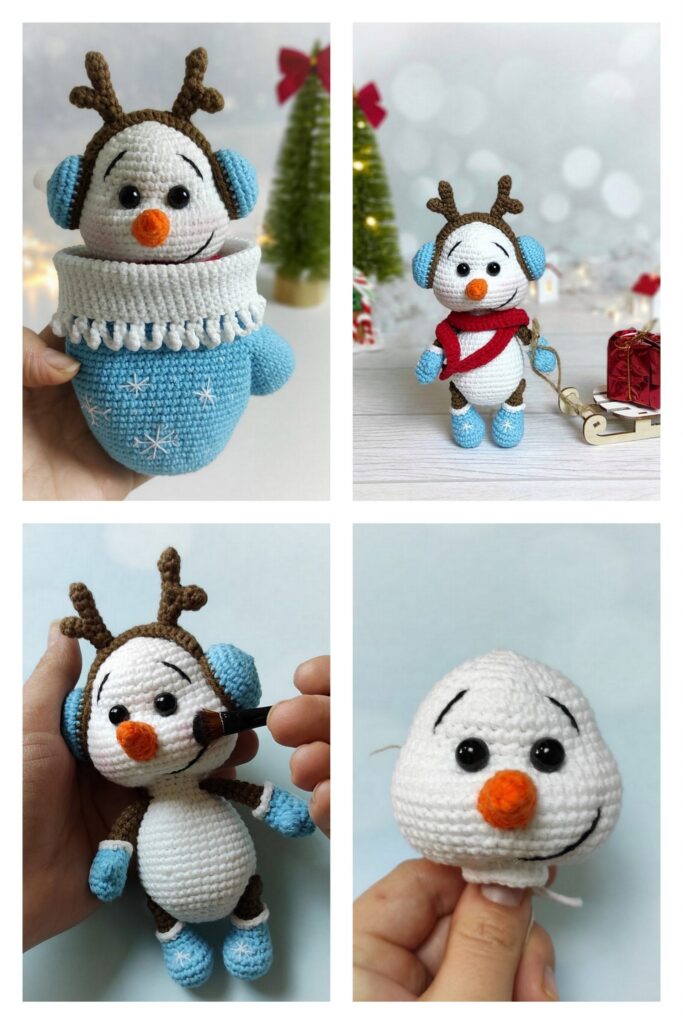
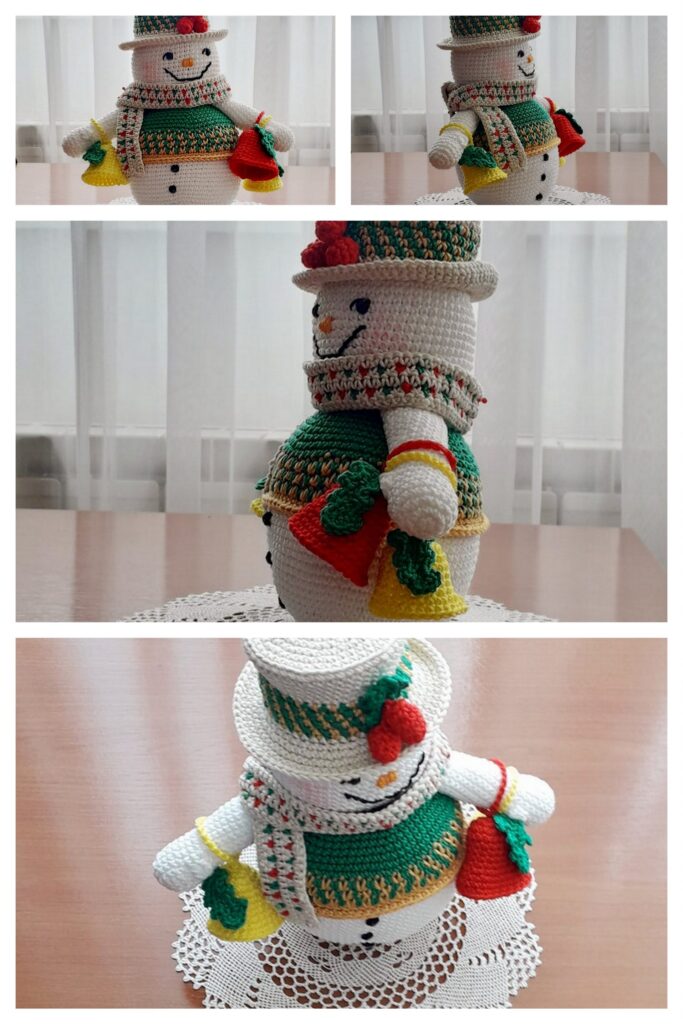
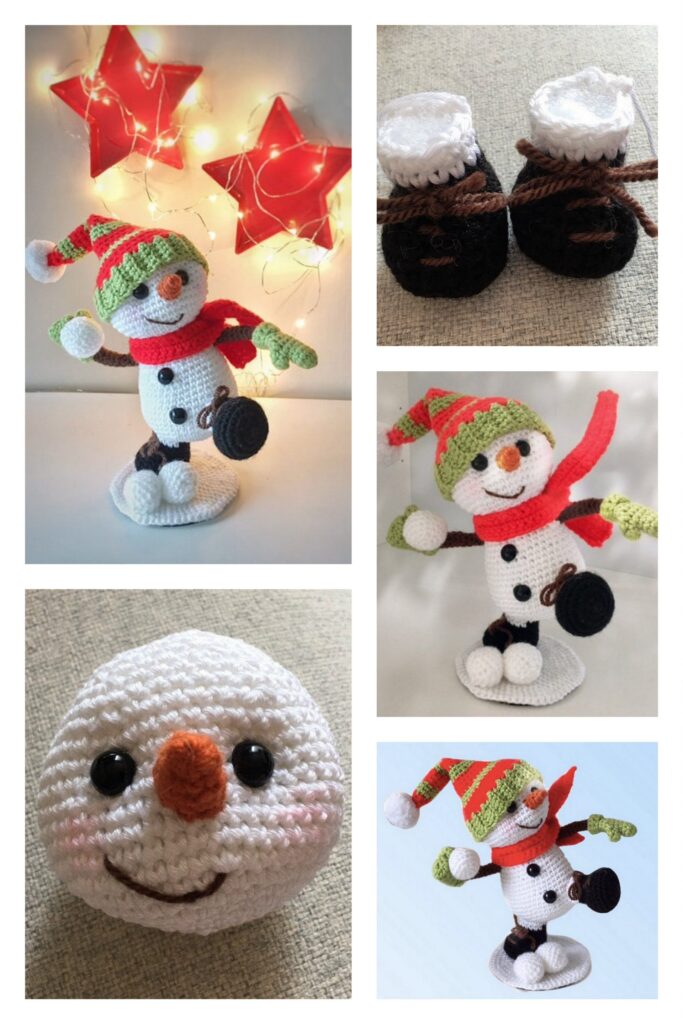
More Amigurumi Snowman Ideas: